Beginner's Guides

Beginners Guide: 3 Tips to Get Started Snowshoeing

Please note, this post contains affiliate links. See our Disclosures Page for more info.

Winter is here and we LOVE it. It’s one of our favorite times to be outside. Yes, it’s colder. Yes, it gets darker faster. Yes, you have to wear a ton of layers. But there are so many fun activities you can do in winter that you can’t do any time of year. One of our favorite ones is snowshoeing! If you love to hike and are looking for a way to do so in winter, snowshoeing is the way to go for you! Read on for our top 3 tips to get you started snowshoeing!

IMG_9587.JPEG

1. what do you wear?

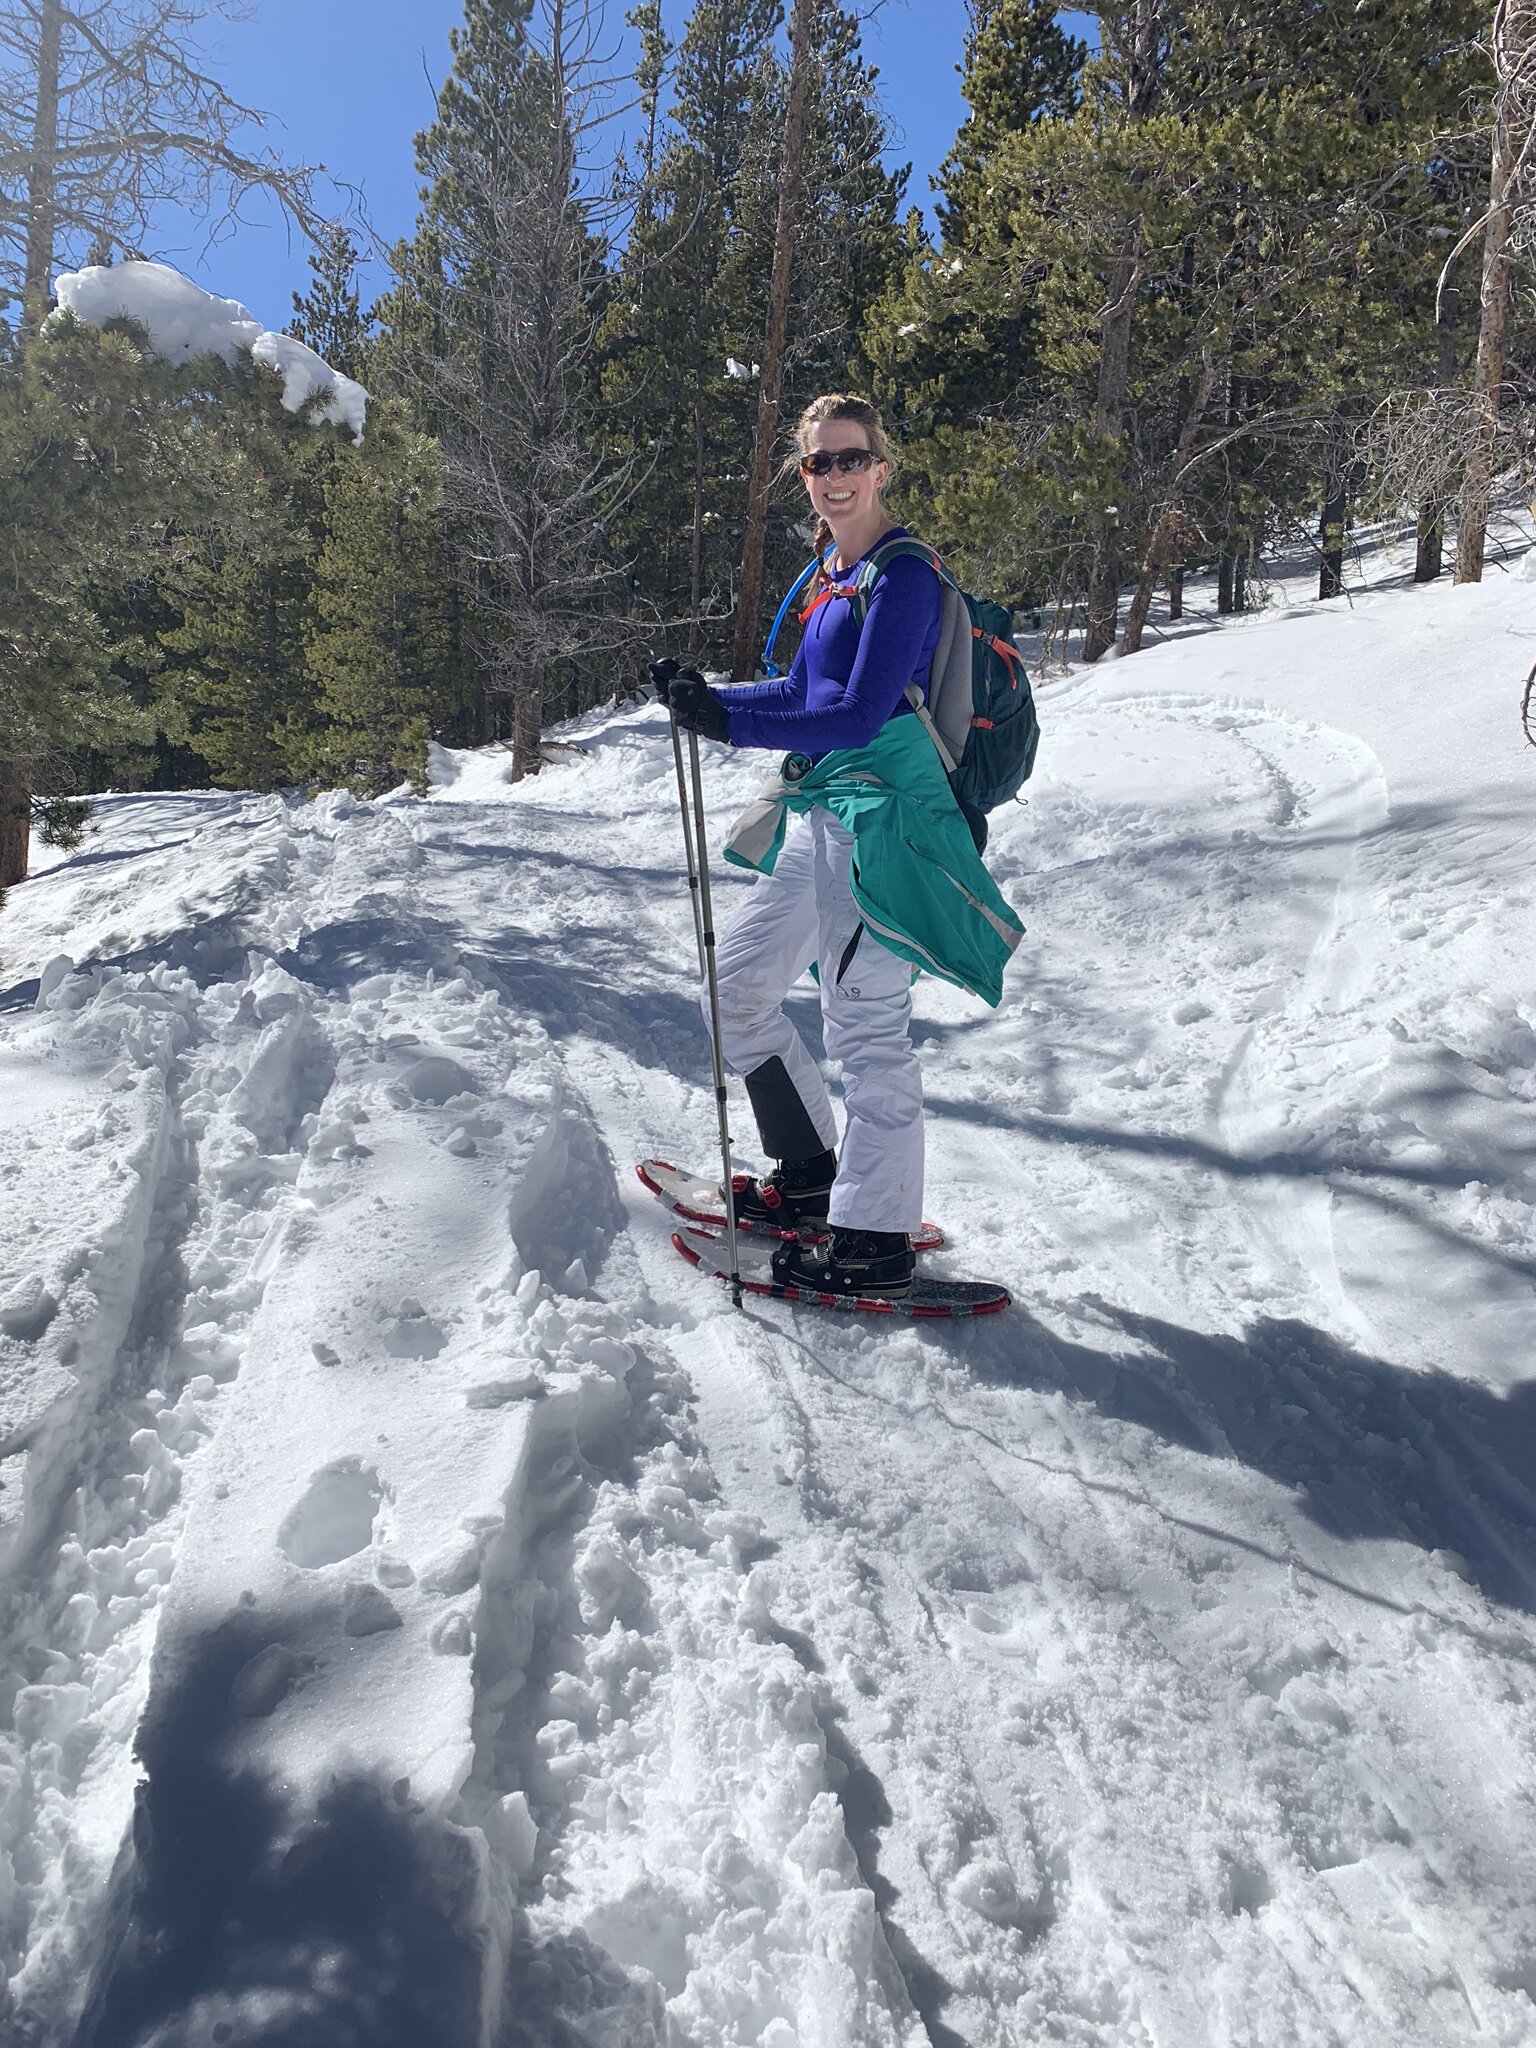
This is the #1 question we get and it’s a great question. It can seem daunting to figure out how to stay warm and keep your feet dry. Our biggest tip - wear layers. You can always take some off if you get too warm (and yes, you can definitely get too warm even when it’s 20 degrees outside!).

I recommend wearing a warm base layer - running/active leggings and a tight fitting cold-gear top. Purchase some wool socks (we love the Smartwool brand) so your feet stay as warm as possible.

For your outer layer, if it is forecasted to be really cold or has snowed a ton the last few days, we wear snowpants over our leggings. On the top, we wear a coat that is built for cold activities, either a ski coat or a down coat. I personally love the Eddie Bauer light weight down coats - they have some that are rated to -20 degrees that are perfect for snowshoeing! If it hasn’t snowed or isn’t going to be too cold, I just go with leggings, no snowpants, and Steve goes for hiking pants. We still tend to wear a warmer coat.

Waterproof Boots. Besides having good layers, wearing waterproof boots is a MUST. Frozen toes are never fun. Wet, frozen toes are even worse. So find yourself some waterproof sturdy boots. I either wear Sorel snowboots that come up to about mid-calf, or I wear waterproof Merrel hiking boots that are made for winter (aka, they are lined on the inside to keep your feet extra toasty).

Sunglasses or ski goggles. If it’s sunny outside, you are going to want sunglasses. The sun reflecting on the snow makes for an extra bright day! We also will sub our sunglasses our for ski goggles. These wrap around our eyes more and block the glare off the snow in our peripheral vision which is really nice on a extra sunny day. If you want a cheaper pair of sunglasses to wear while being active outdoors that are polarized and don’t slip when you sweat, check these out.

A winter hat or ear warmers. There is not much worse than cold ears! Don’t forget to wear a hat or ear warmers to keep them warm. I know if I forget one, I’m signing myself up for a major ear ache the rest of the day.

Gloves. Keep those hands warm! If it’s going to be extra cold, it never hurts to throw some handwarmers in your gloves too.

IMG_0375.JPEG

2. where do you get snowshoes? and what kind should i get?

You can purchase snowshoes at pretty much any outdoor gear store - REI, Christy Sports, Cabella’s, etc. You can also purchase them at Costco right around the holiday season, but once they are out, they don’t seem to get more shipments.

Brand wise, there are a few out there that are well known, and they have ranges of prices for their equipment. Tubbs, MSR, and Crescent all have great reviews and good ranges of prices for what you are looking for.

We purchased our first ones, beginner level, cheaper snowshoes on Amazon for ~$60 a pair, and honestly, they were an “off brand”. But they worked great for what we were wanting - a pair of snowshoes that we could learn with and not worry too much of beating them up or doing something wrong. Plus, we thought we would love snowshoeing, but if it had turned out we actually didn’t, we wouldn’t have been out a ton of money on gear. We have since purchased better ones from REI and are hoping they last us a long time since they were pricy!

If you are not sure you want to invest in your own snowshoes yet, you can rent them from REI! We love this as it will allow for you to give snowshoeing a try without too much investment.

3. how do i find a trail to snowshoe?

This is also a great question and we have learned the hard way that a “moderate” trail in summer is a LOT harder in snowshoes! Besides what to wear and what gear to get, this is the biggest thing to research so you can have the best experience.

We use the app AllTrails to find all our trails. To snowshoe, we recommend looking for a trail that is rated as “easy” - remember that snowshoeing is more difficult that standard hiking - with a distance in the 3-5 mile range.

Read the reviews on the app. A lot of users will put the conditions of the trail in their reviews and how they went about it. If there are no recent reviews, maybe add it to a list to look at again later if you like the look of it, and keep searching until you find one with more recent reviews so you know what to expect.

We hope you have a blast on the trails! If you have any specific questions, shoot us an email through our contact page, or leave it in the comments below!

Happy adventures!

Liz

07562836-3061-4CD9-8731-12093113D61D-2.jpg
IMG_9672.JPEG
Beginners Guide to Snowshoeing.png
IMG_4611.jpg

Hiking Pack List - Everything We Carry and Why

Please note, this post contains affiliate links. See our Disclosures Page for more info.

Interested in knowing what we pack for a day hike? Look no further! We have listed out everything we pack, from Must Haves to Nice to Haves in our post below. You can download this complete list HERE on our Free Resources page.

Gear Must Haves

  • Hiking Backpack. We are big advocates of buying a backpack specific to hiking that has a built in water bladder. It makes it much easier to stay hydrated as you hike. See the one Liz uses HERE and the one Steve has HERE.

  • Hiking Shoes/Boots. The extra support and extra grip that are provided from hiking specific shoes/boots makes the investment worth it. Tip: spend the extra dollars and purchase ones that come waterproofed. Worth every extra dollar to keep your feet drier! Liz wears Merrell Shoes and Steve wears Columbia Shoes.

  • Wool Socks. Yes, seriously even when it’s 100 degrees outside. These socks are made to never rub so you can say good-bye to blisters from socks rubbing!

  • Full water bladder / water bottles. If your hiking pack has a water bladder, be sure to fill it with more water than you think you need. If you don’t have a water bladder, we’d recommend Nalgene water bottles. They are extremely durable and can hold up to 32oz of water in each bottle.

  • First Aid Kit. This is one thing you hope you never need, but if you do need it, you will be glad you have one!

  • Sunscreen. Sunburns HURT and the higher in elevation you go, the more exposed your skin will be. Protect your skin by coating up before you begin your hike, and re-coat as needed.

  • Chapstick with sunscreen. Sunburned lips are zero fun. This also helps protect them from windburn.

  • Hat with sun-visor. Help your face out and wear something that provides some shade.

  • Sunglasses.

  • Raincoat. Unless there is a zero point zero percent chance of rain, we always pack raincoats. And even then, we probably still have them in our packs as weather in the mountains can change rapidly. Check out these two coats - MEN’S and WOMEN’S. They both fold into one of their pockets. Major space saver!

  • Necessary medicine, like an inhaler, that is not included in your first aid kit.

  • Trail snacks. We typically carry Clif Bars and some sort of sandwich for the day. If it’s super hot out, we will carry something salty to munch on as well.

  • Warmer outer layer - time of year and time of day/night depending. If we are doing a sunrise or sunset hike, we will for sure have a warmer layer with us

  • Cell Phone. Not only to call for help if needed, but to take photos of the day if you don’t want to carry a larger camera.

Gear Nice to Haves

If you have extra room in your pack, these are great add-in options that we like to take!

  • Bug spray. Especially if you are going to be near water.

  • Hand sanitizer

  • Baby wipes - we use these to wipe our hands off prior to eating and to also clean up our legs if we get caked in dirt/mud on the hike.

  • Swiss Army Knife

  • Gum / mints.

  • Kleenex / tissues

  • Trash Bag. Help keep nature natural and pick up trash as you hike. Or just put your own in it.

  • Sandals. Ever get to a lake or river and wish you had sandals to put on for a while? Worth bringing if you know you’re going to end up at a lake or river.

  • Extra socks

  • Collapsible trail stool. We recently added these to our hiking gear and what a game changer they are! You have a place to sit wherever you go - no more looking for a decent rock or dry ground to perch on.

Carry something that we don’t? Let us know in the comments!

Happy Trails!

~ Liz

IMG_1776.JPEG
IMG_1236.JPEG
IMG_1121.JPEG
IMG_0999.JPEG
IMG_1009.JPEG
IMG_1007.JPEG
Complete Pack List for Day Hike.png

Beginners Guide to Hiking: 10 Tips to Get You Started

New to hiking? Feeling anxious because a friend invited you on a hike, you’ve agreed to go, but have literally no idea what you are getting yourself into or how to prepare? Has it been forever since you’ve gotten out on a trail?

Whatever reason you’ve clicked on this post, we are so excited for you! We absolutely LOVE hiking and are really hoping you have the best experience on the trail that one could possibly have.

For that reason, we’ve put together our top 10 tips to help you feel confident as you take on that new trail!

Happy trails!

IMG_1917.JPEG

1. What to wear.

One of the first questions we seem to get is, “What should I wear?” The honest answer is, wear what you are most comfortable in. If you are uncomfortable in your clothes, you’ll end up hating your hike even if it’s the most amazing scenery anyone has ever seen. As you hike more, you will learn what you like vs don’t like.

Our recommendations: clothing that is breathable, easy to move in, and quick drying if it gets wet - because it will get wet. I typically hike in athletic shorts and an athletic tank top or shirt. Steve is usually in pants that zip off at the knee into shorts - actual hiking pants - and a quick-dry athletic shirt. Clothing that is 100% cotton should be avoided at all costs. The goal is to wear clothing that is easy to move in. Don’t wear something that restricts your leg or arm movements, and definitely don’t wear anything that you are afraid of getting dirty.

Bonus tip - grab a pair of wool socks! They are made to not rub, even if they get wet! So as your feet sweat, or if you’ve stepped in a puddle, you won’t end up with blisters all over your feet from your socks rubbing.

2. Shoes are more important than you think.

There are all kinds of footwear out there. Some options are great for hikes and some are pretty terrible. On many occasions we’ve seen ladies in high-heeled boots trying to hike up a steep trail. Ladies - yes you might look really cute in those boots, but let’s be real here - if you are wearing high-heeled boots and trying to summit a mountain trail, you’re going to end up with a horribly twisted, or even broken, ankle. Trails might be well maintained, but they are not paved sidewalks.

Pick the right footwear. Tennis shoes will do if you don’t have hiking boots. Wear something that your feet will thank you for, not something they will be screaming bloody murder in.

Our recommendation: hiking shoes or boots. If you decide you love hiking and are going to be going frequently, hiking shoes/boots are well worth the money. They offer a lot more grip than tennis shoes, and a lot come waterproofed which is so nice when you have to jump across a river!

3. Research your hike - know the distance!

Hiking is supposed to be fun. Yes, you might feel out of your element. Yes, it’s going to be a harder workout than you anticipate. But if you do your research, you will be well prepared for your hiking adventure. We use AllTrails (they have an awesome app!) to research our hikes. People who have hiked the trail can rate the hike and leave comments as to what they experienced - if there is a really steep grind, if the trail tends to be crowded or empty, what the parking situation is (some places have fees - better to know that well before you go so you can get some cash!), if it is muddy or rocky, etc. Make sure you read the dates of the comments as they can be real time or months old.

Our recommendation: If you are brand new to hiking, pick a shorter distance hike (3ish miles) and be sure to pick a hike that has a waterfall or a lake! It’s such a rewarding feeling to come across an amazing view that most people will go their entire lives not seeing. Plus, it’s an extra reward to be able to eat lunch, or a late breakfast, by that waterfall or on the edge of the lake!

4. Check the weather before you go.

The weather where you live vs where you are going to go hiking can be extremely different, so it should be a high priority to check and recheck the weather of the location you are hiking. Not every trail is found on weather.com, but the surrounding towns are. A few summers ago we went hiking on a trail about 30 minutes from where we live. We left the house in shorts and tshirts, with not that many extra layers. It was hot in town, so why would it be any different 30 minutes from where we live??

Oh how wrong we were. It literally SNOWED on us during that hike. We were not prepared for that at all.

Our recommendation: check the weather a few days before you go if you plan a hike in advance and then recheck it the night before and the morning of. Weather can change extremely quickly!

5. Bring extra layers.

After that hike, we always end up bringing extra layers. Even if you think it’s going to be a gorgeous day, it’s worth bringing a lighter outer layer - even if you end up leaving it in the car when you get to the trailhead.

Pack a rain coat. The fast moving weather? Yeah, it could be sunny one minute and pouring rain the next, especially at higher elevations. Even if there is no chance of rain, we always always have a rain coat on us. There is not much worse than getting absolutely, unexpectedly drenched and you have miles to go before you can get to your car.

Our recommendation: pack a lighter outer layer long sleeve and a light weight rain coat. The long sleeve can also work as a layer of protection against the sun if you start feeling burned.

6. Pack healthy, high energy snacks.

This sounds crazy, but years ago, I went hiking with a girl that packed a half loaf of bread in her bag as her food for our hike. Bread. Not a PB&J or banana nut bread. Just a wheat bread. I was dumbfounded. And she was starving. Bring food with you that is easy to digest and easy to eat. Yes, bread is easy to eat. It also sits in your stomach like a ton of bricks and doesn’t give you much energy by itself.

Our recommendations: we typically pack some sort of sandwich, some protein bars in our favorite flavors, and some trail mix. Put together some snacks that are a mix of sweet and salty - you’ll be craving both!

Bonus tip - pack snacks for your drive home! If you picked a hike a few hours away, you’ll probably be ready to chow down on something when you get back to the car. There is not much worse than being stuck in mountain traffic with no snacks when you are starving!

7. Backpacks with a water bladder are key!

If you don’t have a true hiking backpack - one that has a built in water bladder - it’s okay! Pick a backpack that you like and that sits well on your shoulders and back. This is where you are going to be putting your food, extra layers, sunscreen, and water. If you do have a hiking backpack, be sure to fill up the water bladder! If you don’t, just fill up a few water bottles so you have plenty of water for your drive there, the hike, and the drive home. Dehydration headaches are no joke, especially if you are at altitude!

8. Prepare for more than you signed up for.

Don’t be surprised if you feel like you’ve gone two or three miles and you’ve only gone a half mile. Hiking is a lot harder and more strenuous than walking. You have to be more aware of your surroundings, more aware of the path, making sure that noise you just heard behind you isn’t something to be concerned about, etc. The hike could be listed as an “easy” rating on AllTrails, but it could have rolling hills and you have some ups that are steeper than you expected. It’s better to be over prepared for a hike vs under prepared!

9. Elevation is real.

A lot of popular hikes are at higher elevations, which means that you need to be ready for that change. You can feel out of breath quicker - the air gets thinner the higher in elevation you go, get headaches, or even dizzy from being at an elevation your body isn’t used to. Add in the fact that you will be expending effort and burning energy hiking, and that elevation can hit you pretty hard, pretty fast.

Make sure you have plenty of healthy snacks, lots of water, sunscreen, and a hat. The last thing you want is to get nauseous miles from your car, with no shade around.

Our recommendation: take it slow and take frequent breaks if you are not used to the elevation change.

10. Fill up before you head out.

Make sure you have a full tank of gas in your adventure vehicle before you go! Some trail heads are miles from civilization. You definitely don’t want to be running out of gas with no fill up stations around!

Bonus tip: be sure to check out our free Day Trip Hike Pack List to know exactly what we pack and why we do!

IMG_7282.JPEG
Beginners Guide 10 Hiking Tips to Get You Started.jpg

Additional Resources You Might Enjoy:

Beginner’s Guide to Snowshoeing

Day Trip Hiking Pack List

Beginner's Guides: Introduction

With summer around the corner, we seriously cannot wait to hit the hiking trails. Every year, we plan some pretty fun hikes, and every year we see a ton of people that are on their first ever hike - which we absolutely LOVE to see.

But a lot of new adventurers are really out of their element - not really dressed for what they are doing, don’t have food or water with them, and haven’t even given the whole altitude thing - if they are in a higher elevation - a thought until it snuck up on them.

You definitely have to start somewhere, and we are so proud of these new adventurers for taking the chance and going for a hike and trying something totally new. We really wish we could give the new adventurers we come across an encouraging pep-talk, as well as some outdoor advice.

However, we hardly ever do - no one likes being told they look like a newbie and, to be honestly, not everyone wants a random person on a hiking trail saying hi, let alone giving them advice. As a side note, we will absolutely stop to check on people if they are visibly really struggling and the group they are with isn’t sure what to do.

Because of this, we’ve decided to put together some Beginners Guides on everything we wish someone had told us when we first started adventuring outdoors! These are from our own experiences and some from people we’ve come across.

As we write them, we will link them to our Beginner’s Guides Page, so be sure to check back often to see what’s new!

As an added bonus, check out our Free Pack List for day hiking! We have listed out everything we pack in our hiking pack and ranked them as either “must haves” or “nice to haves”.

Can’t wait to see you on the trails!

~Liz

IMG_8643.JPEG
1A2C5E09-A630-4BB3-94A9-6B375BF2252C.jpg
IMG_1922.JPEG
Beginners Guides Intro.png

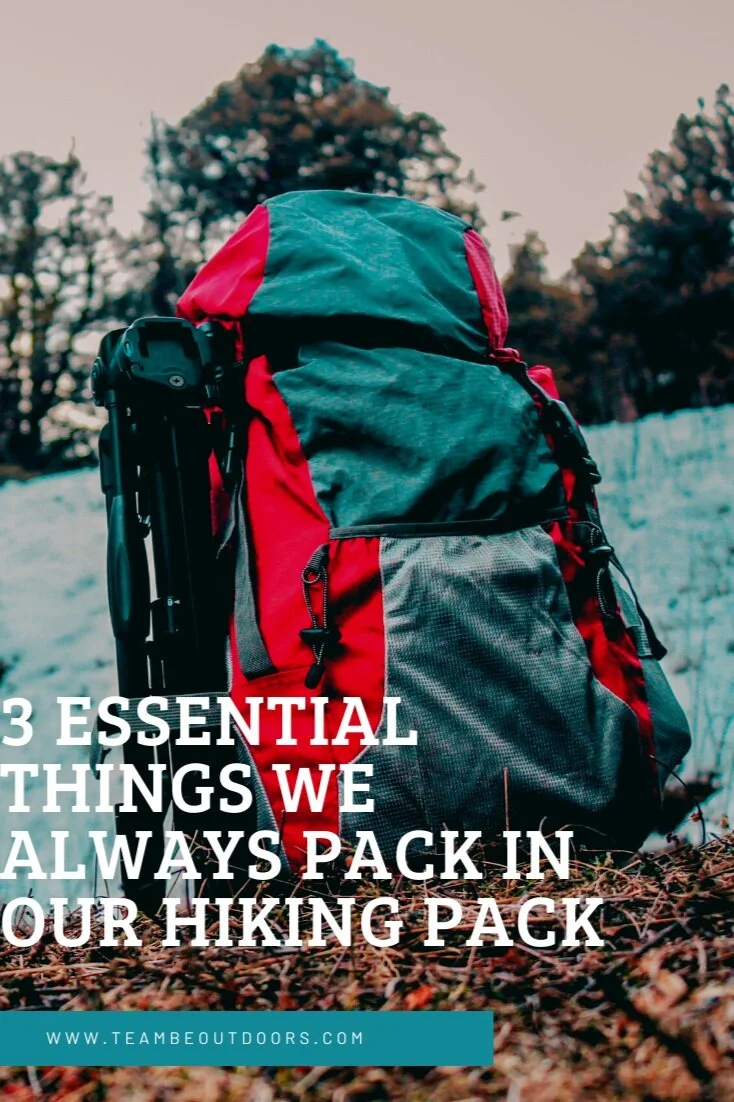
3 Absolutely Essential Things We Always Pack in Our Hiking Backpacks

Hiking is one of our all-time favorite outdoor activities. There is just something magical about driving on a dirt road to a trail head and spending the day out in nature with nothing more than what you can carry in your backpack.

We have found that there are three absolutely essential items to carry besides food and water when we hike.

3+Essential+Things+We+Always+Pack


  1. First Aid Kit

    We hope we absolutely never need it, but it we always carry one. You can find pretty cheap and compact first aid kits online, but we highly recommend the “Mountain Series Medical Kits” that you can buy at REI for $25. This is not a paid ad, it’s literally just us recommending a really good product. The Hiker kit comes with enough medical supplies for 2 people for 2 days with pretty standard injuries - burns, cuts, blisters, etc. While we personally haven’t had to use the kit, we have handed out band-aids and antiseptic wipes to hikers that have taken a tumble and didn’t have their own med kit.

  2. Sunscreen

    Let’s just say, one of the worst sunburns you can ever get is one where you are well above treeline and there is not a cloud to be seen. Yes, speaking from experience here! Let me just say, OUCH. A few years ago, I was hiking in Rocky Mountain National Park and didn’t bother to put sunscreen on my arms as I was wearing a very lightweight long sleeve over a short sleeve tech shirt. It was cooler on the trail in the shade of the trees, but once we got out of the trees, it got hot so off came the long sleeve layer… An hour above treeline later, I had a sunburn that lasted me for the rest of the summer season. I have never forgotten to carry sunscreen since!

  3. Rain Gear

    Unless there is literally a zero percent chance of rain for more than 24 hours, we always pack a rain coat. Living in Colorado, the weather can change in a matter of minutes the higher you hike. We check the weather hours before we hit the trail-head and again right as we start our hike and if there is any chance at all of rain, we carry rain gear. Not super heavy, weigh your pack down gear - but gear that folds into one of their own pockets. You can find a rain coat that zips into one of its pockets (see this one here - again just a fan of this coat, not an affiliate), and same for rain pants. If you have to pick between a rain coat or rain pants due to room in your pack, we would go with a rain coat 100% of the time over pants.

If you are curious about what else we always pack on our day trip hiking packs, check out our free guide section and download our FREE day trip hiking pack list!

Let us know what you find absolutely essential to pack by leaving a comment below. See you on the trails!

~Liz

hiking; pack list; hike must haves; backpacking; must haves; colorado hikes; colorado hiking