Please note, this post contains affiliate links. See our Disclosures Page for more info.
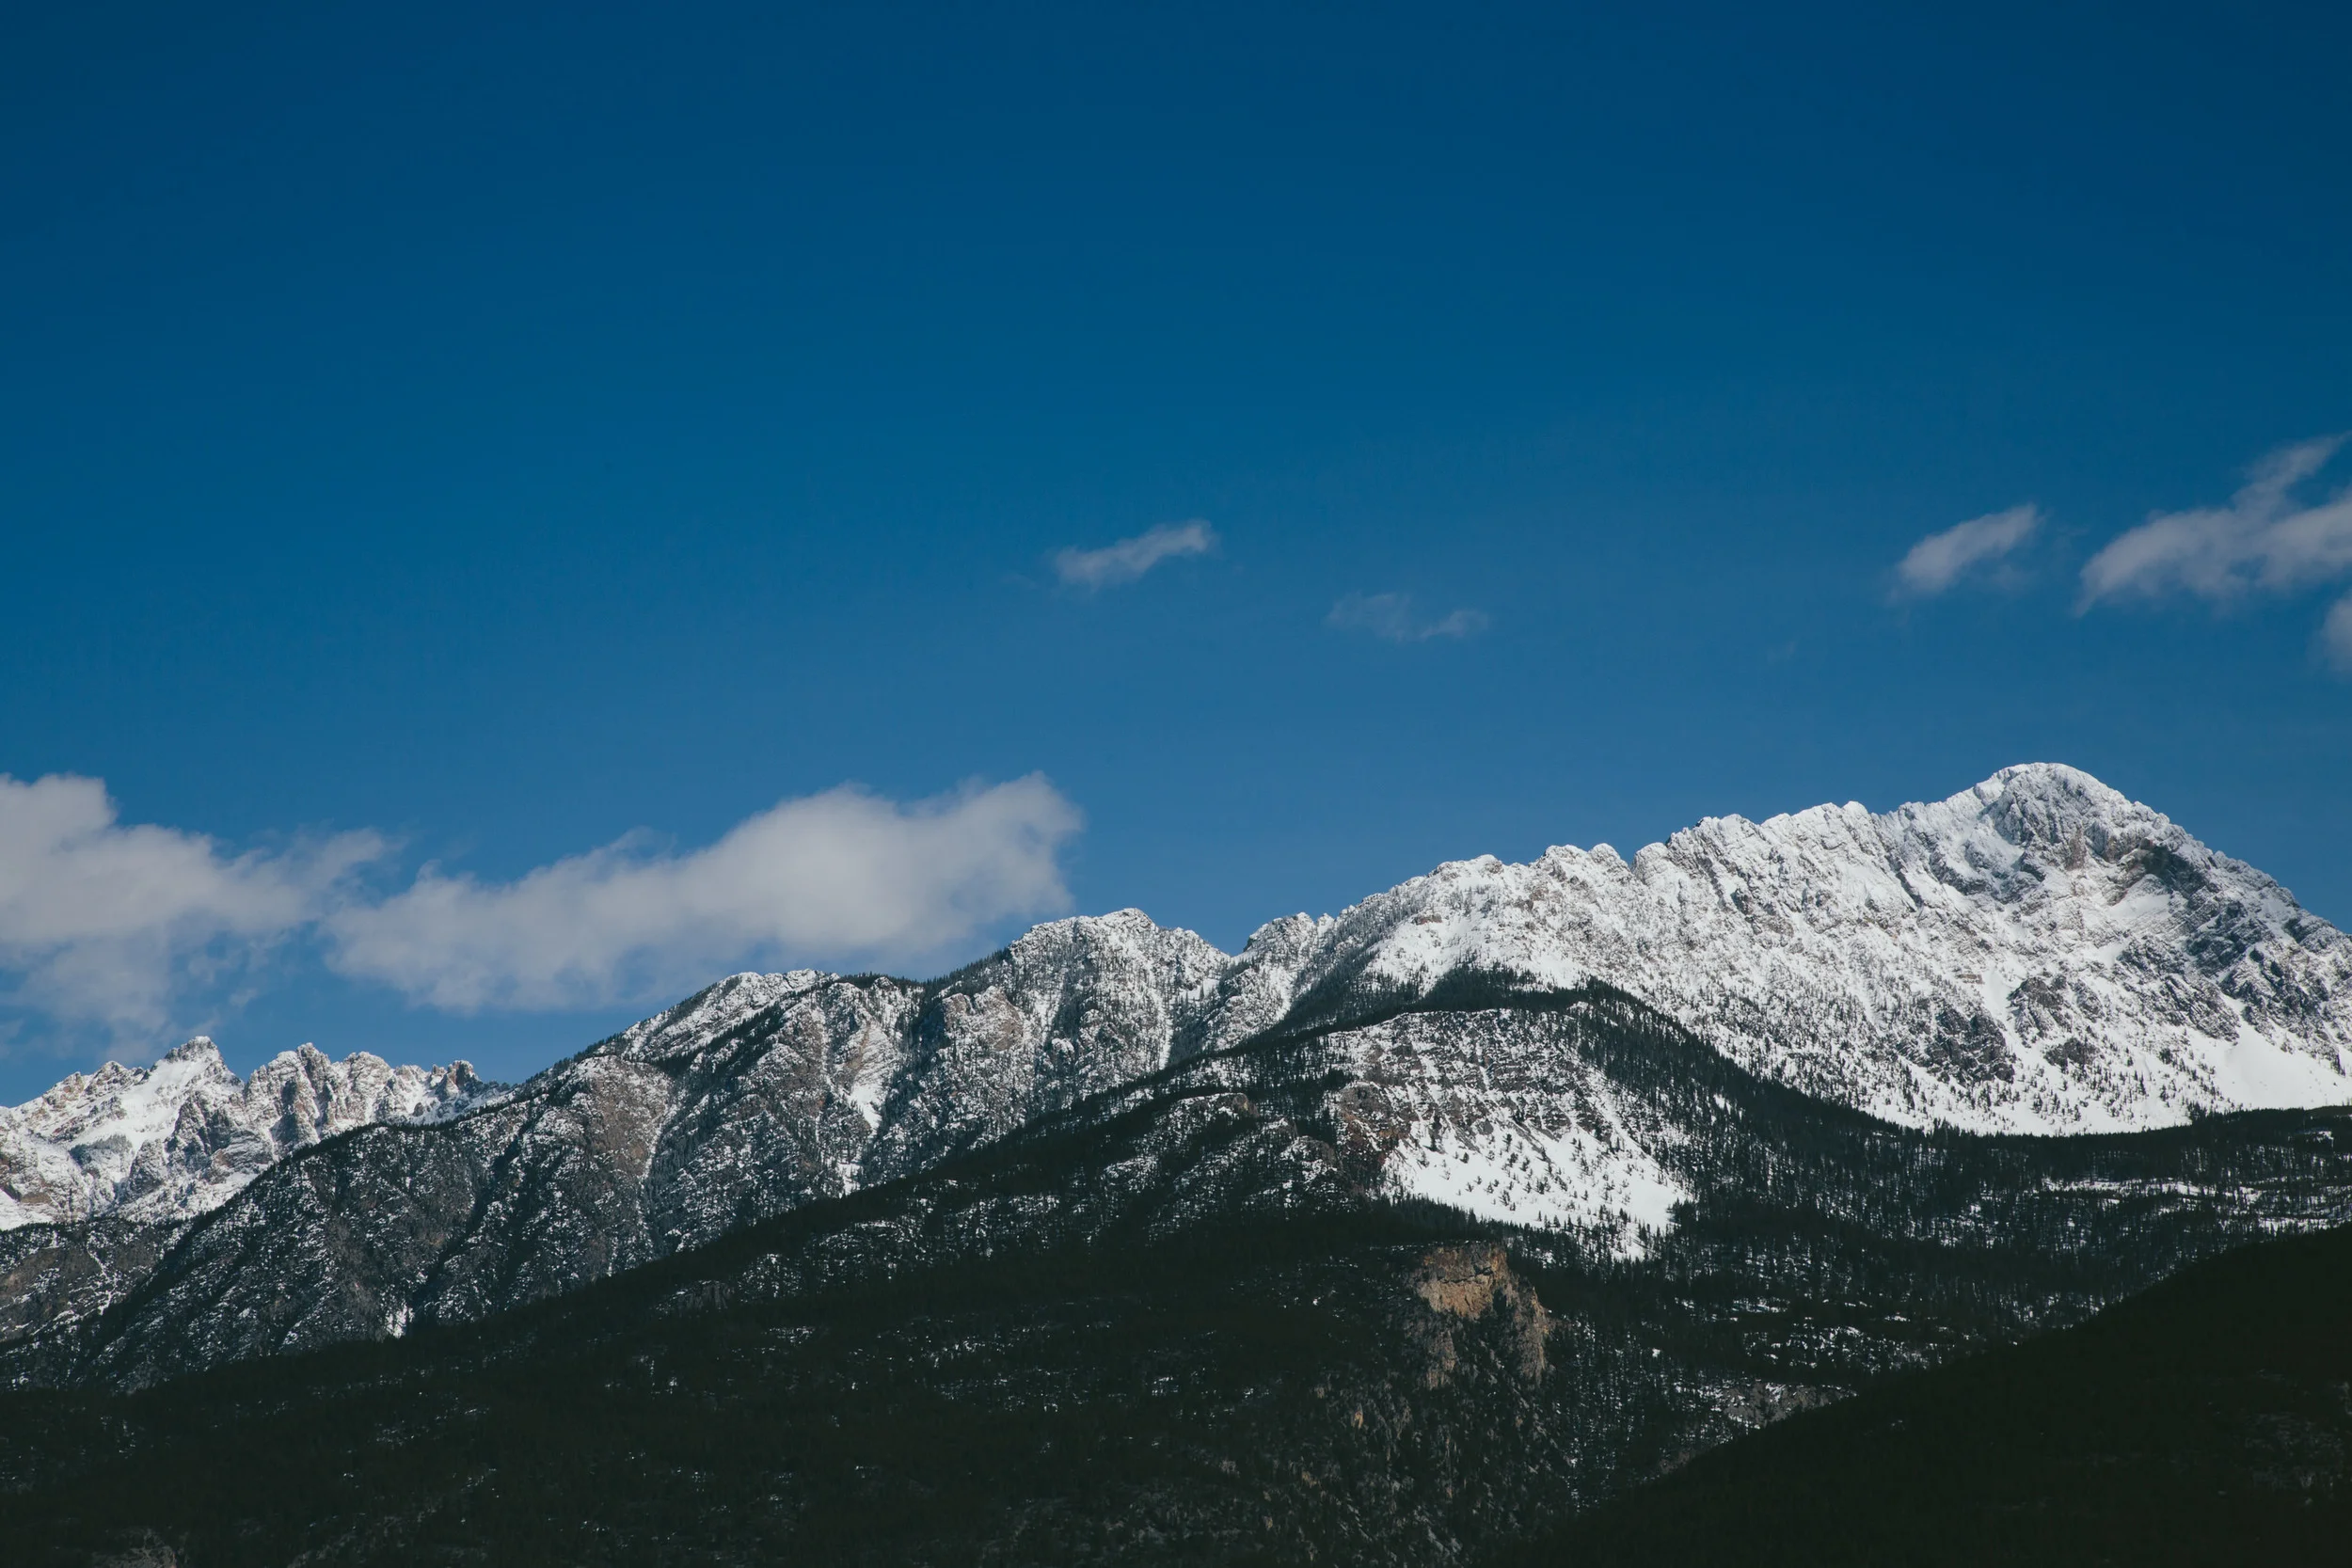
Winter is here and we LOVE it. It’s one of our favorite times to be outside. Yes, it’s colder. Yes, it gets darker faster. Yes, you have to wear a ton of layers. But there are so many fun activities you can do in winter that you can’t do any time of year. One of our favorite ones is snowshoeing! If you love to hike and are looking for a way to do so in winter, snowshoeing is the way to go for you! Read on for our top 3 tips to get you started snowshoeing!

1. what do you wear?
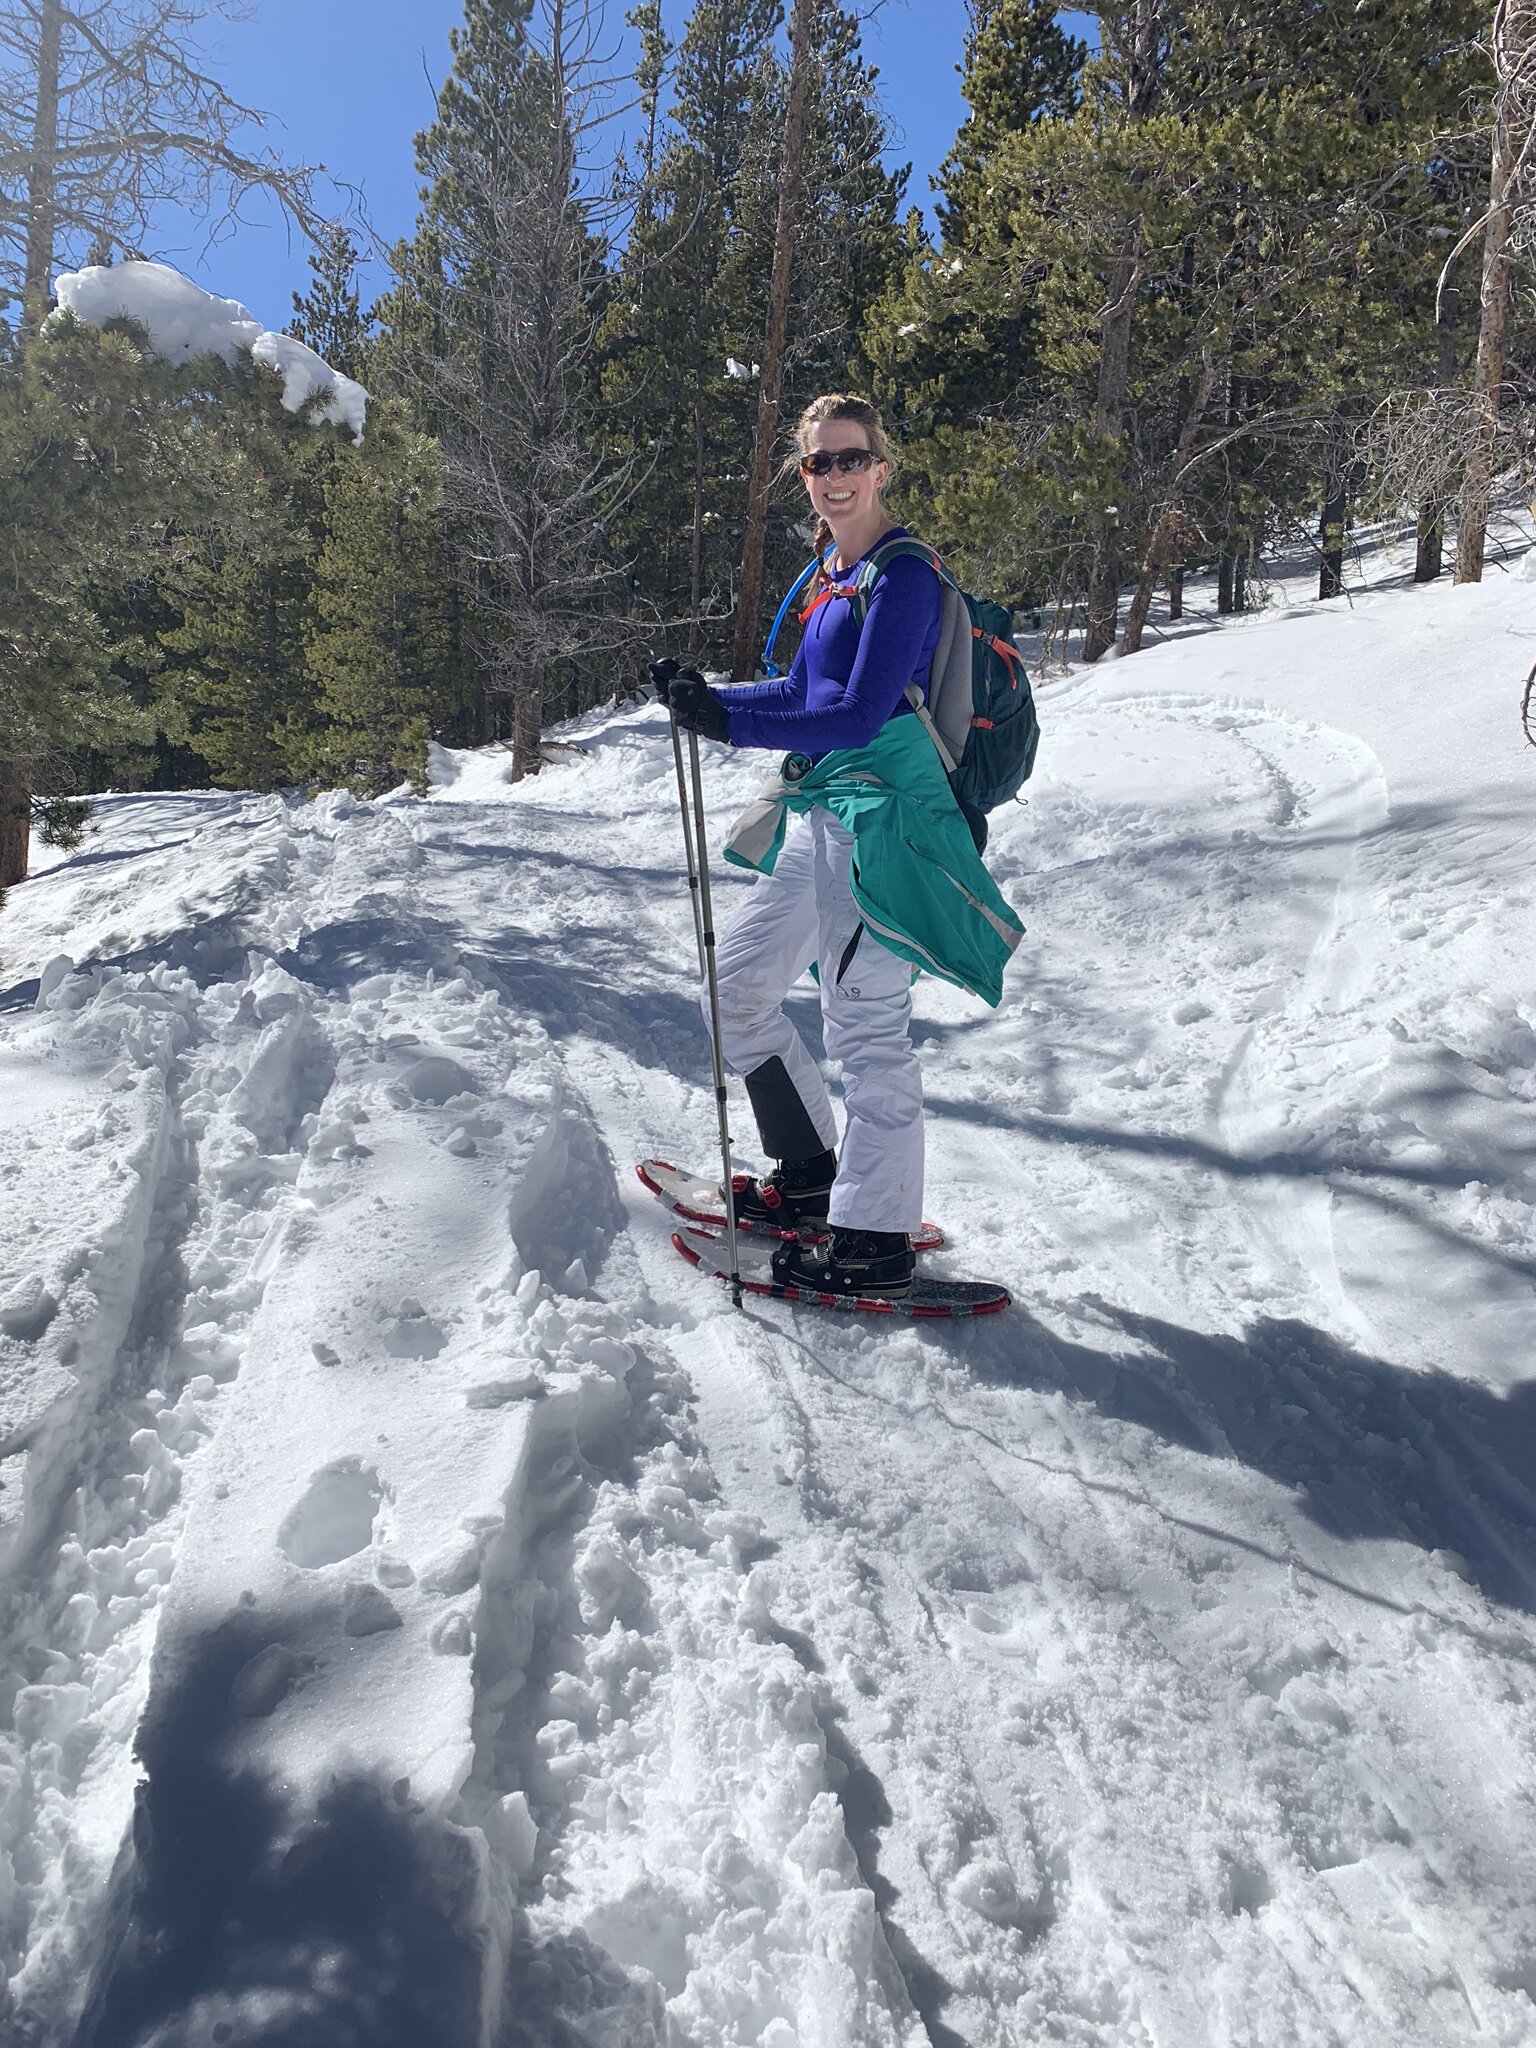
This is the #1 question we get and it’s a great question. It can seem daunting to figure out how to stay warm and keep your feet dry. Our biggest tip - wear layers. You can always take some off if you get too warm (and yes, you can definitely get too warm even when it’s 20 degrees outside!).
I recommend wearing a warm base layer - running/active leggings and a tight fitting cold-gear top. Purchase some wool socks (we love the Smartwool brand) so your feet stay as warm as possible.
For your outer layer, if it is forecasted to be really cold or has snowed a ton the last few days, we wear snowpants over our leggings. On the top, we wear a coat that is built for cold activities, either a ski coat or a down coat. I personally love the Eddie Bauer light weight down coats - they have some that are rated to -20 degrees that are perfect for snowshoeing! If it hasn’t snowed or isn’t going to be too cold, I just go with leggings, no snowpants, and Steve goes for hiking pants. We still tend to wear a warmer coat.
Waterproof Boots. Besides having good layers, wearing waterproof boots is a MUST. Frozen toes are never fun. Wet, frozen toes are even worse. So find yourself some waterproof sturdy boots. I either wear Sorel snowboots that come up to about mid-calf, or I wear waterproof Merrel hiking boots that are made for winter (aka, they are lined on the inside to keep your feet extra toasty).
Sunglasses or ski goggles. If it’s sunny outside, you are going to want sunglasses. The sun reflecting on the snow makes for an extra bright day! We also will sub our sunglasses our for ski goggles. These wrap around our eyes more and block the glare off the snow in our peripheral vision which is really nice on a extra sunny day. If you want a cheaper pair of sunglasses to wear while being active outdoors that are polarized and don’t slip when you sweat, check these out.
A winter hat or ear warmers. There is not much worse than cold ears! Don’t forget to wear a hat or ear warmers to keep them warm. I know if I forget one, I’m signing myself up for a major ear ache the rest of the day.
Gloves. Keep those hands warm! If it’s going to be extra cold, it never hurts to throw some handwarmers in your gloves too.
2. where do you get snowshoes? and what kind should i get?
You can purchase snowshoes at pretty much any outdoor gear store - REI, Christy Sports, Cabella’s, etc. You can also purchase them at Costco right around the holiday season, but once they are out, they don’t seem to get more shipments.
Brand wise, there are a few out there that are well known, and they have ranges of prices for their equipment. Tubbs, MSR, and Crescent all have great reviews and good ranges of prices for what you are looking for.
We purchased our first ones, beginner level, cheaper snowshoes on Amazon for ~$60 a pair, and honestly, they were an “off brand”. But they worked great for what we were wanting - a pair of snowshoes that we could learn with and not worry too much of beating them up or doing something wrong. Plus, we thought we would love snowshoeing, but if it had turned out we actually didn’t, we wouldn’t have been out a ton of money on gear. We have since purchased better ones from REI and are hoping they last us a long time since they were pricy!
If you are not sure you want to invest in your own snowshoes yet, you can rent them from REI! We love this as it will allow for you to give snowshoeing a try without too much investment.
3. how do i find a trail to snowshoe?
This is also a great question and we have learned the hard way that a “moderate” trail in summer is a LOT harder in snowshoes! Besides what to wear and what gear to get, this is the biggest thing to research so you can have the best experience.
We use the app AllTrails to find all our trails. To snowshoe, we recommend looking for a trail that is rated as “easy” - remember that snowshoeing is more difficult that standard hiking - with a distance in the 3-5 mile range.
Read the reviews on the app. A lot of users will put the conditions of the trail in their reviews and how they went about it. If there are no recent reviews, maybe add it to a list to look at again later if you like the look of it, and keep searching until you find one with more recent reviews so you know what to expect.
We hope you have a blast on the trails! If you have any specific questions, shoot us an email through our contact page, or leave it in the comments below!
Happy adventures!
Liz


