Camping in Steamboat Springs, Colorado

I love surprising my husband with a week(end) trip for his birthday every year. He loves camping and we don’t get out camping as often as he would like, so if I can pull off a surprise camping weekend for my hubby, you know it’s going to happen!

It has been years since I’ve been out to Steamboat. Growing up, I had a few soccer tournaments in Steamboat but Steve had never been.

It was a perfect combo - somewhere he’s never been PLUS a camping weekend. Here is everything we did, including where we camped and the restaurants/breweries we checked out

THe Campsite

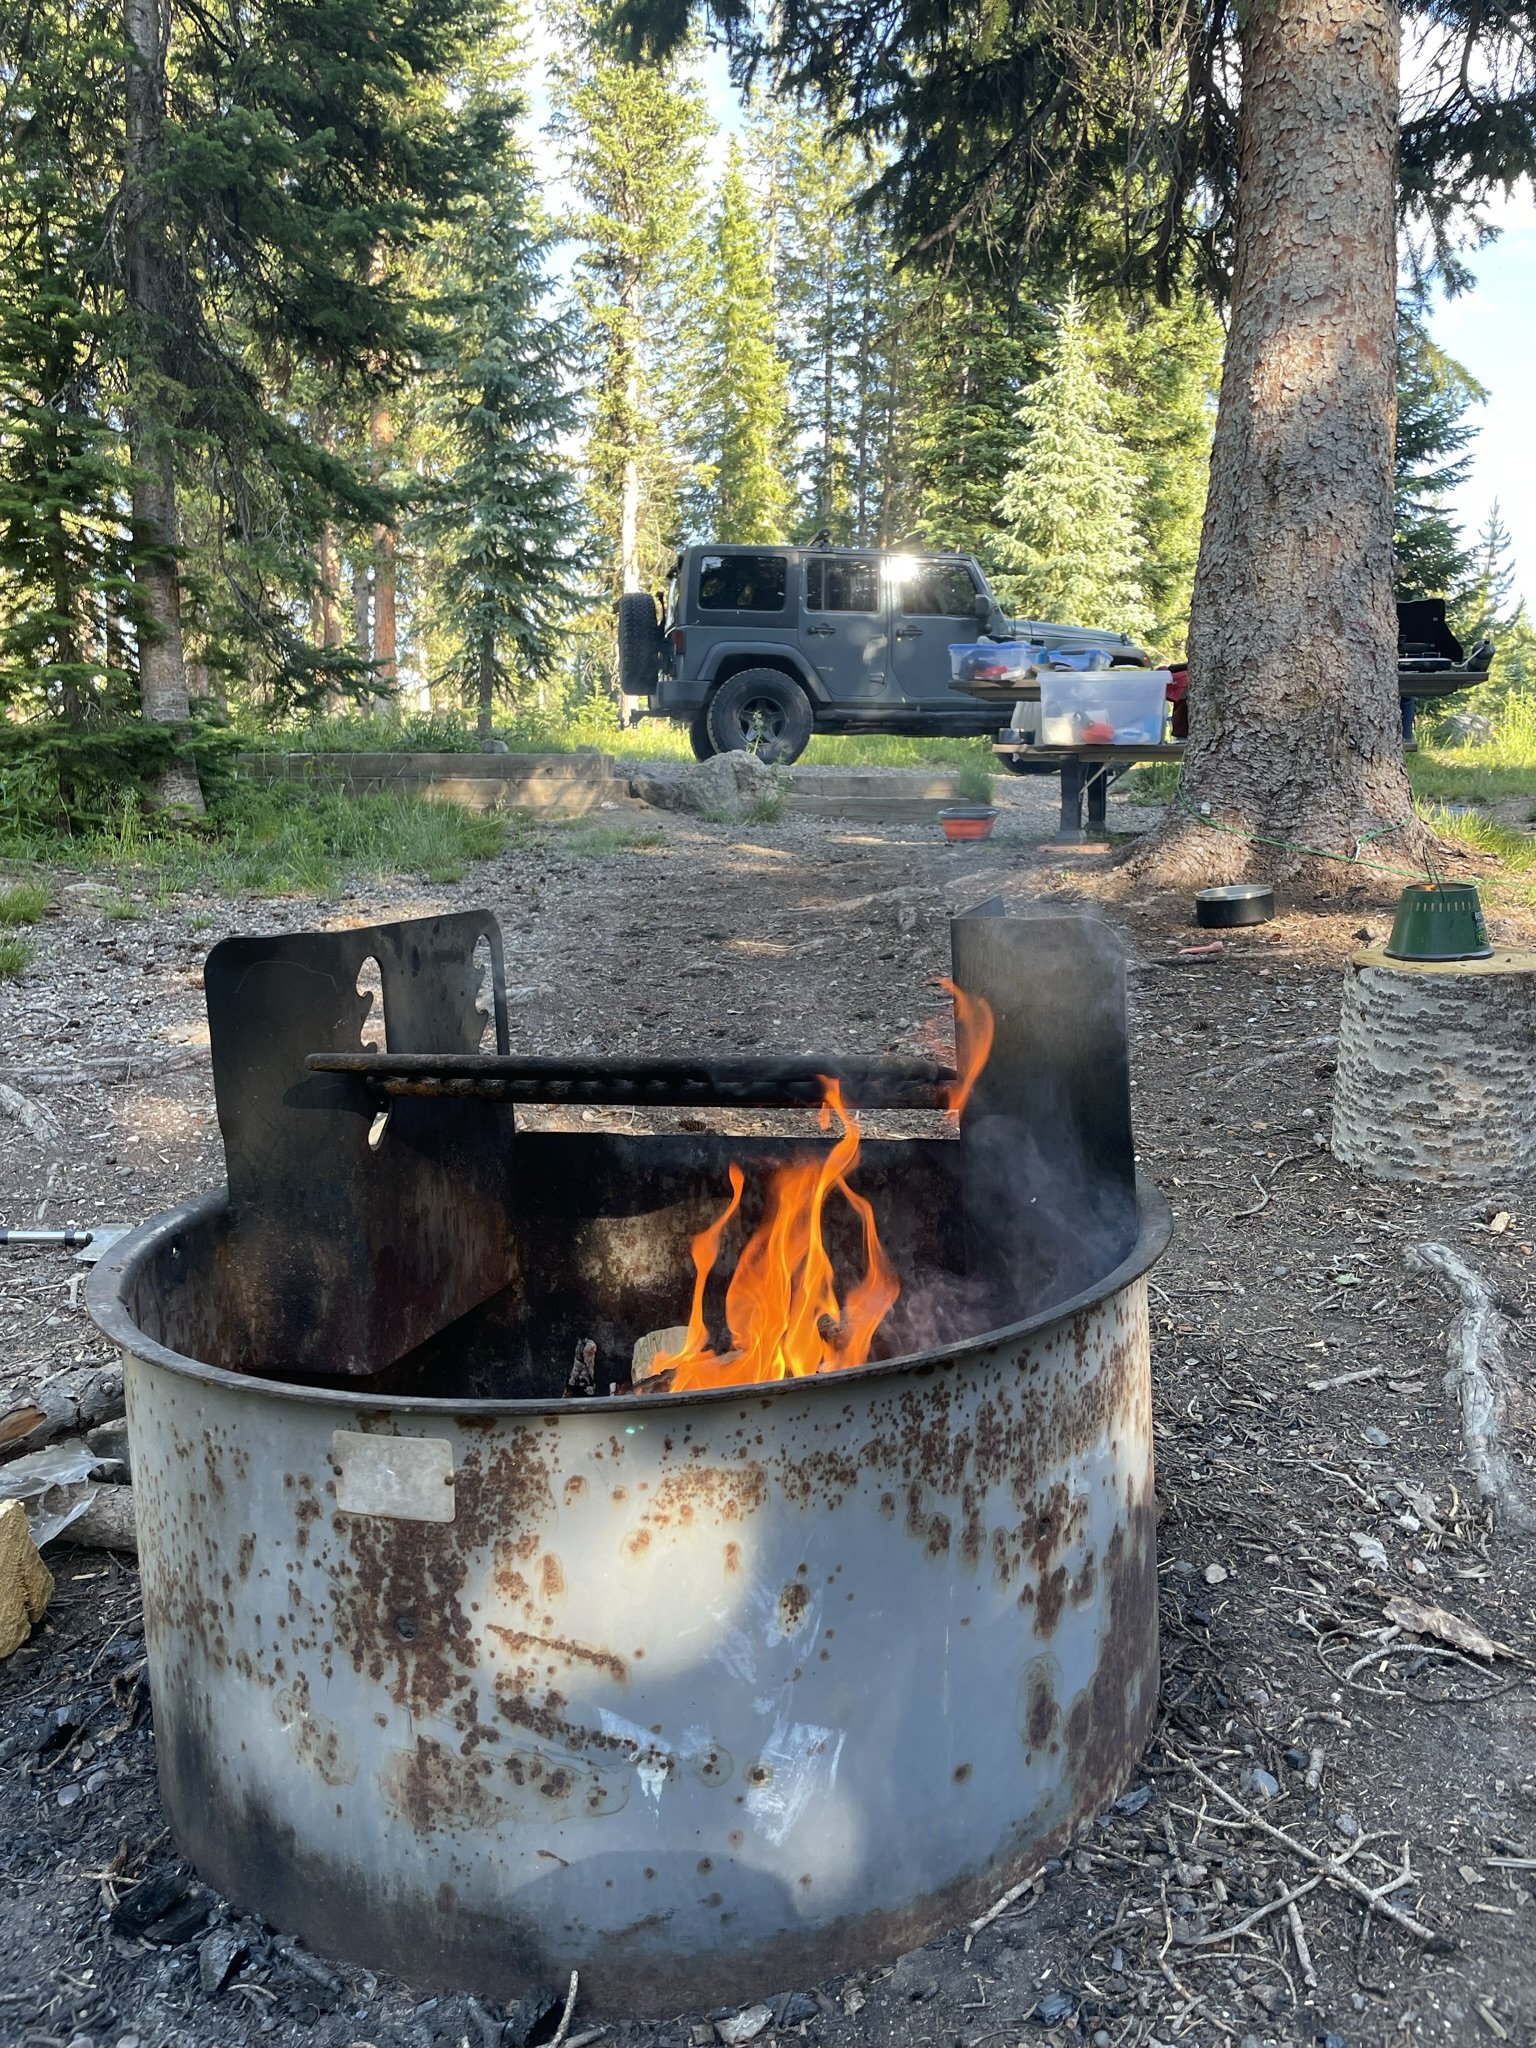
Meadows Campground in Routt National Forest

Reservations can be made here on recreation.gov.

I personally like campsites where you can book in advance - less stress of driving around hoping there are first come/first available sites - and ones that have designated toilets.

This site was perfect for us with it being reservable and roughly 30 minutes into Steamboat.

in town recommendations

Storm Peak Brewery

One of my favorite things to do is go to a brewery on a hot summer day. And with it being Steve’s birthday, you know we found one. It was actually really perfect too as the brewery was also celebrating their birthday with a limited release Birthday Cake beer that we couldn’t get enough of. We will be visiting this brewery every time we are in Steamboat going forward!

Steamboat Meat & Seafood Co.

Located close to the river and near some great local shops, this butcher shop is great for fresh made sandwiches, prime cuts of meat, and name the type of seafood you want. We stopped in here to grab sub sandwiches that we took with us to Storm Peak Brewery.

the hike to do

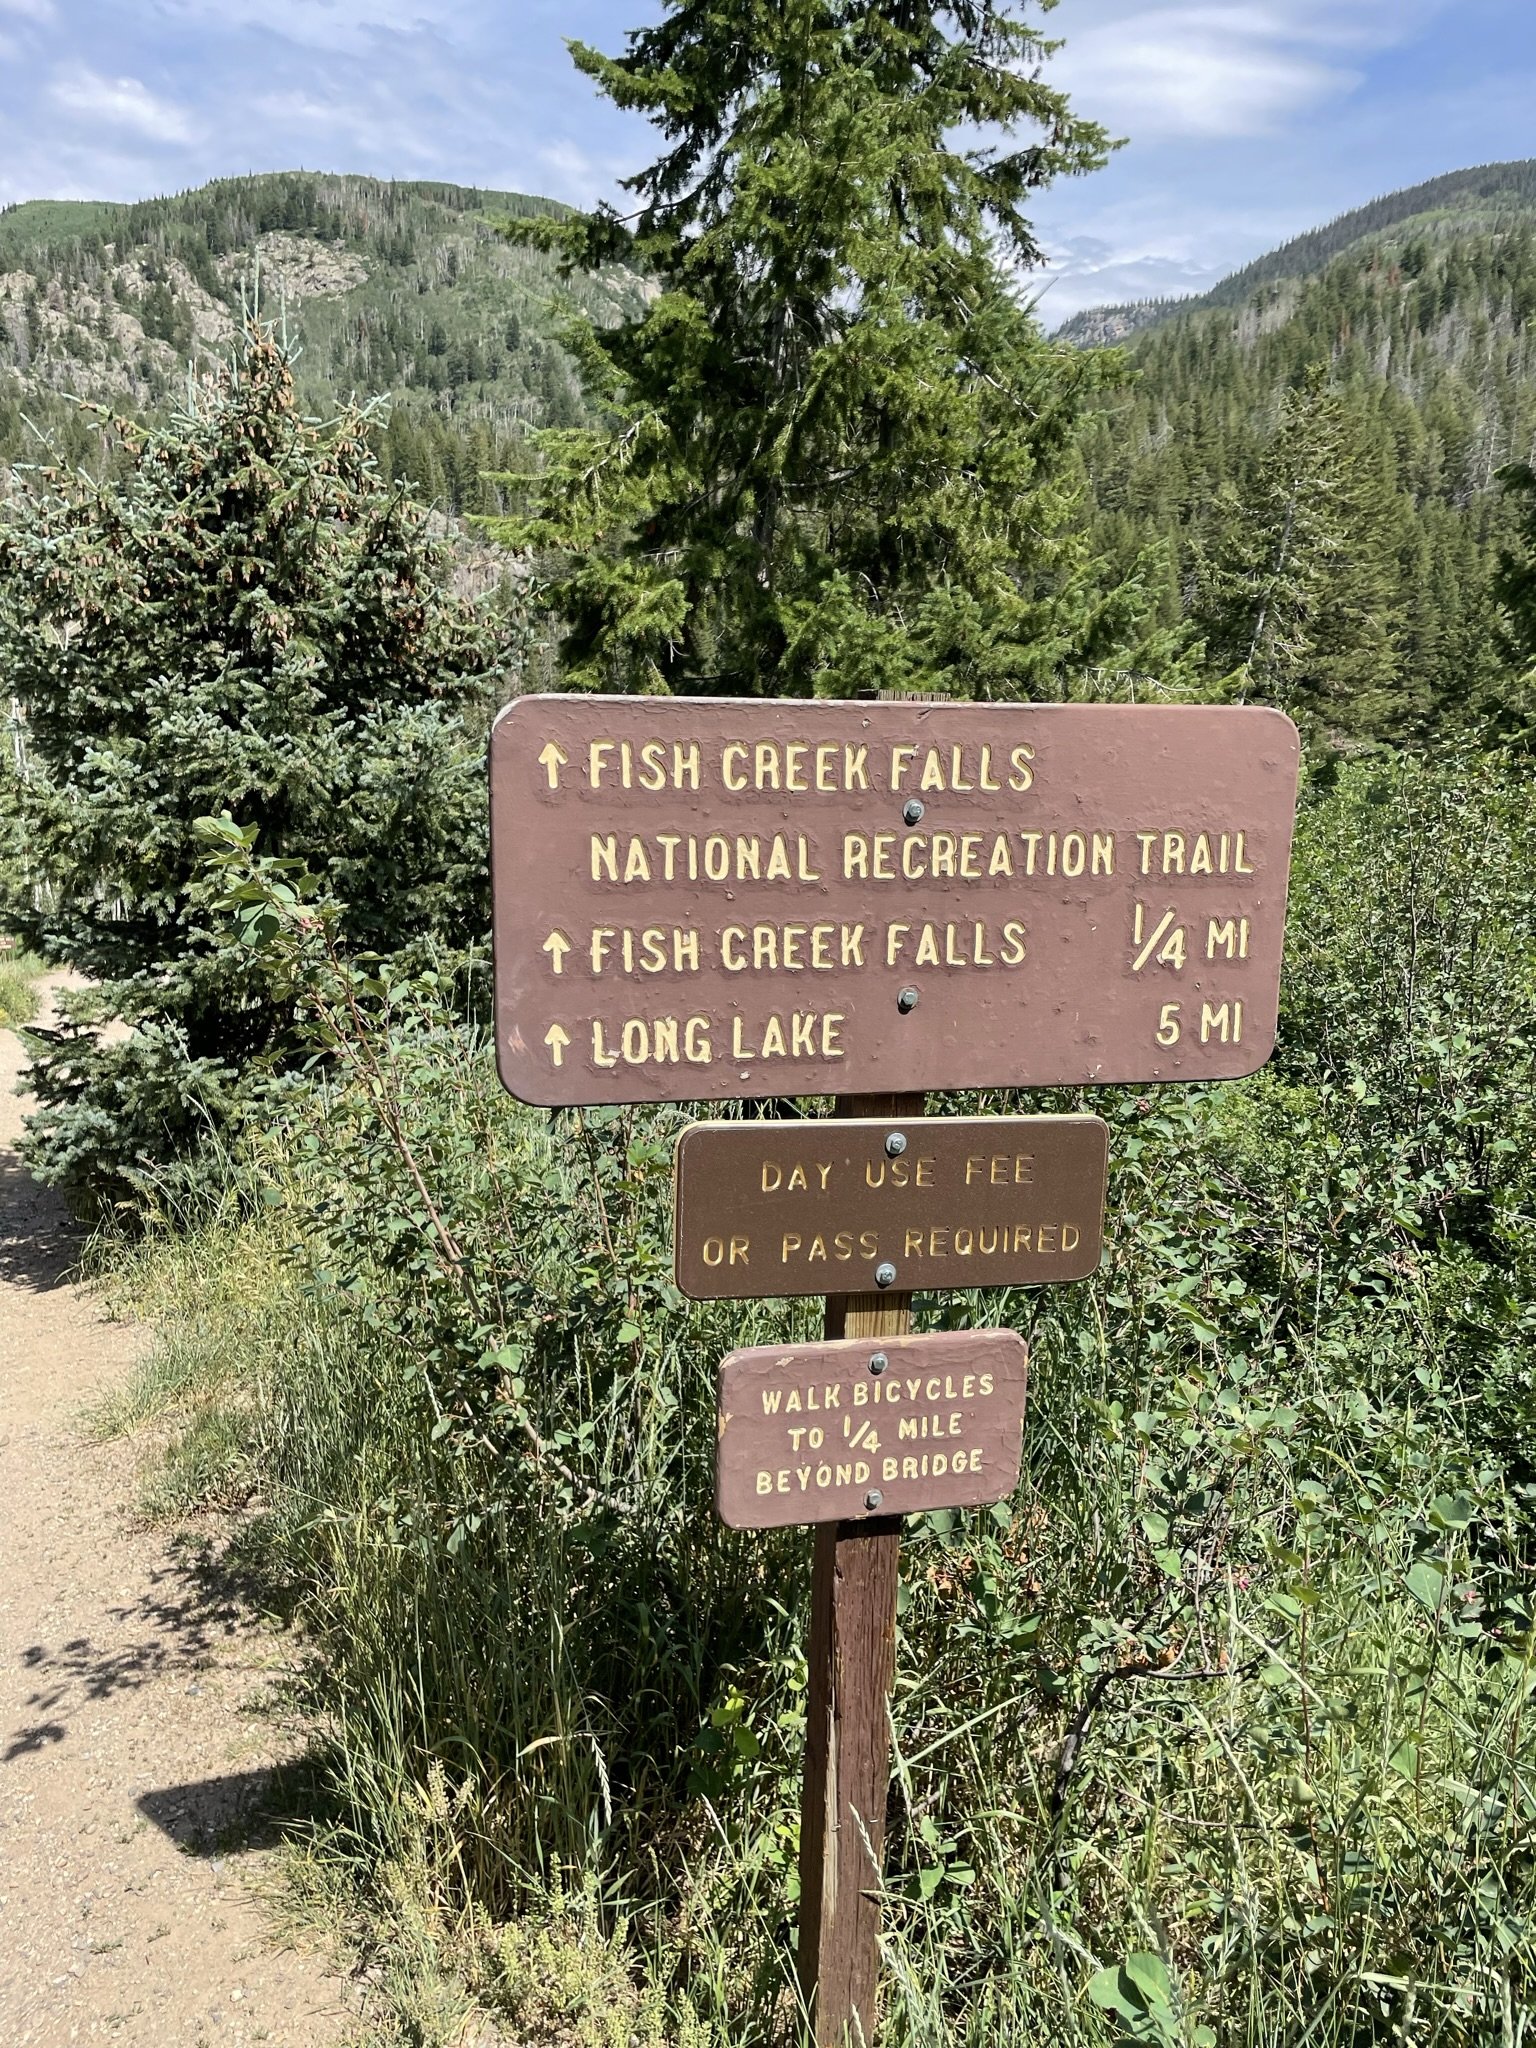
If you are looking for a super scenic hike, look no further than Fish Creek Falls! This hike can be sort (less than 1 mile) or up to 5 miles if you want to hike to the top of the falls.

Read my full hike review for this hike here!

Hike Review: Fish Creek Falls, Steamboat Springs, CO

We recently took a long weekend camping trip to Steamboat Springs, Colorado to celebrate my husband’s birthday. He has lived in Colorado his entire life but had never been to Steamboat so it was awesome to celebrate him while exploring somewhere he had never been before.

While we were camping, we decided to check out Fish Creek Falls - a well known hike and waterfall in Steamboat. There are small posted signs everywhere in town as to where the Falls are located vs where you you are standing and what direction you need to travel to get to them. Seeing all these signs made us feel like we had to check them out. And they did not disappoint!

Parking

There is a $5 fee to enter the parking lot. We were told if we had an America the Beautiful pass that the parking fee would be waved.

There are limited parking spots so on busy weekends they could fill up rather quickly.

Vault toilets were also in the parking lot, which is nice to see!

The hike

Awesome thing about this hike - there is a short hike and a long hike. Each of which are fantastic depending on what your overall desire and conditioning are.

The Short Hike - Fish Creek Falls

This hike is roughly a half-mile (0.5 mile) round trip. You start the hike going downhill and lose a lot of elevation very quickly. This is key to note as that means that your way out is going to be a pretty steep uphill hike.

You’ll know it when you get to the end of the short hike - you’ll have the most stunning view of the Falls.

The Long Hike - Long Lake

We didn’t make it all the way on the long hike. To be honest, we didn’t come prepared to go more than a few miles - I was in denim shorts and didn’t bring my hiker bag, just a small sling back that had more things in it for our doggo than it did for me. Definitely not enough water to make it on the longer hike.

But the section we did of it was beautiful and a steep grind.

You start out on the Short Hike and then proceed past the bridge and up you go, up the side of the mountain.

Apparently when you get to the top, you have an eye level view of the Falls that is supposed to be stunning. We will definitely be doing this the next time we are in Steamboat!

fish creek falls; steamboat springs; colorado; hikes; mountain hikes
waterfall; hiking; colorado waterfalls; fish creek falls; steamboat springs

Extra fun to be had

We hit the trail to the Falls on one of the hottest days of the year, so it should not have come to as big of a surprise as it did to find a ton of families at the river with their kids in swimming suits playing in the water.

The water was nice and cool - perfect for a scorching hot day in the mountains! We let Max, or doggo, play in the water for a while when we were on our way back to our car. He loved it!

fish creek falls; yellow lab; colorado mountain dog; river dog

Final thoughts

This hike is fantastic. I loved the option to do just the shorter hike to the viewing point as we didn’t come totally prepared for a longer hike. I also love that we could have continued on if we had come prepared to do so.

The fact that playing in the water was such a common thing made me smile and I know Max had the best time romping around in it.

It is an absolute must-do when you are in the Steamboat area.

fish creek falls; selfie; hiking; colorado hikes; waterfall hike; waterfall views
fish creek falls; fish creek; steamboat springs; steamboat colorado

Why You Need to Visit Moab, UT

If I had to pick a destination for a long weekend full of hiking and adventure, I’d pick Moab in a heartbeat.

The first time we visited, we stupidly picked the hottest time of year to visit - the end of July. As we pulled into town, the thermostat on our Jeep was reading 107 degrees. Whew. Lessoned learned the hard way.

But we made the best of it - getting up early to try to beat the heat, ending the day with a cold beer from either the Moab Brewery or at a fun restaurant. It was an absolutely awesome trip full of hiking, off-roading, and all the adventures one can dream up.

If you are an outdoors lover, look no further than Moab. You have unlimited access to hikes, amazing views (hello, Arches!), and great food to fill you up pre and post hike.

Sitting about 10 minutes from the entrance to Arches National Park, 30 from Canyonlands National Park, and 40 from Dead Horse State Park, Moab is the hub for all sorts of outdoor adventures.

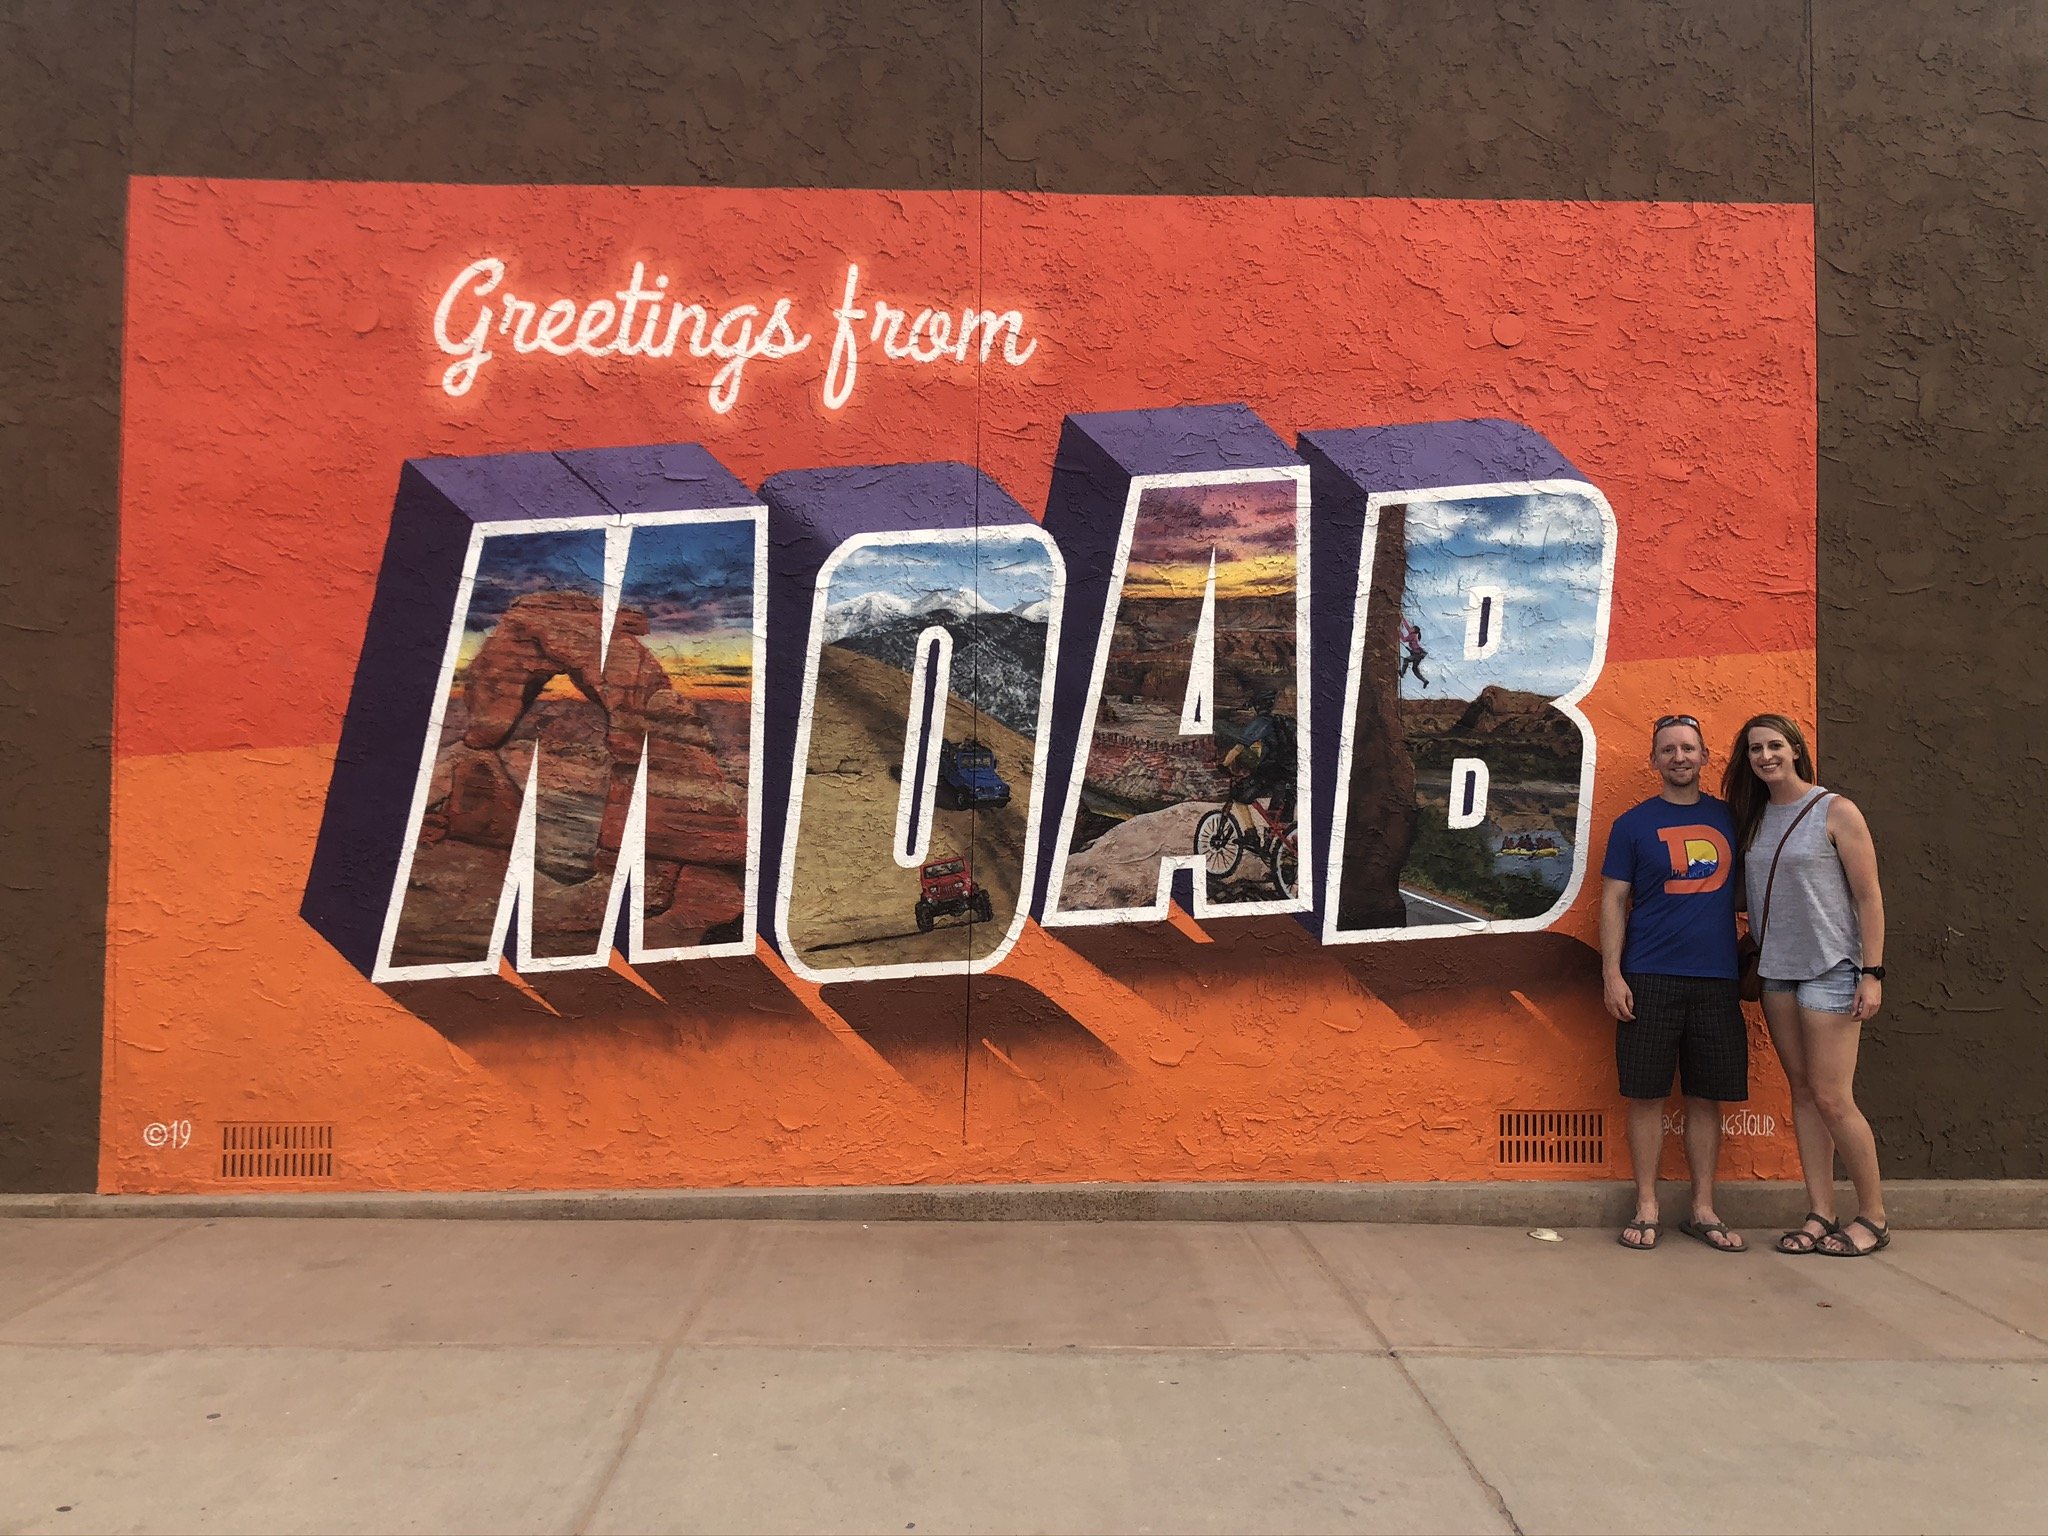
Moab Utah; Greetings From; Visit Utah; Visit Moab

where we stayed

We decided we wanted a room that would have a small kitchenette to make breakfast ourselves since we were aiming to be up really early to hit the trails in the parks. After looking around extensively, we ended up booking a Bungalow at Moab Springs Ranch and loved it!

The Bungalow was cozy, with an amazing walk-in shower and AC that turned down extra low. The property was stunning and the service was top notch. I could not recommend Moab Springs Ranch enough!

must do Adventures

National Parks

There are 2 national parks very close to Moab - Canyonlands and Arches. We spent 2 full days exploring Arches and a half day in Canyonlands.

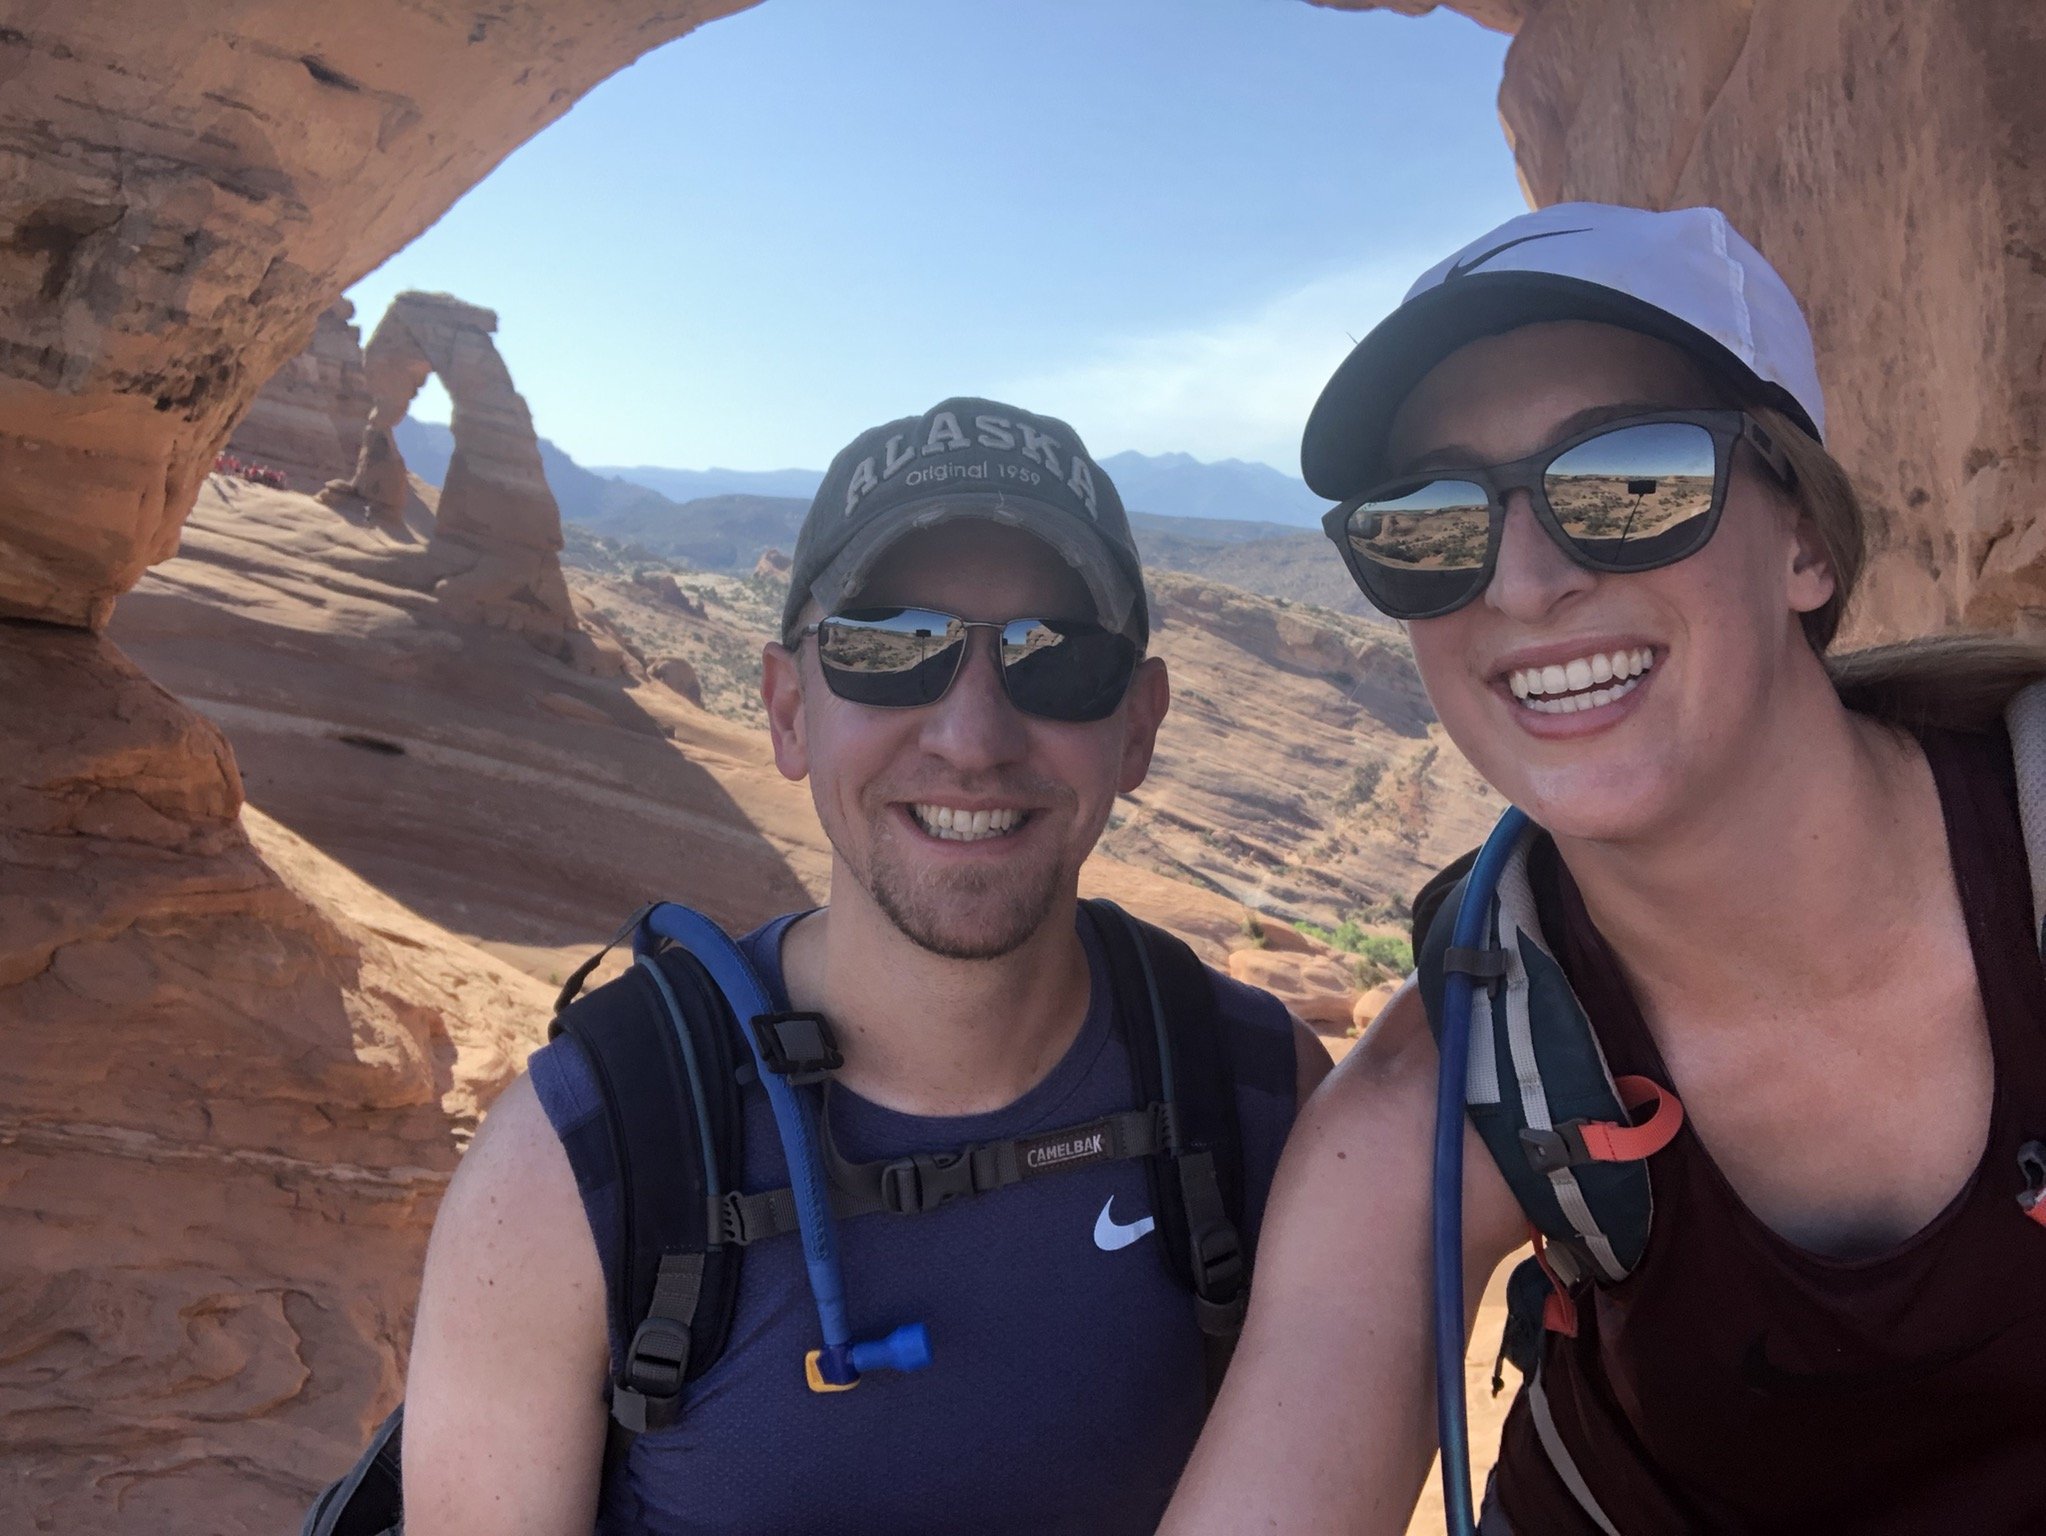
I highly recommend doing the Delicate Arch Trail to get out to the base of Delicate Arch in Arches.

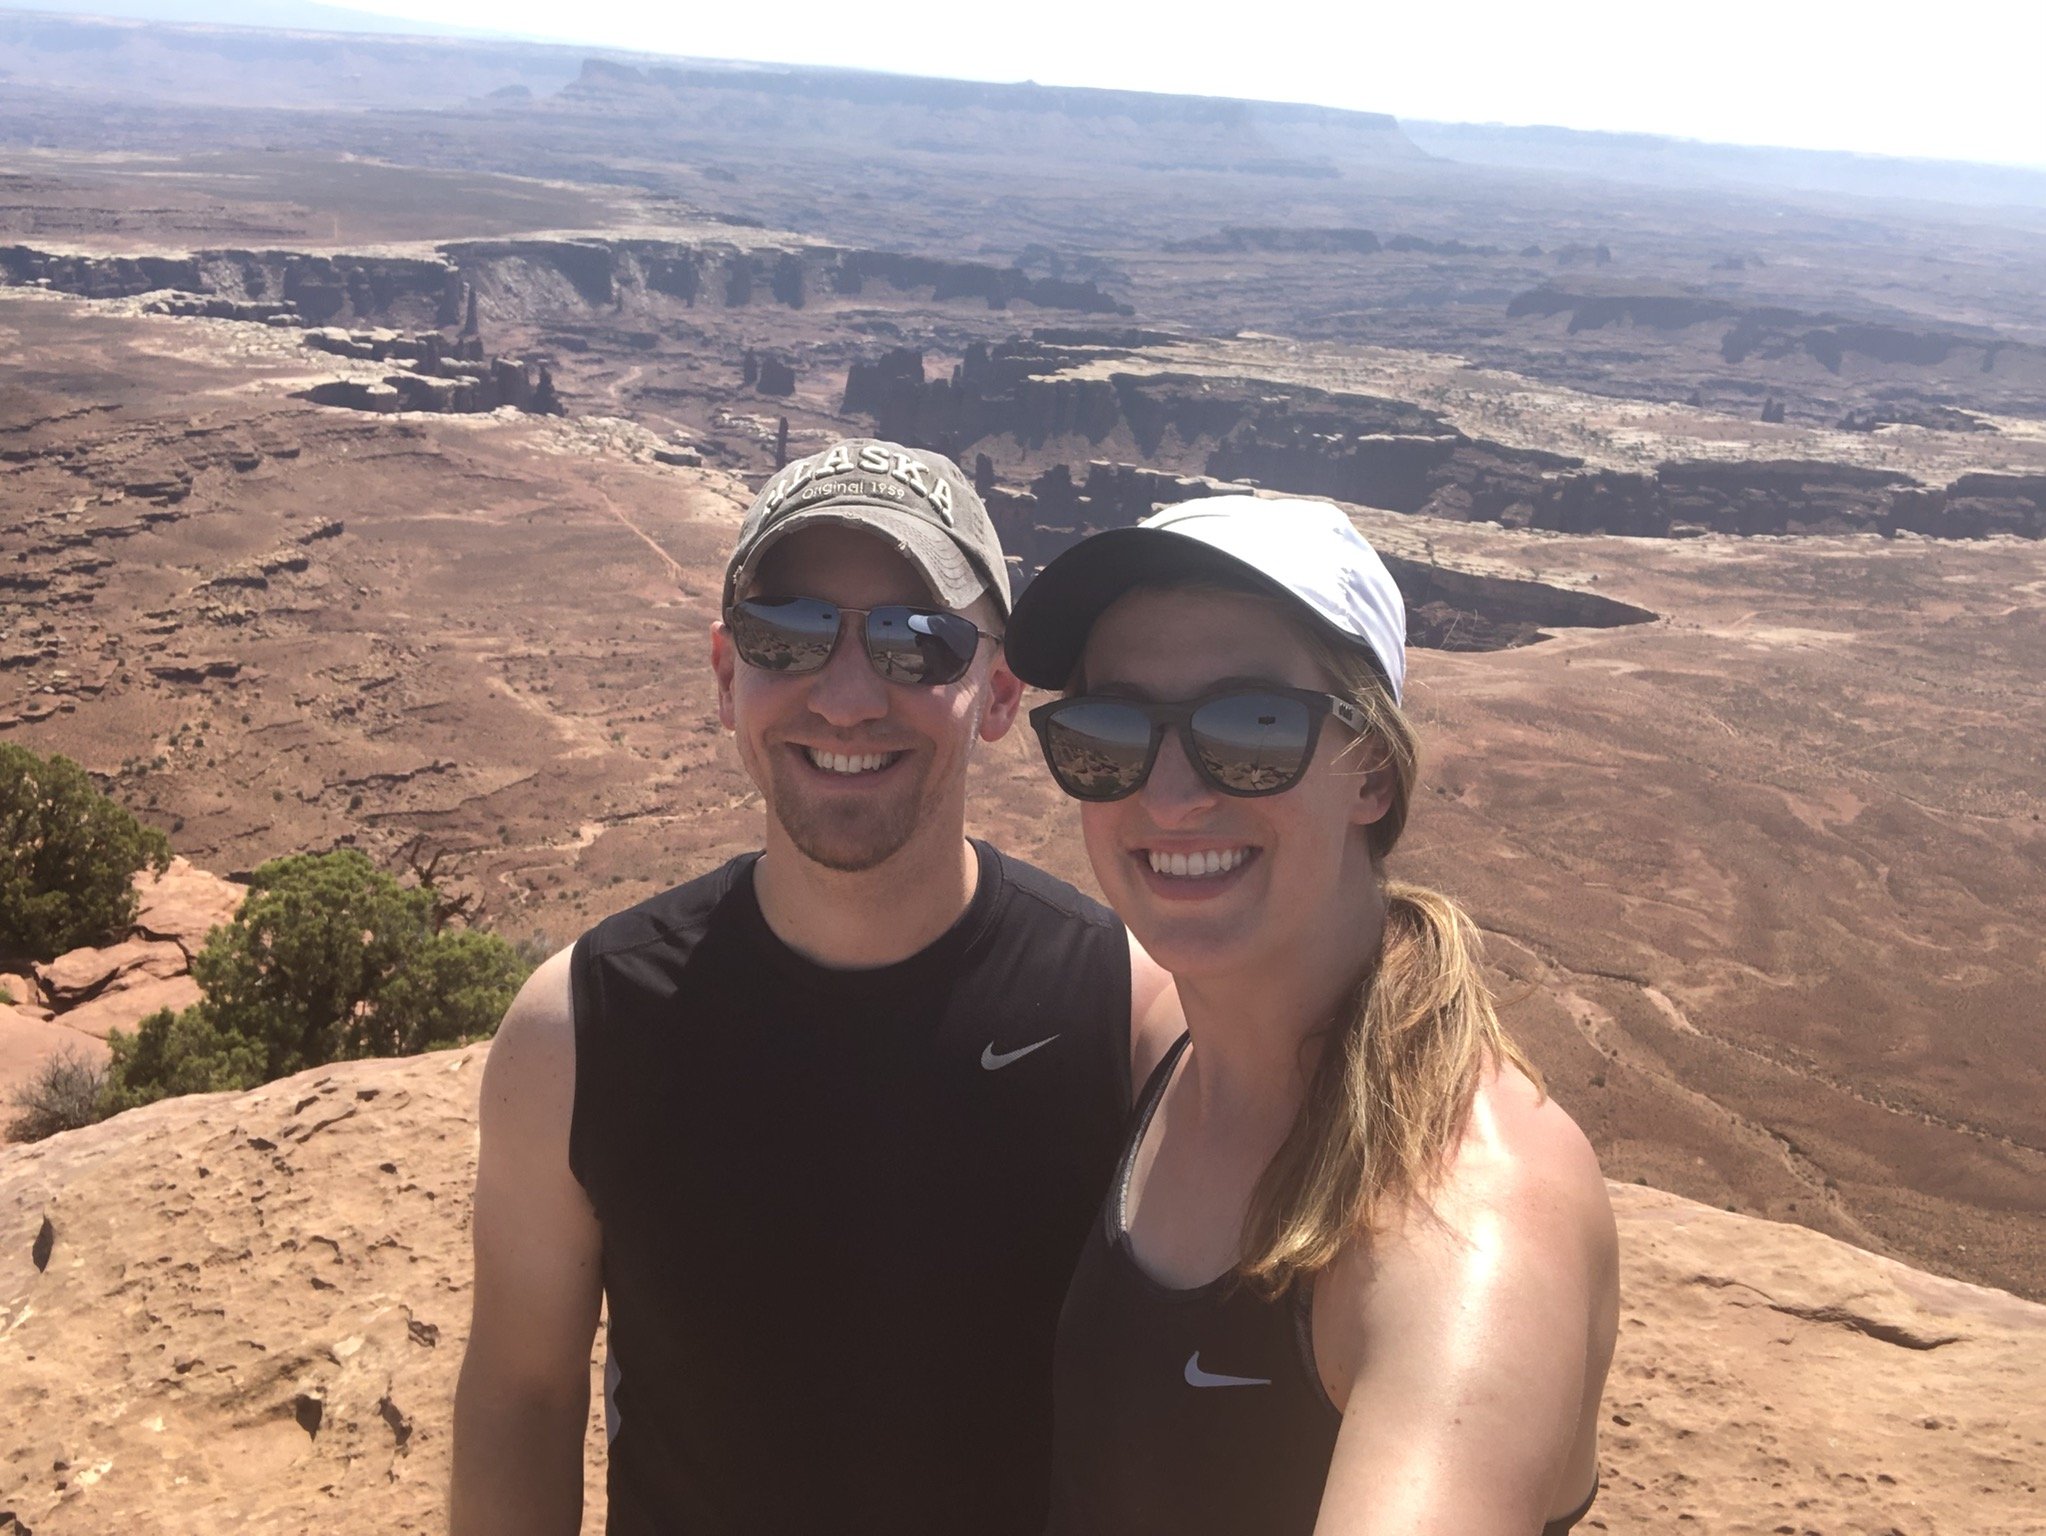
In Canyonlands, it’s absolutely worth driving the entire drivable distance so you can get the full impact of the views that park provides.

Delicate Arch; Arches; Arches National Park; Hiking; Hiker; Hiker Chick

Delicate Arch, Arches National Park

Canyonlands; National Parks; Utah; Moab; Visit Utah; Hiking

Canyonlands National Park

Off-roading Adventure

Outside of visiting the National Parks, we booked an off-road 4x4 trail tour to tackle Hell’s Revenge. This was probably my favorite part of our entire trip.

We booked the “U Drive T-Rex 4x4 Tour”. It ended up being a reasonably small group which is great. Steve drove the entire time and we had an absolute blast.

Not only do you get to drive some crazy off-road trails, you get to see parts of Moab that are only accessible by off-road vehicle.

Hells Revenge; Off-roading; off road adventure; ATV; Utah; outdoor adventure
Hells Revenge; Off-roading; ATV; explore; Utah;

Hell’s Revenge Off-Roading

Where to eat

Filling Breakfast - Moab Diner. Also open for lunch and dinner, this diner is a classic and a must visit if you love good diner food.

Coffee - Moab Coffee Roasters.

Fancy Dinner - Josie Wyatt’s Grill. We ate here for a special date night out and loved it. It is on the pricy side, so don’t go here if you are expecting something cheap.

Beers - Moab Brewery. We love a local brewery and this did not disappoint. It also has a full kitchen which was a really nice surprise!

Moab Brewery; craft beer; Utah Brewery; Visit Moab; Visit Utah

We had a great time visiting Moab and hope we can get back there soon.

Happy Adventures!

visit utah; moab; arches; cayonlands; national parks; nps; be outdoors; opt outside

Hike Review: Lily Pad Lake, Summit County, CO

Lily Pad Lake Trail is a fairly easy out and back trail nested at the top of Wildernest in Summit County that gives you great views of Lake Dillon and the mountain towns surrounding the lake.

Parking

There are limited designated parking spots. If you park in a non-designated parking spot, you will probably end up getting a parking ticket as the area is frequently patrolled by the Summit County Sheriff.

The Trail

The first time I did this trail, we snowshoed to the lake and back and it was amazing. But, I must say, going in summer is a totally different experience and one that I highly recommend as you learn very quickly why it is called Lily Pad Lake. In winter, the lake is frozen over and buried under feet of snow. In summer, it’s just gorgeous.

lily pad lake; colorado lakes; colorado wilderness; wildernest national forest; hiking

The hike itself can be done in about an hour and a half, but I would absolutely budget in some time to just chill at the lake. It was so calm and peaceful.

As you hike, you’re going to come across a mini lake that we thought was the Lily Pad Lake because it was absolutely covered in Lily Pads. But if you continue on, you’ll end up at the larger lake - the true Lily Pad Lake.

lily pad; lake; colorado lakes; hikes; lake hike; lake view

Smaller lake that is covered in Lily Pads! Continue on the trail to get to the actual Lily Pad lake.

Why We Loved This Hike

It’s short - only about 3 1/2 miles round trip. It’s beautiful. And dogs are allowed, on leash. We love taking Max out with us when we go hiking, but certain places do not allow dogs, so it’s an added benefit that he was able to join us.

Final Review

4 out of 5! I wish there were a few more parking spots at the trail head and that it was a tad bit longer. But it is a very solid and fun hike that ends with stunning mountain views at the lakes edge.

Eagles Nest Wildernest; National Forest; Hiking; Colorado; Summit County
trail, hiking trail, lily pad lake trail, colorado hikes, mountain views
lily pad lake; hiking; colorado hikes, hiker dog; yellow lab

A Week in Alaska: Summer Edition

This year we finally went on the trip we have been dying to go on for three years now: a week long Alaska adventure!

Steve’s best friend, Mike, and his wife live in Anchorage. Steve had been out to visit them once before, right after they moved up there. We were supposed to go in 2020, but alas, with travel being practically shut down there was no way that was going to happen.

But it finally did and it was so worth the wait! Not only were we able to spend a full week with amazing friends, we got to explore so much - from Denali to Seward to spending time at a reindeer farm, this trip lived up to the hype and more.

If you are going to go to Alaska, there are two ways to visit: go on a cruise or plan to spend some quality time in your car and book places to stay well in advance. We did the latter, though I really want to go back and do a cruise!

Alaska is freaking huge. Sorry to everyone in Texas, but your state is 1/2 as big as Alaska; or to say it the other way around, Alaska is 2x bigger than Texas. And what’s crazy - only 20% of it is accessible by road.

Take the capital for example, Juneau. If you fly into Anchorage, you cannot drive to Juneau. You have to take a plane or a ferry. We didn’t have enough time in our trip to make it to Juneau but it’s on the list for next time!
Here is what we did for our week in Alaska!

Day 1: Arrive in anchorage, drive to seward

We landed in Anchorage around 11am and were met by our friends at the airport. We quickly piled into their car and we were off on our Alaska Adventure!

It is about a 2.5 hour drive from Anchorage to Seward, but all road construction must occur in the warmer months, so definitely plan ahead for a much longer drive.

The drive is stunning, with the road running along the shoreline of the Turnagain Arm for about an hour. If you’re lucky, you’ll see a million bald eagles.

Once we got to Seward, we stretched our legs by walking along the trail of the original Iditarod and then went out to Kenai Fjord National Park to hike up to Exit Glacier.

Day 2: whale watching in seward

We pre-booked a 4 hour whale watching tour weeks before we arrived in Seward as we were afraid they would sell out. I honestly don’t know if they had any day-of tickets, but we didn’t want to take the chance.

This tour was amazing. We saw so much ocean life - orcas, sea lions, sea otters, Dall’s porpoises (Alaskan dolphins)… the list goes on.

5 out of 5 stars.

Day 3: Morning in Seward, drive to Homer

We spent the morning at the SeaLife Center, learning about sea life in Alaska. It is a rehabilitation center for injured sea life and serves as a public aquarium. I absolutely loved being able to see Puffins up close!

We hit up a local coffee shop and found some great Alaska branded merchandise at the Alaska Shop.

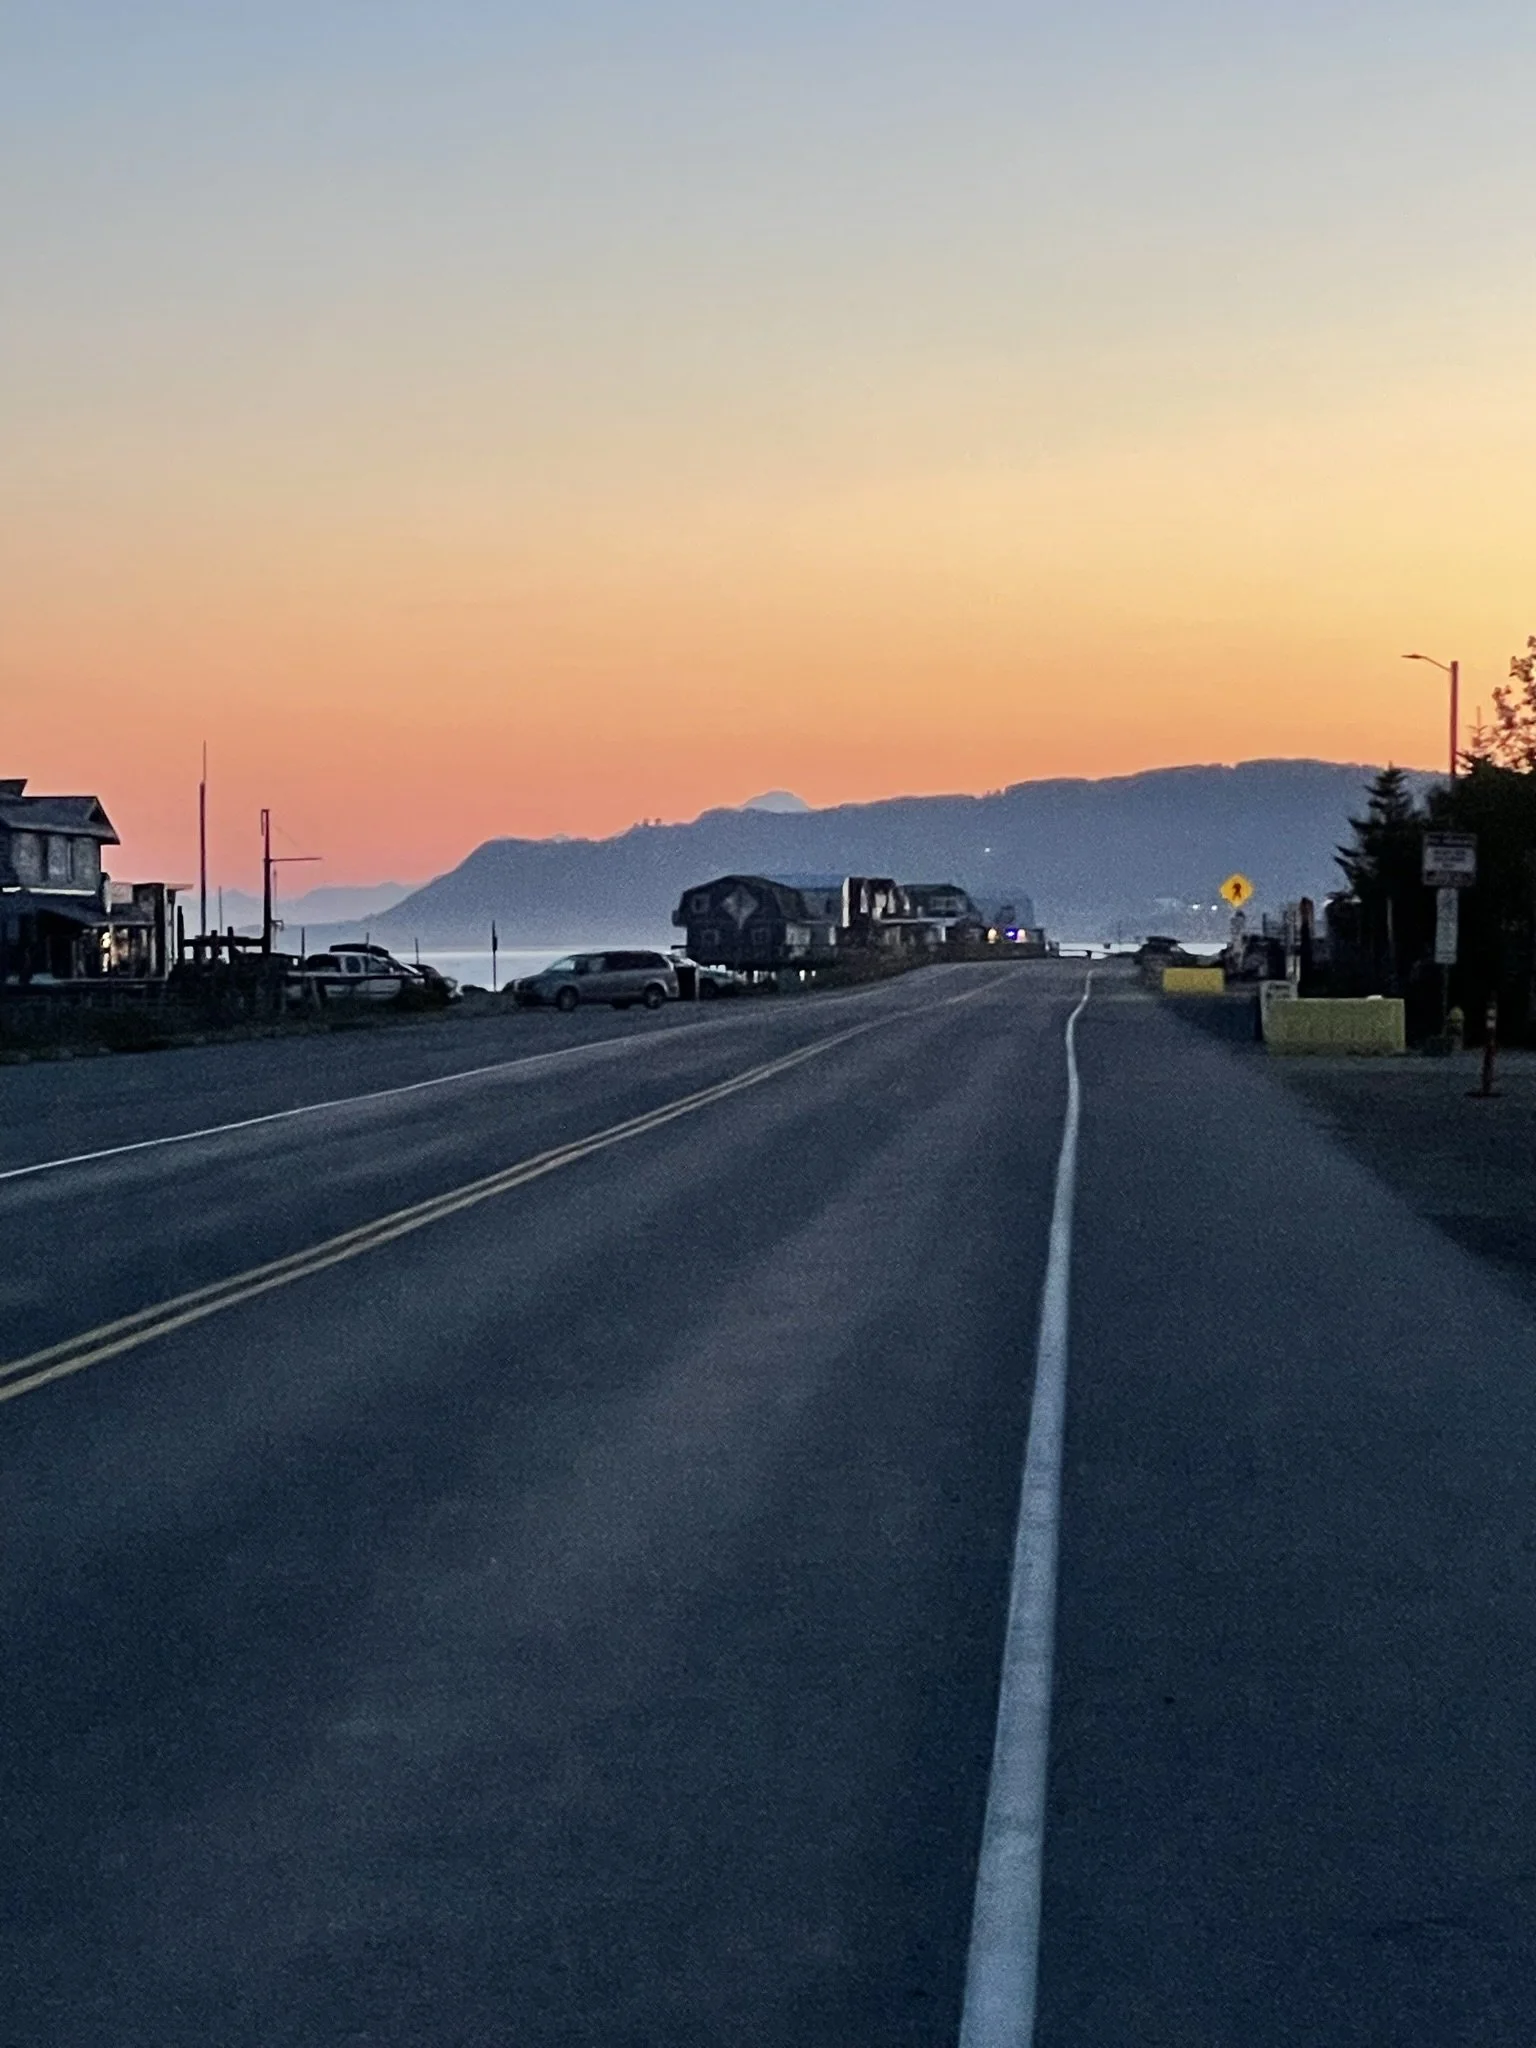
Then we hit the road for a 3ish hour drive to the Homer Spit.

Once there, we walked the Spit to check out dining options and the cute local shops. We only stayed here one night but it was well worth the drive. The scenery was unreal!

Homer Spit, Sunset

Day 4, 5, & 6: Anchorage as our base

We were recommended an awesome diner in Homer for breakfast before we hit the road back to Anchorage so we did that for breakfast. The drive to Anchorage is just over 4 hours, and we planned to stop at a brewery on the way back in Cooper Landing.

Once we got back to Anchorage, it was dinner time. We had to go to Moose’s Tooth, a local favorite, for pizza and more beer. So delicious. Its for sure on our list every time we visit!

The following day we decided to hike a glacier, the Matanuska Glacier, just northeast of Anchorage. We signed up for a guided tour and off we went. It was AMAZING. Hands down one of the coolest experiences I have ever done.

Day 6 was spent going to Whittier, this super bizarre town. You have to drive through a one-lane tunnel to get there and back.

Whittier is this small town that has most of its residents living in one condo complex. It exists because it is a major port town for goods to come in to Alaska. The train shares the one-lane tunnel with vehicles - thank goodness for modern technology letting everyone know which direction has right of passage and if the train is needing the tunnel!

I would absolutely go back to Whittier for the views alone. The sheer amount of waterfalls you can see is unlike anything else!

On the way back from Whittier, we detoured into Girdwood to hike the Virgin Falls Trail and visit the Girdwood brewery. 10/10 recommend doing both activities!

Day 7, 8 & 9: Denali National Park

We headed up to Denali on day 7 to stay 2 nights and then head back to Anchorage on day 9 to catch our red-eye flight home.

On our way up to Denali, we took a pitstop to visit Williams Reindeer Farm. We got to feed real life reindeer! A super cool experience that I’d absolutely go again.

The drive to Denali is long. But if Denali is out, meaning the sky is clear and you can see Denali, it is one of the most stunning drives you will ever have. The drive was totally worth it for us as Denali was indeed out for us to gawk at!

Day 8 was spent hiking and exploring Denali National Park. We ventured about 20 more minutes passed the Park entrance to visit 49th State Brewing for a late dinner and beer. They have a replica bus of the one that was made famous in Into the Wild that you can check out, awesome outdoor fire pits, and great beer and food.

Day 9 was our last day. We had a red-eye flight back to Colorado so we hit the road to head back to Anchorage, said “see you soon!” to our friends.

Reindeer Farm!

49th State Brewery - Into the Wild replica bus

I wouldn’t trade a single thing about our trip for something else. It was everything we were thinking it would be and more.

At some point I would love to do a cruise as you get to see so much of Alaska that you otherwise wouldn’t be able to see since it’s not on the road system. And we absolutely want to go back in winter to ski for a few days then head to Fairbanks to hopefully be able to catch the Northern Lights.

Happy Adventures!

Alaska; summer trip; adventure; outdoors

Weekend Guide: Colorado National Monument

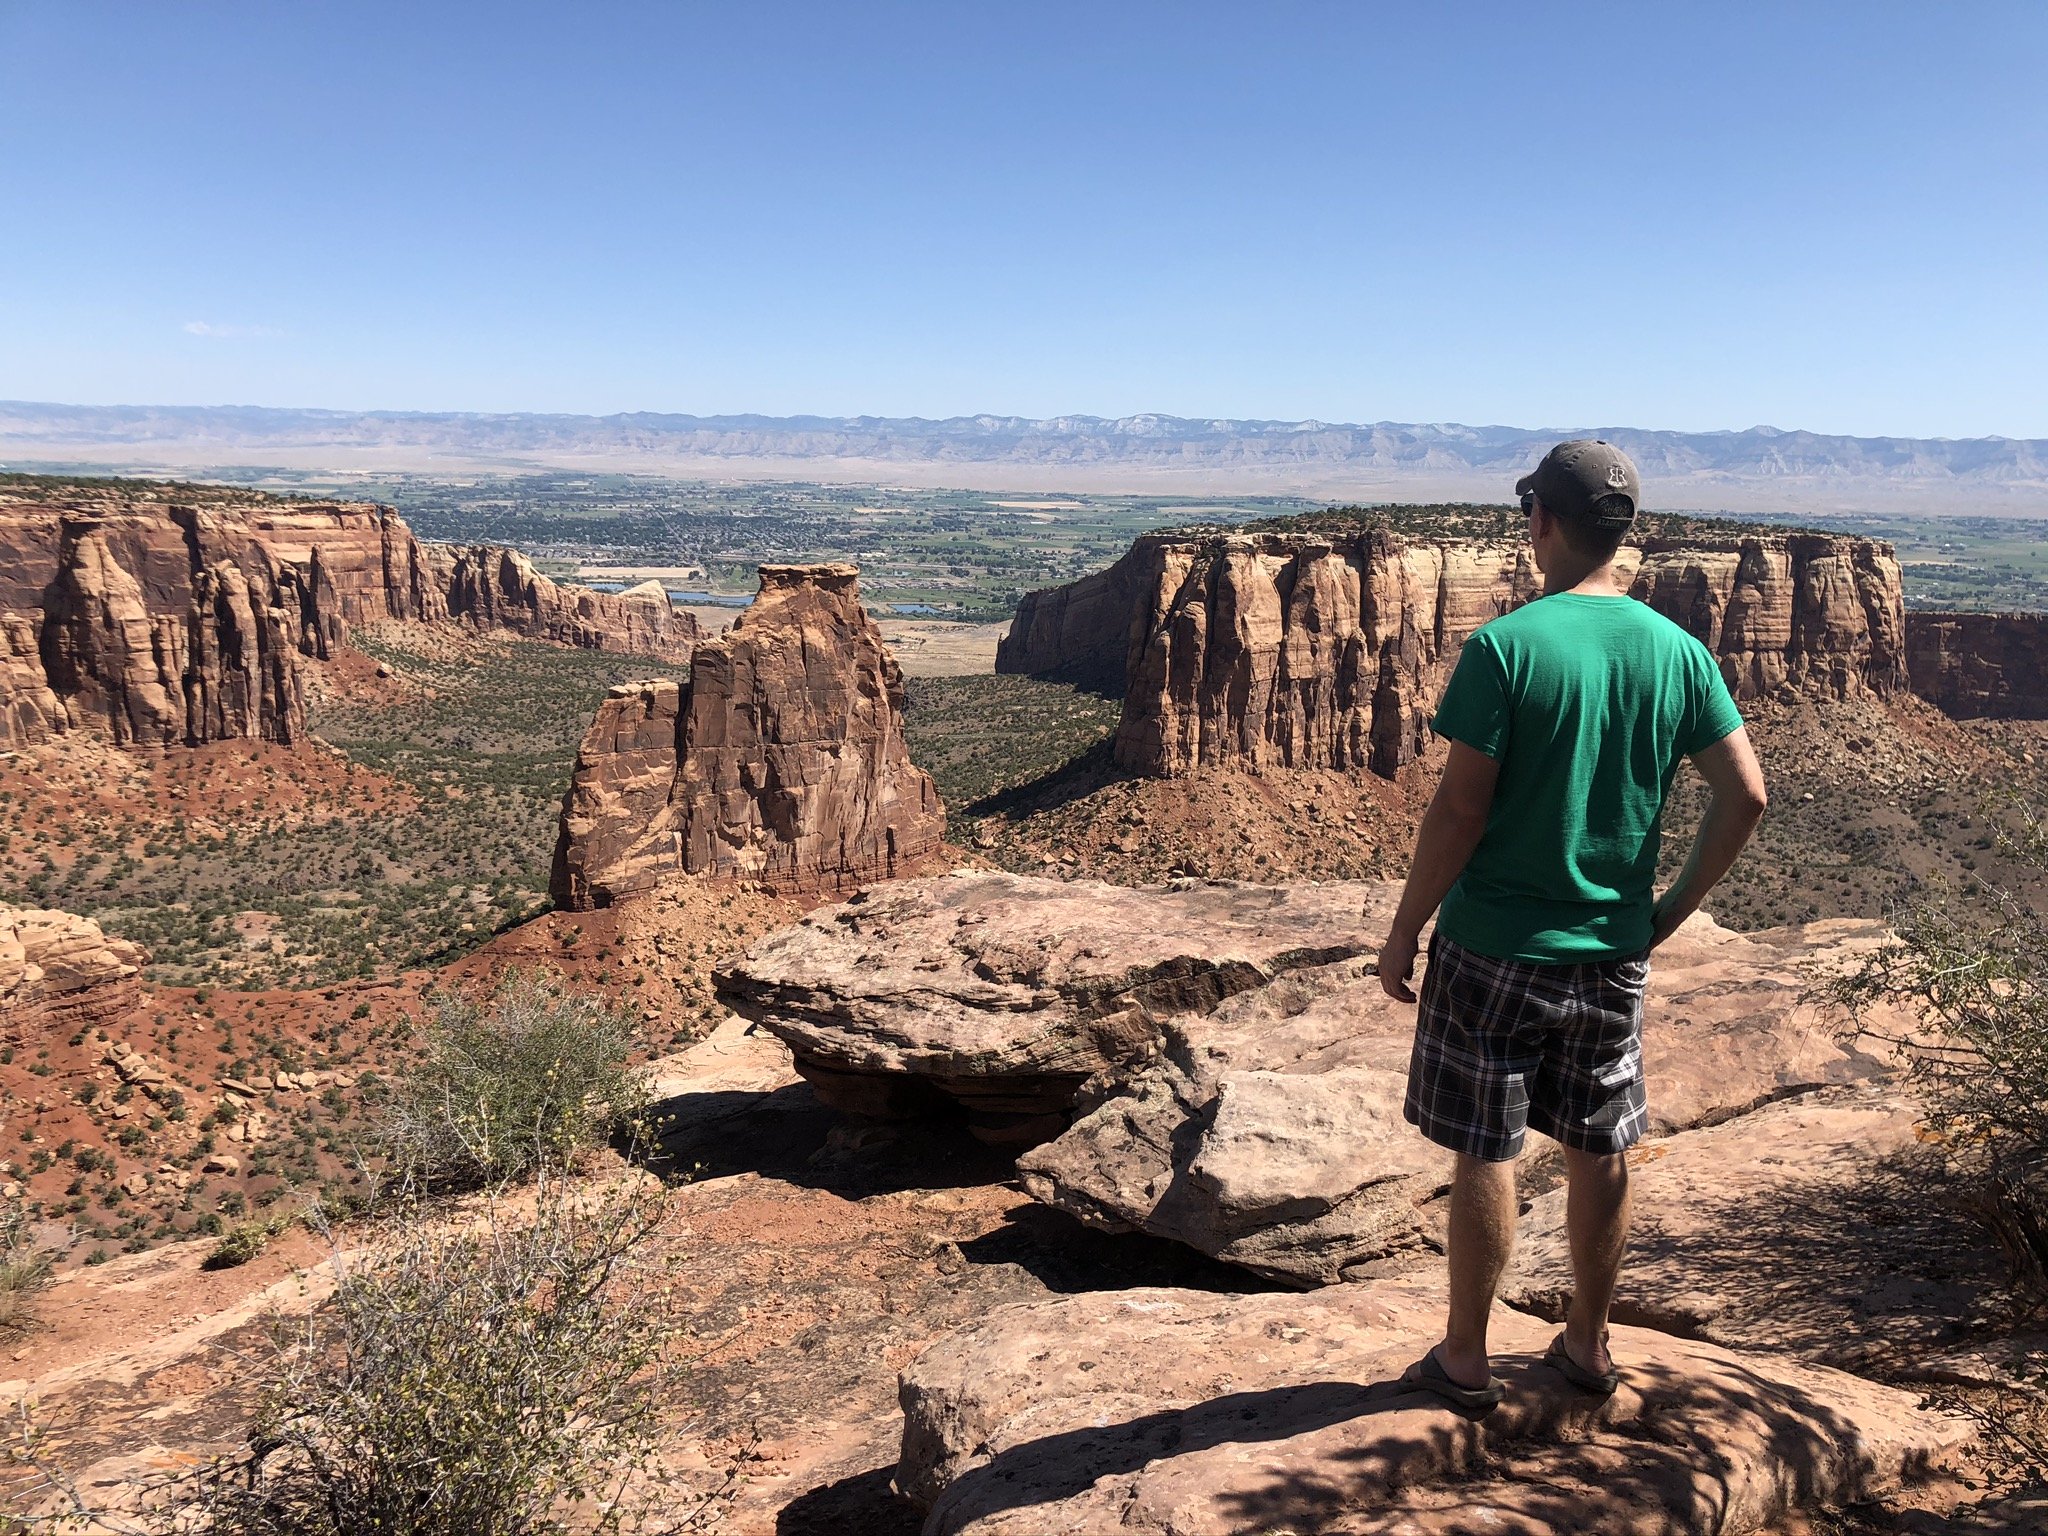
Last summer we were lucky enough to snag a camp site for a weekend at Colorado National Monument! Neither one of us had been there before so we were really excited to get out and explore the Monument. We’ve put together an itinerary and some tips for you so you can have the best experience!

First things first, we learned the (very) hard way to not tent camp here in the summer months. We learned very quickly that it is too hot all day and all night to make this trip overly enjoyable. Unless you love sleeping in 90 degrees, that is, or have a camper that can run AC. Unlike a lot of areas in summer, this place did not cool down at night. We were miserably hot all weekend. So, tip #1: go in the fall or spring months.

If you love to hike, you could easily spend the weekend here. If you only want to do one hike and do the drive from one entrance over to the other, one night will be plenty.

Tip #2: If you want to camp in the park and want a glorious view from your camping spot, pick a spot on B Loop, along the outer edge. warning - if you are afraid of heights and/or have kids/pets that are known to wander, this might not be the best spot for you as there is a very steep drop off on the back of the camp sites (see photos below). But if you don’t have those concerns, the views are stunning! Also note that there are plenty of camping spots in the Grand Junction area that are free and/or cheaper than camping in the park. When we went, reservations were required. There were no first come/first serve sites available.

If you are not a camper, never fear! The monument is a very short drive from Grand Junction which has a lot of hotel and Airbnb options.

Tip #3: you are in the desert so bring plenty of water and a lot of sunscreen! There is very little shade in this park so make sure you are coming prepared for a lot of direct sun. A hat, sunglasses, sunscreen, long sleeves/pants (if it’s not summer), etc. are all great things to have readily available.

If you decide to go in summer, come prepared for 100 degree days. Bring a lot of extra water, some salty snacks, and even some electrolytes.

Tip #4: no wood fires were allowed which was a bummer for us as we love a good campfire while camping. Charcoal grills were provided at each campsite however so you could easily make your meals. Come prepared knowing you won’t be able to have a fire.

Itinerary:

Day 1: Arrive at campsite and set up camp and chill out.

Day 2: Plan to drive the entire park road then enjoy an afternoon beer and snack at a local brewery.

  • We stopped at every pull off for the viewing spots and I highly recommend that you do. The views are unreal! It took us about 3 hours to do, and we loved every minute of it.

  • At this point you’re probably hungry and thirsty. Head into Grand Junction to Edgewater Brewery for a cold craft beer and a snack. It’s about 15 minutes from Colorado National Monument.

  • Head back into the park to your campsite. Cook up dinner and enjoy the evening doing what you love most at campsites.

Day 3: Pack up camp and head to your next destination.

All in, we loved Colorado National Monument and would absolutely go back, ideally in the late spring or fall. Our rankings:

  • Views: 5/5 - absolutely stunning.

  • Campsite: 4/5 - no fire allowed which is a bummer, but it had actual running water bathrooms, large sites, and stunning views

  • Proximity: 5/5 - we love camping while exploring somewhere new as it’s way cheaper than renting an airbnb.

Colorado National Monument; national parks service
Colorado National Monument; Camping; Colorado outdoors

This was the back edge of our campsite!

Colorado National Monument; National Parks Service; Hiking

One of the many pull offs for views!

Colorado National Monument; Camping; Colorado Camping; Weekend guide; be outdoors; opt outside

Weekend Guide: Breckenridge, CO Summer Edition

If you are heading to Colorado at all this summer a weekend spent in Breckenridge needs to be on your to-do list. It has quickly become one of my favorite mountain towns with so many cute shops and great restaurants. Plus, it never hurts to have stunning mountain views as you walk down Main Street.

Here are my recommendations for a weekend in Breck!

Where to Stay

I personally love a good Airbnb and there are a ton of really great condos for all group sizes that you can find on Airbnb. Most of them will be in a condo complex that will have access to a hot tub and/or swimming pool so if that is a big deal for you, you’ll be set.

If you are more of the resort stay type person, you cannot go wrong with the Grand Colorado on Peak 8 or the Marriott that is at the base of Peak 9. If you stay at the Grand Colorado, you’ll either need to be prepared for a longer walk to Main Street, need to ride the free Gondola up/down, or make use of their free shuttle. A perk to staying at the Marriott is you are a half block away from Main Street - no shuttle necessary.

Must do activities

Hiking

If you are going to the mountains for a long weekend, you need to get in at least one epic hike, right? One of the best perks of staying in Breck is how close you are to the base of one of Colorado’s famous 14ers - Quandary Peak. Sitting at 14,265 feet above sea level, the peak can be seen just south of Breckenridge. Start early - the parking lot fills up FAST and you absolutely need to be down and off mountain before the crazy afternoon thunderstorms roll through.

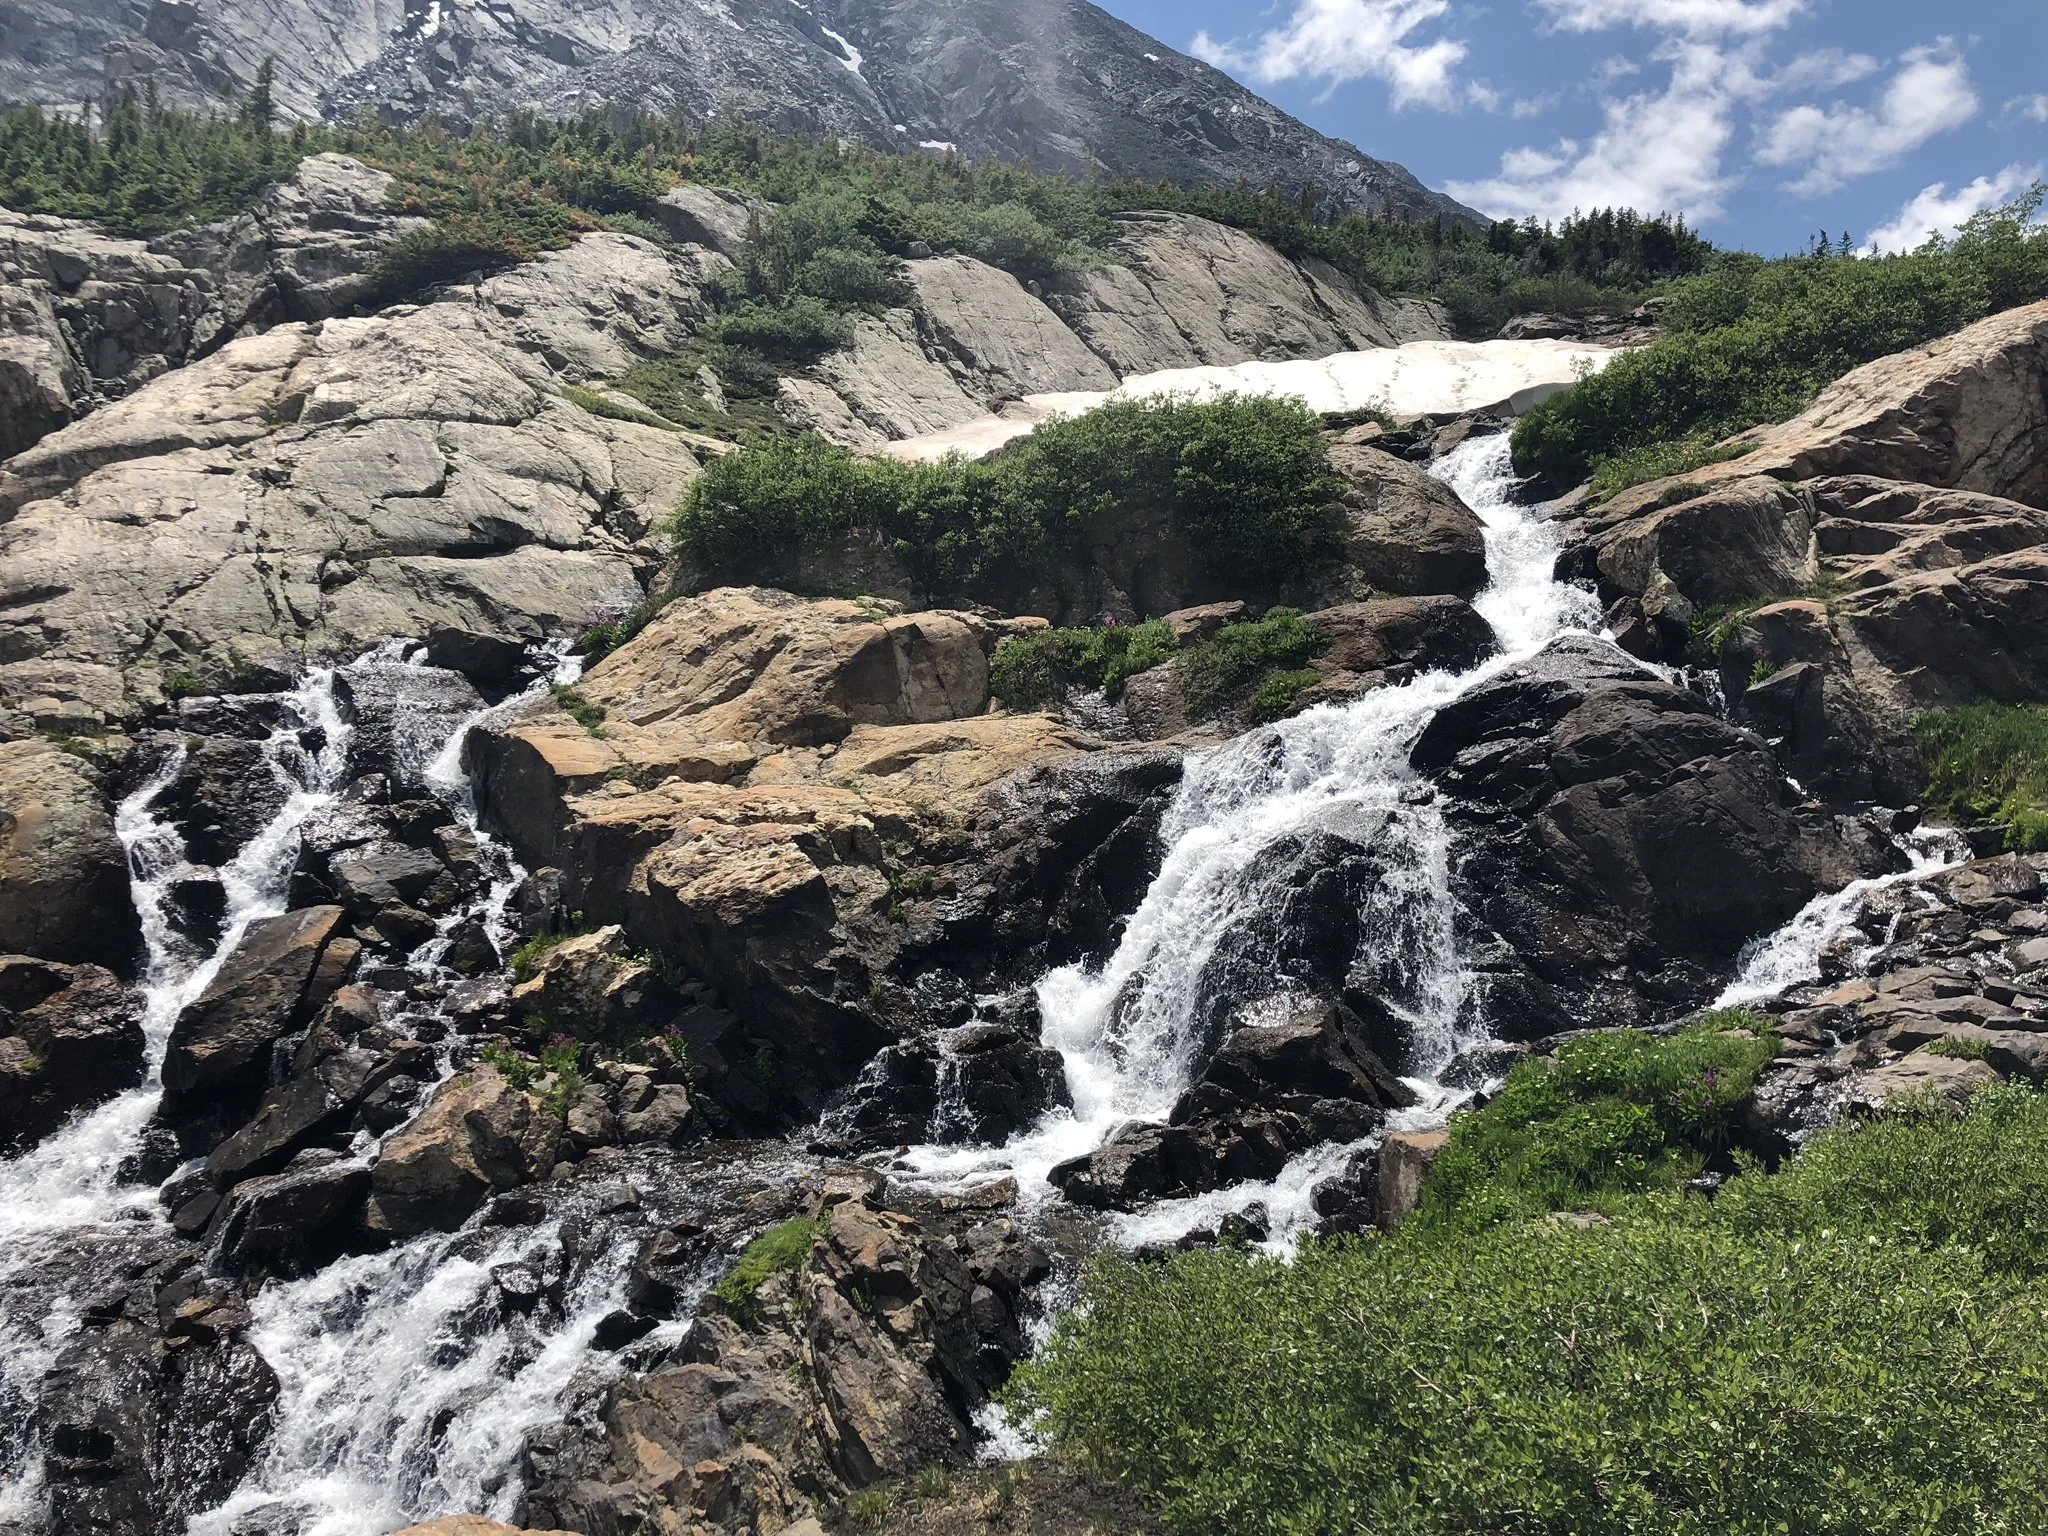
Not up for a 14er? No problem. There are so many great hikes in the area. Check out McCullough Gulch Trail for some stunning views.

Adventure

If you are up for some base-of-the-mountain fun, check out Epic Discovery. You can zoom down the mountain on an Alpine Coaster, go mountain biking, play mini golf, and so much more. There is absolutely fun for the whole family there - kids included!

Visit the Gold Dredge and discover part of Breckenridge’s history. You can find out more about it here. You can drive to a tiny parking lot, and do a very short (0.1 mile short) hike down to where the Dredge was left.

Sports

Rent a mountain bike or a cruiser and either hit the mountain biking trails on the mountain, or bike all around town. You can take the path from Breckenridge all the way to Frisco and back!

Shopping

Even if you don’t love to shop, a stroll down Main Street is absolutely worth it. There are all sorts of shops to browse from your classic T-shirt shops to local art galleries to kids toy stores. You can also find some great boutique clothing stores and every outdoors gear store there is.

What to Eat & Drink

I love good food and drinks. I have a rule that no matter where we go, we must eat and drink local - no chain restaurants for this gal!

Fancy dinner and cocktails: Breckenridge Distillery, reservations highly recommended and they sell out fast, so definitely plan ahead on this one. You can also swing by for happy hour and have a much better chance at getting seated if you don’t have reservations.

Pizza: Downstairs at Eric’s. A fan favorite and the wait is worth it. If you want pizza to-go to eat at your airbnb, they do call ahead orders or you can order at their bar window when you arrive.

BBQ: Whiskey Star Smokehouse. Grab a whiskey cocktail and hang outside by their firepits, or grab some amazing bbq from their restaurant. They do open seating so just grab the first table you see!

Dessert: If you go to Breckenridge, your trip is not complete until you stop at Mountain Top Cookie Shop for a large cookie. Whether it’s your after dinner dessert or a mid-day treat, this cookie shop is drool worthy.

McCullough Gulch; hiking; waterfall; colorado; mountain views

McCullough Gulch Trail

Breckenridge; ski resort; summer; mountains; flowers; colorado mountain town

Base of Peak 9, Breckenridge

Breckenridge; Breck Distillery; Whiskey; Mountain Distillery; Colorado
breckenridge; colorado; long weekend; outdoor activities; colorado mountain town

Snowshoeing Meadow Loop and Ridge Trail

Please note, this post contains affiliate links. See our Disclosures Page for more info.

If I had to describe this trail in one word it would be “stunner”. The views are absolutely breathtaking no matter which way you’re looking. And the park service knows it too - they’ve installed benches throughout this hike so you can sit and soak in the sheer beauty surrounding you. Read on for our top three reasons to check out this trail (besides the views) next time you are in the Dillon/Silverthorne area!

IMG_4611.jpg
  1. The proximity to town is top notch. I LOVE an amazing hike/snowshoe that you don’t have to go very far into the wilderness to find the trailhead. The trailhead can be found about 5 minutes from downtown Dillon. And what’s really cool is you don’t hear any “city noise” or traffic. So you are completely immersed in nature, but can be at a brewery within 5-10 minutes after to warm up.

  2. Parking is free and there is plenty of it! AND it’s super easy to find as it’s located right off the main road. Extra bonus is that this parking lot is large enough to hold all sorts of vehicles - campers and RVs included.

  3. You can watch people play on the lake for the majority of your hike. When we were there, we saw people ice fishing and also wind “surfing” on the ice surface! I’d never seen people wind surf on a frozen lake before and it was so fun to watch. I do think i’m going to have to try that out in the future as it looks like it would be a blast.

Bonus reason we loved this hike in winter? There is a huge sledding hill at the base of the trail and it was so fun watching kids (and parents) zoom down the hill on their sleds! So if you have one - bring it! Hidden sledding gem right here.

Winter tip: we did this trail when there had not been a recent snow storm and ended up just using microspikes instead of snowshoes as the trail was packed down enough to not need snowshoes. If you don’t have microspikes, snowshoes would still work great. You can also purchase some HERE. We love ours and highly recommend them!

To find this trail, go to alltrails.com and make sure you search in the Dillon/Silverthorne area. There is another Meadow Loop trail in Colorado closer to the Denver that is NOT this trail.

Happy Trails!
Liz

IMG_4633.JPEG
Snowshoeing Meadow Loop.png

Beginners Guide: 3 Tips to Get Started Snowshoeing

Please note, this post contains affiliate links. See our Disclosures Page for more info.

Winter is here and we LOVE it. It’s one of our favorite times to be outside. Yes, it’s colder. Yes, it gets darker faster. Yes, you have to wear a ton of layers. But there are so many fun activities you can do in winter that you can’t do any time of year. One of our favorite ones is snowshoeing! If you love to hike and are looking for a way to do so in winter, snowshoeing is the way to go for you! Read on for our top 3 tips to get you started snowshoeing!

IMG_9587.JPEG

1. what do you wear?

This is the #1 question we get and it’s a great question. It can seem daunting to figure out how to stay warm and keep your feet dry. Our biggest tip - wear layers. You can always take some off if you get too warm (and yes, you can definitely get too warm even when it’s 20 degrees outside!).

I recommend wearing a warm base layer - running/active leggings and a tight fitting cold-gear top. Purchase some wool socks (we love the Smartwool brand) so your feet stay as warm as possible.

For your outer layer, if it is forecasted to be really cold or has snowed a ton the last few days, we wear snowpants over our leggings. On the top, we wear a coat that is built for cold activities, either a ski coat or a down coat. I personally love the Eddie Bauer light weight down coats - they have some that are rated to -20 degrees that are perfect for snowshoeing! If it hasn’t snowed or isn’t going to be too cold, I just go with leggings, no snowpants, and Steve goes for hiking pants. We still tend to wear a warmer coat.

Waterproof Boots. Besides having good layers, wearing waterproof boots is a MUST. Frozen toes are never fun. Wet, frozen toes are even worse. So find yourself some waterproof sturdy boots. I either wear Sorel snowboots that come up to about mid-calf, or I wear waterproof Merrel hiking boots that are made for winter (aka, they are lined on the inside to keep your feet extra toasty).

Sunglasses or ski goggles. If it’s sunny outside, you are going to want sunglasses. The sun reflecting on the snow makes for an extra bright day! We also will sub our sunglasses our for ski goggles. These wrap around our eyes more and block the glare off the snow in our peripheral vision which is really nice on a extra sunny day. If you want a cheaper pair of sunglasses to wear while being active outdoors that are polarized and don’t slip when you sweat, check these out.

A winter hat or ear warmers. There is not much worse than cold ears! Don’t forget to wear a hat or ear warmers to keep them warm. I know if I forget one, I’m signing myself up for a major ear ache the rest of the day.

Gloves. Keep those hands warm! If it’s going to be extra cold, it never hurts to throw some handwarmers in your gloves too.

IMG_0375.JPEG

2. where do you get snowshoes? and what kind should i get?

You can purchase snowshoes at pretty much any outdoor gear store - REI, Christy Sports, Cabella’s, etc. You can also purchase them at Costco right around the holiday season, but once they are out, they don’t seem to get more shipments.

Brand wise, there are a few out there that are well known, and they have ranges of prices for their equipment. Tubbs, MSR, and Crescent all have great reviews and good ranges of prices for what you are looking for.

We purchased our first ones, beginner level, cheaper snowshoes on Amazon for ~$60 a pair, and honestly, they were an “off brand”. But they worked great for what we were wanting - a pair of snowshoes that we could learn with and not worry too much of beating them up or doing something wrong. Plus, we thought we would love snowshoeing, but if it had turned out we actually didn’t, we wouldn’t have been out a ton of money on gear. We have since purchased better ones from REI and are hoping they last us a long time since they were pricy!

If you are not sure you want to invest in your own snowshoes yet, you can rent them from REI! We love this as it will allow for you to give snowshoeing a try without too much investment.

3. how do i find a trail to snowshoe?

This is also a great question and we have learned the hard way that a “moderate” trail in summer is a LOT harder in snowshoes! Besides what to wear and what gear to get, this is the biggest thing to research so you can have the best experience.

We use the app AllTrails to find all our trails. To snowshoe, we recommend looking for a trail that is rated as “easy” - remember that snowshoeing is more difficult that standard hiking - with a distance in the 3-5 mile range.

Read the reviews on the app. A lot of users will put the conditions of the trail in their reviews and how they went about it. If there are no recent reviews, maybe add it to a list to look at again later if you like the look of it, and keep searching until you find one with more recent reviews so you know what to expect.

We hope you have a blast on the trails! If you have any specific questions, shoot us an email through our contact page, or leave it in the comments below!

Happy adventures!

Liz

07562836-3061-4CD9-8731-12093113D61D-2.jpg
IMG_9672.JPEG
Beginners Guide to Snowshoeing.png
IMG_4611.jpg

GUEST BLOG: JustTwoBrosTravel - Isle Royale

You guys, we are SO excited to introduce you to an awesome brother and sister duo, Eric Anthony and Whitney Anthony, from JustTwoBrosTravel who are guest blogging about their most recent travel excursion to Isle Royale National Park! Be sure to check out their site, www.justtwobrostravel.com to read about all the other amazing places they have been to! You can also keep up with all their adventures on Instagram @justtwobrostravel. Take it away JustTwoBros!

~ Liz

JustTwoBrosTravel - Isle Royale

By Eric Anthony & Whitney Anthony

We're back! In a time of disease & uncertainty, we found a way to add a National Park to our list. This time we voyaged out to Isle Royale National Park in Upper Michigan.

JustTwoBros 1.jpg

Eric A spent a few months trying to put some longer road trips together, to no avail. With Covid- 19 hanging in the air, to cross state lines park to park & get the experience we'd prefer, it just wasn't happening. After some thinking & a month's worth of planning, we picked the Isle.

We already knew the park wasn't visited all that often. They offer a much shorter season than most parks, April until November, but in 2020, the season was even shorter then that. Unlike some of the more popular parks, it's not easy to get to. Most people don't want to put the effort into the planning so fewer people visit.

When it comes to getting there, you can ferry from the Houghton Visitor Center in Houghton. Michigan, or fly by sea plane from either Hancock, Michigan or Grand Marais, Minnesota. This year however, Isle Royale is only offering entrance by sea plane or personally owned boats only, due to the virus. So we went with the obvious choice, the seaplane!

JustTwoBros 3 .jpg

Isle Royale Seaplanes, is a husband & wife owned business that transports people by plane over to Isle Royale during the season. We found them pretty early on, mostly because they have the only license to do so. They were really informative & the price was more than reasonable for one of the best experiences you could ask for.

JustTwoBros 2.1.jpg

When you decide to start planning your trip, you need to start by figuring out what your goal is. Do you want to hike the entirety of the park from one end to the other (45.98 miles) or just pick a side & do some day hikes? No matter which you choose, you have to pick the side you want to start or end up on. You can pick the Rock Harbor side or the other side, Windigo, we chose Rock Harbor. Typically with a normal season, the island offers lodging, camping & restaurants; they also have a great little mock REI at the Rock Harbor store where you can buy camp fuel, some clothing & camp gear, food & beer. This year however, the lodging & restaurant were not open. Also for anyone choosing to visit during Covid, you have to pre- order your cooking fuel through the Isle Royale Sea Plane website, & they'll have it at the visitor center you choose when you arrive.

This park is slightly different than most when it comes to camping, because it's pretty much a back packer's park. When you show up, unless it's by personal water craft, you're left to carry your gear to the campsite of your choice. Something you should also know, about your gear at this park though, is you need significantly less. Most, if not all of the campsites marked on the map have small makeshift cabins on them, which are first come first serve & you can't stay more than three nights. Now these aren't your grandpa's cabins... or maybe they are! The cabins are more or less 3 walls with a roof & a bug screen on the front. What is great though, is if you plan right, you really don't need a tent, sleeping pads & bags are really all you need. That being said, we only did day hikes, that might not be the case if you're hiking the entire island. Finally, something you will need to bring with if you don't have one, is a water filter. We stayed mostly on Lake Superior, so all we did was filter our water, boil it in the Jetboil, move it back into our water bottles & let it float in the lake until it got cold again. You don't necessarily need step two but if you like to use iodine pills & didn't bring any, the boiling will do the exact same job. For any other questions, we spent about 3 weeks talking to the rangers at the Houghton Visitor Center (over the phone) & they were very helpful. Another resource for camping is the park newspaper, The Greenstone. The paper has charts on it that show you distances between campsites & whether or not they allow fires.

JustTwoBros 4.jpg

We spent our first two nights on the island at Daisy Farm. It's usually boat traffic heavy with a lot of people & little space, but with the visitation of the park so low this season, we had no problem getting a cabin & getting comfortable.

We were hell bent on seeing moose while we were there. This was supposed to be a good year to see them with so few people on the island. We were recommended the Greenstone Triangle to head out & see if we could find one. Moose typically eat in the morning & at night & spend the hotter parts of the day resting & trying to stay cool. We headed out in the morning to see if we'd have any luck... we didn't. We saw red squirrels & a wood pecker but no moose. As a matter of fact, the entire 3 days we were on the island we never saw one. Aside from the afore mentioned animals, we saw a bunch of merganser, butterflies, beavers, & otters. There's more to Isle Royale than just moose & wolves & we were happy to see it.

JustTwoBros 5.1.jpg

The entirety of the outskirts of the park lies on Lake Superior. However, there's also plenty of places to hike inland. That said, you should be ready for thick marsh & tree growth. We packed bug spray galore & treated our clothes. Whitney A wore a mosquito net & it helped. This wasn't their heavy mosquito season but the black flies were nasty & went off on a biting frenzy, make sure you're physically & mentally prepared for that.

The treks are tough & weather can change at any moment, but we highly recommend this to anyone who loves wildlife & anyone who truly wants to get away from car camping. The seaplane ride over, should you choose to take it, will blow your mind. Make Isle Royale your next pandemic vacation & you won't be disappointed!

For more photos of their Isle Royale adventure, check out their website here.