Hiking

Hike Review: Legault Mountain, Conifer, CO

Disclaimer: this is an opinion about our personal experience of this hike. Others may have a different opinion, and that is perfectly acceptable. Everyone has a right to their own opinion.

If you live on the southwest side of Denver and are looking for a great hike that doesn’t take too long to drive to, this is one we would recommend!

The Legault Mountain trail is a 5 1/4 mile hike, part of which is a loop, and other parts are out and back. What we mean by that is after the first mile or so, there is a split and you can pick to go left or right - either way will get you to the same place. If you are looking to head to the summit, there is a spot at the top of the loop that branches off, and becomes an out and back.

Trailhead!

Trailhead!

Parking:

This hike has limited park lot parking, so unless you get there really early in the summer, be prepared to park on the side of the road. When we went, we had about a 1/4 mile walk to get to the trailhead from where we found parking on the side of the road. Luckily, there is a lot of road side availability!

Restrooms:

Yes, there is a restroom vault on this hike! They were closed for cleaning when we hiked by them, and we didn’t need to use them on the way down, so we don’t know what they offer as to running water or not.

The Hike:

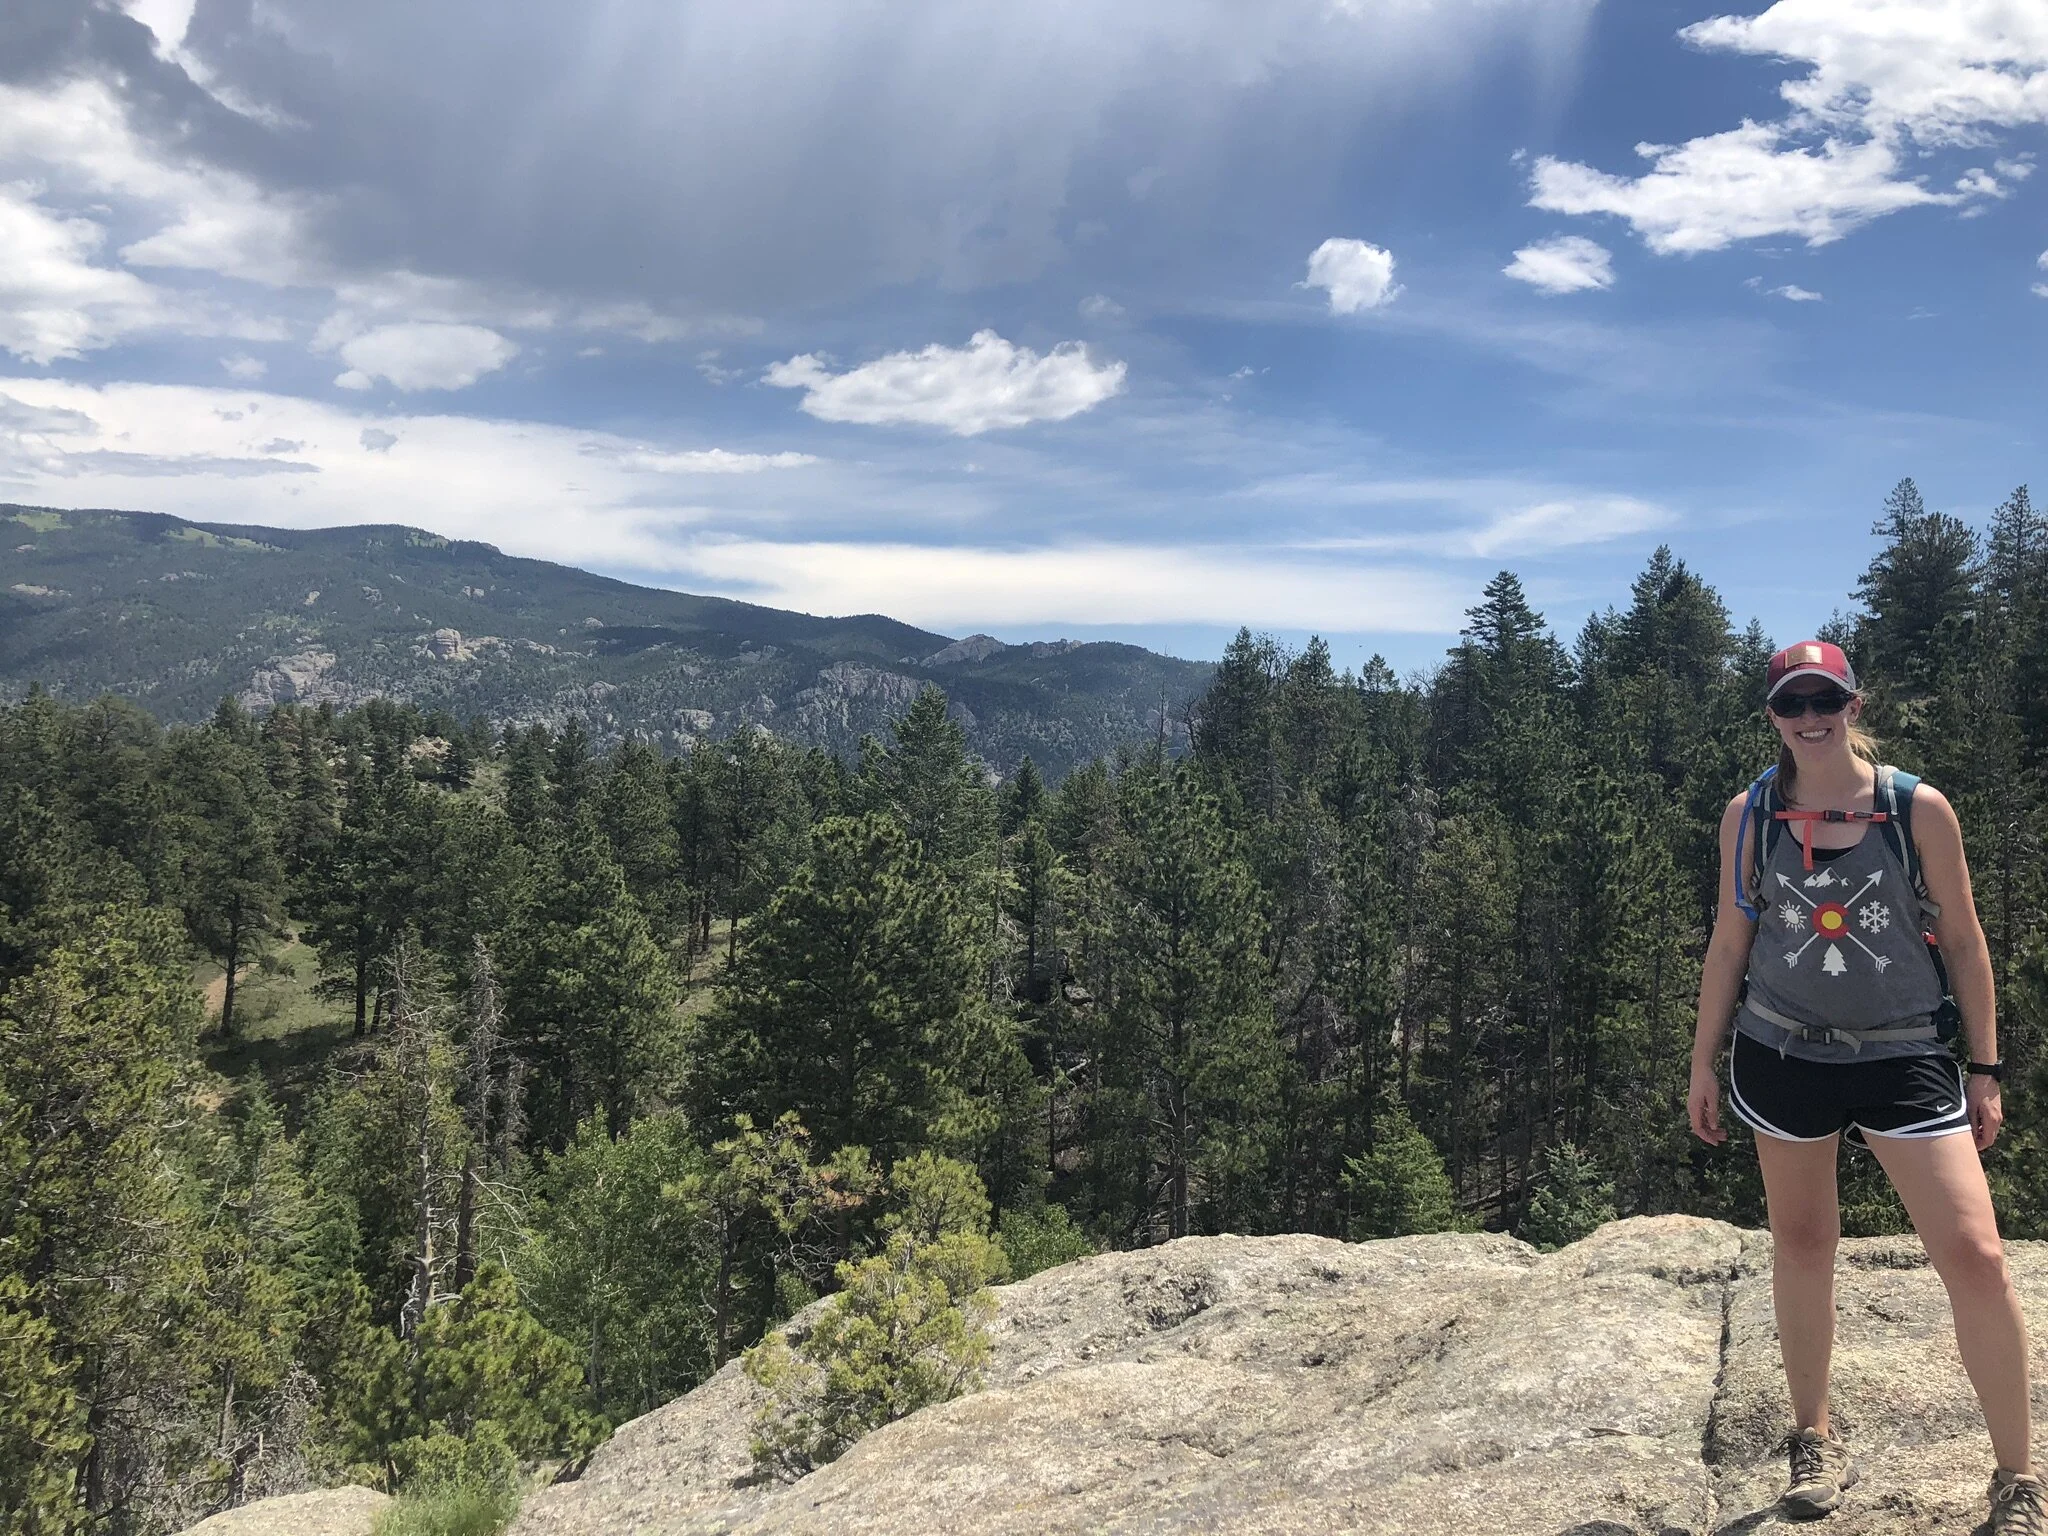
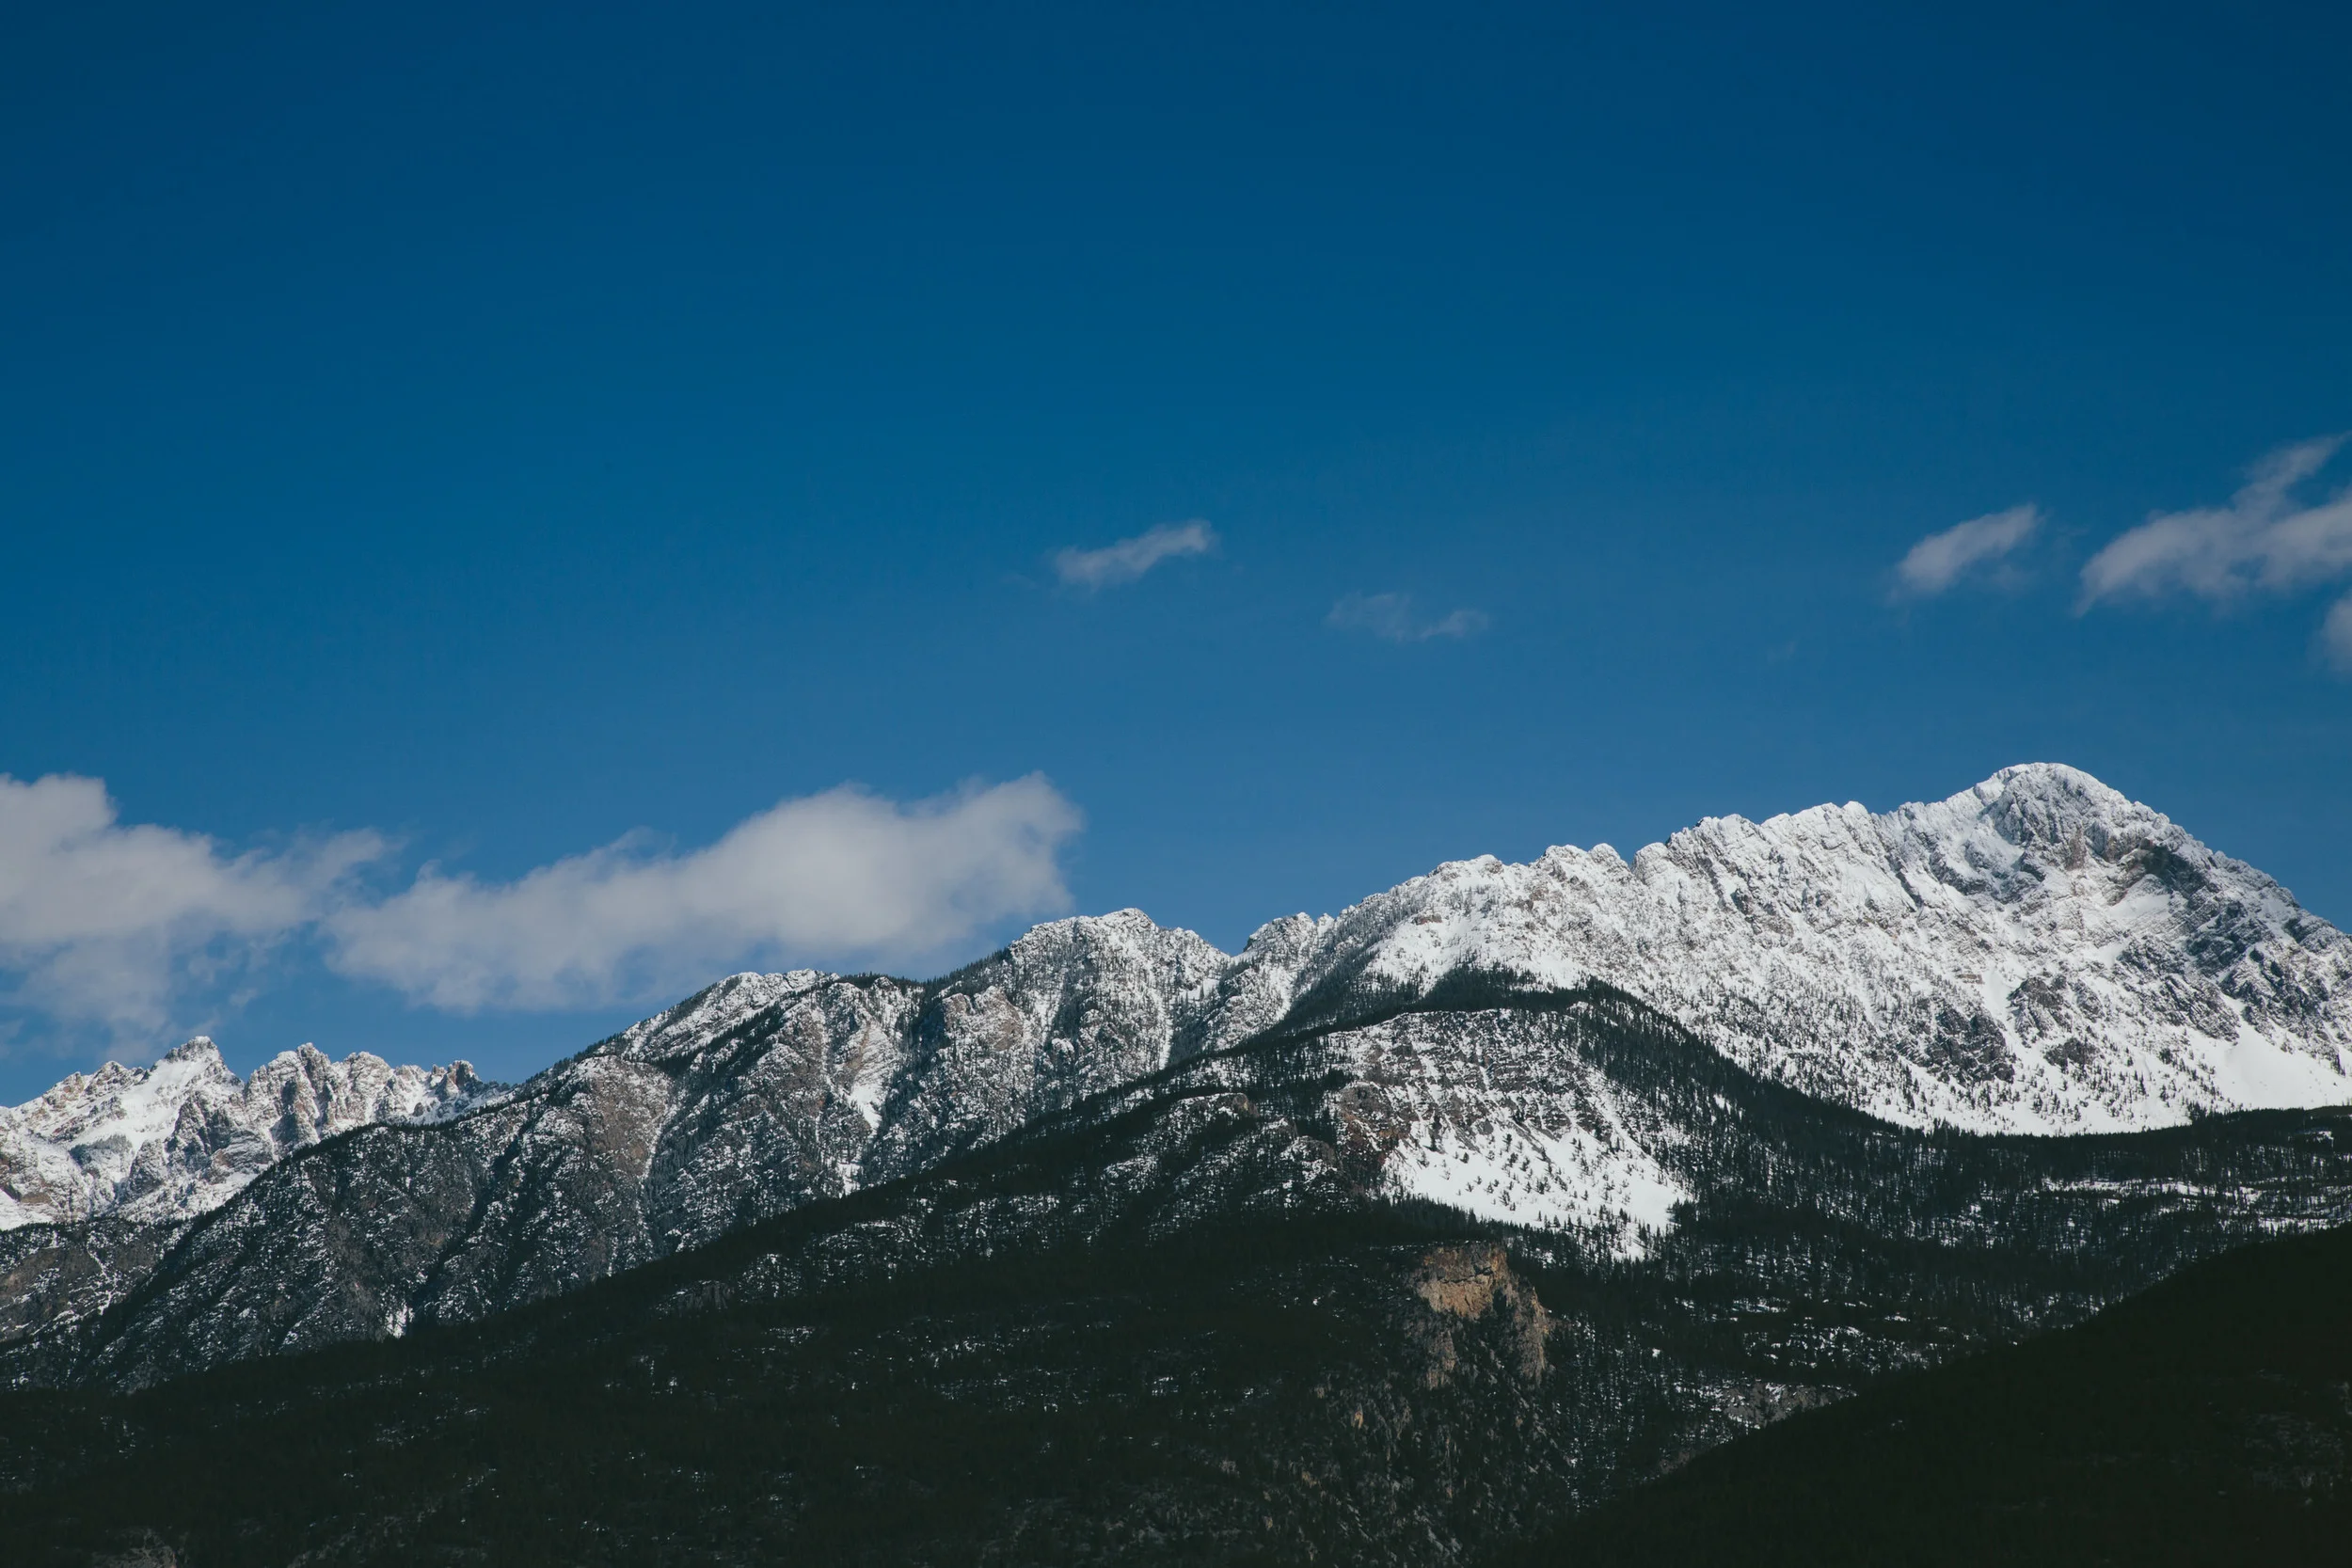
We give this hike a 4 out of 5 stars. It has a wonderful mix of steep inclines and flat trail. When we hiked, it was rainy and the trail didn’t get slick or overly washed out. The reviews on AllTrails said the views from the top were amazing - we were unable to see much due to the rain, so we will be back to check them out in the future!

Know before you go:

  • The turn off to continue to the top of the mountain is not marked. There is a downed tree that kind of blocks off the turn, so the first time we hiked on by without realizing it was the turn off to continue up. Luckily, it’s a loop, so if you miss the turn like we did, you are heading back down to the base - you will not get lost.

  • It’s crowded. We knew it would be crowded and chose to hike it anyway - but based on the amount of vehicles parked on the side of the road on a day that was rainy and cooler, it has to be extremely crowded on nice days.

  • You will be able to hear traffic from 285 for pretty much the entire hike. While it didn’t bother us too much, if you are looking to only hear the sounds of birds chirping and the wind between the leaves, you’ll be disappointed to know that the sounds you are hearing are in fact the motorcycles out for a day drive along 285.

  • There are TONS of designated picnic spots! If you are interested in sitting at a table and enjoying lunch or a snack, there are a lot of picnic tables at the base of the hike.

All in, we liked the hike and want to return when the sun in shining so we can check out the views from the top! If you check this hike out, or already have, let us know what you think of it in the comments!

Happy Trails!
~ Team Be Outdoors

Sunny Aspen Trail is the loop that will take you up and back down - it does not matter which way you choose to go.

Sunny Aspen Trail is the loop that will take you up and back down - it does not matter which way you choose to go.

Behind this downed tree is the trail that will take you to the top. There is no sign pointing up - it’s to the left from this photo perspective - so you just have to know where it is, or use your GPS to find it.

Behind this downed tree is the trail that will take you to the top. There is no sign pointing up - it’s to the left from this photo perspective - so you just have to know where it is, or use your GPS to find it.

IMG_1016.JPEG
Legault Mountain Review.jpg

Hike Review: Catamount Loop, Woodland Park, Colorado

Disclaimer: this is an opinion about our personal experience of this hike. Others may have a different opinion, and that is perfectly acceptable. Everyone has a right to their own opinion.

The Catamount Loop, known as the “Lumber Pine, Mule Deer, Mackinaw and Ridge Trails Loop” on AllTrails is an 8 1/2 mile loop trail around a gorgeous reservoir near Woodland Park in Colorado. Here is what we think you need to know about this hike.

IMG_0870.jpg

1 - The views are STUNNING.

As you hike around the reservoir, you will have endless views of Pikes Peak, a 14,000 ft mountain in Colorado. We went counter-clockwise on the loop, so we got to stare at the mountain for 3/4 of the hike without having to turn our heads all that much. If you are more a water person, the reservoir itself offers stunning views of the blue/green water.

IMG_0858.jpg
IMG_0862.jpg
IMG_0899.jpg

2 - The hike goes in and out of actual trails and dirt roads.

The dirt roads are NOT my favorite. It was honestly very disappointing to discover that the trail becomes a road for 2ish miles, in multiple different sections of the loop. During these stretches, there is no tree cover and can get really dusty if cars use the road to get down to the reservoir.

3 - There are very steep grinds up and down.

While the elevation gain listed on AllTrails says about 1,000 feet, there are a few extremely steep ups / downs that are full of loose gravel. Hello butt-burner!!

4 - Parking is free but spots in the lot are limited.

The designated parking lot for the trailhead has maybe a dozen or so parking spots, but the good news is, parking along the road is allowed! When we got there, all spots were taken, but it was pretty easy to find a spot on the side of the road - no high clearance vehicle needed.

5 - All in, we give this 3 out of 5 stars.

Without the views this hike offered, we’d honestly rank it less, just due to the fact that the trails go in and out of dirt roads to actual trails. Out of all the hikes we’ve done, it’s hard to justify ranking this one much higher - a hike to us is a trail fully submersed in nature, not something that you have to watch out for vehicles for a significant portion of the hike. We loved the views, loved the distance, and loved the variability of challenging inclines to flat trail. We just really wish there was a trail running next to the areas of dirt road instead of merging them into one.

Additional Resources You Might Enjoy:

Day Trip Hiking Pack List

Hiking Reviews

IMG_0864.jpg
DSCN0243.JPG
Catamount Loop.jpg

Beginners Guide to Hiking: 10 Tips to Get You Started

New to hiking? Feeling anxious because a friend invited you on a hike, you’ve agreed to go, but have literally no idea what you are getting yourself into or how to prepare? Has it been forever since you’ve gotten out on a trail?

Whatever reason you’ve clicked on this post, we are so excited for you! We absolutely LOVE hiking and are really hoping you have the best experience on the trail that one could possibly have.

For that reason, we’ve put together our top 10 tips to help you feel confident as you take on that new trail!

Happy trails!

IMG_1917.JPEG

1. What to wear.

One of the first questions we seem to get is, “What should I wear?” The honest answer is, wear what you are most comfortable in. If you are uncomfortable in your clothes, you’ll end up hating your hike even if it’s the most amazing scenery anyone has ever seen. As you hike more, you will learn what you like vs don’t like.

Our recommendations: clothing that is breathable, easy to move in, and quick drying if it gets wet - because it will get wet. I typically hike in athletic shorts and an athletic tank top or shirt. Steve is usually in pants that zip off at the knee into shorts - actual hiking pants - and a quick-dry athletic shirt. Clothing that is 100% cotton should be avoided at all costs. The goal is to wear clothing that is easy to move in. Don’t wear something that restricts your leg or arm movements, and definitely don’t wear anything that you are afraid of getting dirty.

Bonus tip - grab a pair of wool socks! They are made to not rub, even if they get wet! So as your feet sweat, or if you’ve stepped in a puddle, you won’t end up with blisters all over your feet from your socks rubbing.

2. Shoes are more important than you think.

There are all kinds of footwear out there. Some options are great for hikes and some are pretty terrible. On many occasions we’ve seen ladies in high-heeled boots trying to hike up a steep trail. Ladies - yes you might look really cute in those boots, but let’s be real here - if you are wearing high-heeled boots and trying to summit a mountain trail, you’re going to end up with a horribly twisted, or even broken, ankle. Trails might be well maintained, but they are not paved sidewalks.

Pick the right footwear. Tennis shoes will do if you don’t have hiking boots. Wear something that your feet will thank you for, not something they will be screaming bloody murder in.

Our recommendation: hiking shoes or boots. If you decide you love hiking and are going to be going frequently, hiking shoes/boots are well worth the money. They offer a lot more grip than tennis shoes, and a lot come waterproofed which is so nice when you have to jump across a river!

3. Research your hike - know the distance!

Hiking is supposed to be fun. Yes, you might feel out of your element. Yes, it’s going to be a harder workout than you anticipate. But if you do your research, you will be well prepared for your hiking adventure. We use AllTrails (they have an awesome app!) to research our hikes. People who have hiked the trail can rate the hike and leave comments as to what they experienced - if there is a really steep grind, if the trail tends to be crowded or empty, what the parking situation is (some places have fees - better to know that well before you go so you can get some cash!), if it is muddy or rocky, etc. Make sure you read the dates of the comments as they can be real time or months old.

Our recommendation: If you are brand new to hiking, pick a shorter distance hike (3ish miles) and be sure to pick a hike that has a waterfall or a lake! It’s such a rewarding feeling to come across an amazing view that most people will go their entire lives not seeing. Plus, it’s an extra reward to be able to eat lunch, or a late breakfast, by that waterfall or on the edge of the lake!

4. Check the weather before you go.

The weather where you live vs where you are going to go hiking can be extremely different, so it should be a high priority to check and recheck the weather of the location you are hiking. Not every trail is found on weather.com, but the surrounding towns are. A few summers ago we went hiking on a trail about 30 minutes from where we live. We left the house in shorts and tshirts, with not that many extra layers. It was hot in town, so why would it be any different 30 minutes from where we live??

Oh how wrong we were. It literally SNOWED on us during that hike. We were not prepared for that at all.

Our recommendation: check the weather a few days before you go if you plan a hike in advance and then recheck it the night before and the morning of. Weather can change extremely quickly!

5. Bring extra layers.

After that hike, we always end up bringing extra layers. Even if you think it’s going to be a gorgeous day, it’s worth bringing a lighter outer layer - even if you end up leaving it in the car when you get to the trailhead.

Pack a rain coat. The fast moving weather? Yeah, it could be sunny one minute and pouring rain the next, especially at higher elevations. Even if there is no chance of rain, we always always have a rain coat on us. There is not much worse than getting absolutely, unexpectedly drenched and you have miles to go before you can get to your car.

Our recommendation: pack a lighter outer layer long sleeve and a light weight rain coat. The long sleeve can also work as a layer of protection against the sun if you start feeling burned.

6. Pack healthy, high energy snacks.

This sounds crazy, but years ago, I went hiking with a girl that packed a half loaf of bread in her bag as her food for our hike. Bread. Not a PB&J or banana nut bread. Just a wheat bread. I was dumbfounded. And she was starving. Bring food with you that is easy to digest and easy to eat. Yes, bread is easy to eat. It also sits in your stomach like a ton of bricks and doesn’t give you much energy by itself.

Our recommendations: we typically pack some sort of sandwich, some protein bars in our favorite flavors, and some trail mix. Put together some snacks that are a mix of sweet and salty - you’ll be craving both!

Bonus tip - pack snacks for your drive home! If you picked a hike a few hours away, you’ll probably be ready to chow down on something when you get back to the car. There is not much worse than being stuck in mountain traffic with no snacks when you are starving!

7. Backpacks with a water bladder are key!

If you don’t have a true hiking backpack - one that has a built in water bladder - it’s okay! Pick a backpack that you like and that sits well on your shoulders and back. This is where you are going to be putting your food, extra layers, sunscreen, and water. If you do have a hiking backpack, be sure to fill up the water bladder! If you don’t, just fill up a few water bottles so you have plenty of water for your drive there, the hike, and the drive home. Dehydration headaches are no joke, especially if you are at altitude!

8. Prepare for more than you signed up for.

Don’t be surprised if you feel like you’ve gone two or three miles and you’ve only gone a half mile. Hiking is a lot harder and more strenuous than walking. You have to be more aware of your surroundings, more aware of the path, making sure that noise you just heard behind you isn’t something to be concerned about, etc. The hike could be listed as an “easy” rating on AllTrails, but it could have rolling hills and you have some ups that are steeper than you expected. It’s better to be over prepared for a hike vs under prepared!

9. Elevation is real.

A lot of popular hikes are at higher elevations, which means that you need to be ready for that change. You can feel out of breath quicker - the air gets thinner the higher in elevation you go, get headaches, or even dizzy from being at an elevation your body isn’t used to. Add in the fact that you will be expending effort and burning energy hiking, and that elevation can hit you pretty hard, pretty fast.

Make sure you have plenty of healthy snacks, lots of water, sunscreen, and a hat. The last thing you want is to get nauseous miles from your car, with no shade around.

Our recommendation: take it slow and take frequent breaks if you are not used to the elevation change.

10. Fill up before you head out.

Make sure you have a full tank of gas in your adventure vehicle before you go! Some trail heads are miles from civilization. You definitely don’t want to be running out of gas with no fill up stations around!

Bonus tip: be sure to check out our free Day Trip Hike Pack List to know exactly what we pack and why we do!

IMG_7282.JPEG
Beginners Guide 10 Hiking Tips to Get You Started.jpg

Additional Resources You Might Enjoy:

Beginner’s Guide to Snowshoeing

Day Trip Hiking Pack List

Beginner's Guides: Introduction

With summer around the corner, we seriously cannot wait to hit the hiking trails. Every year, we plan some pretty fun hikes, and every year we see a ton of people that are on their first ever hike - which we absolutely LOVE to see.

But a lot of new adventurers are really out of their element - not really dressed for what they are doing, don’t have food or water with them, and haven’t even given the whole altitude thing - if they are in a higher elevation - a thought until it snuck up on them.

You definitely have to start somewhere, and we are so proud of these new adventurers for taking the chance and going for a hike and trying something totally new. We really wish we could give the new adventurers we come across an encouraging pep-talk, as well as some outdoor advice.

However, we hardly ever do - no one likes being told they look like a newbie and, to be honestly, not everyone wants a random person on a hiking trail saying hi, let alone giving them advice. As a side note, we will absolutely stop to check on people if they are visibly really struggling and the group they are with isn’t sure what to do.

Because of this, we’ve decided to put together some Beginners Guides on everything we wish someone had told us when we first started adventuring outdoors! These are from our own experiences and some from people we’ve come across.

As we write them, we will link them to our Beginner’s Guides Page, so be sure to check back often to see what’s new!

As an added bonus, check out our Free Pack List for day hiking! We have listed out everything we pack in our hiking pack and ranked them as either “must haves” or “nice to haves”.

Can’t wait to see you on the trails!

~Liz

IMG_8643.JPEG
1A2C5E09-A630-4BB3-94A9-6B375BF2252C.jpg
IMG_1922.JPEG
Beginners Guides Intro.png

3 Absolutely Essential Things We Always Pack in Our Hiking Backpacks

Hiking is one of our all-time favorite outdoor activities. There is just something magical about driving on a dirt road to a trail head and spending the day out in nature with nothing more than what you can carry in your backpack.

We have found that there are three absolutely essential items to carry besides food and water when we hike.

3+Essential+Things+We+Always+Pack


  1. First Aid Kit

    We hope we absolutely never need it, but it we always carry one. You can find pretty cheap and compact first aid kits online, but we highly recommend the “Mountain Series Medical Kits” that you can buy at REI for $25. This is not a paid ad, it’s literally just us recommending a really good product. The Hiker kit comes with enough medical supplies for 2 people for 2 days with pretty standard injuries - burns, cuts, blisters, etc. While we personally haven’t had to use the kit, we have handed out band-aids and antiseptic wipes to hikers that have taken a tumble and didn’t have their own med kit.

  2. Sunscreen

    Let’s just say, one of the worst sunburns you can ever get is one where you are well above treeline and there is not a cloud to be seen. Yes, speaking from experience here! Let me just say, OUCH. A few years ago, I was hiking in Rocky Mountain National Park and didn’t bother to put sunscreen on my arms as I was wearing a very lightweight long sleeve over a short sleeve tech shirt. It was cooler on the trail in the shade of the trees, but once we got out of the trees, it got hot so off came the long sleeve layer… An hour above treeline later, I had a sunburn that lasted me for the rest of the summer season. I have never forgotten to carry sunscreen since!

  3. Rain Gear

    Unless there is literally a zero percent chance of rain for more than 24 hours, we always pack a rain coat. Living in Colorado, the weather can change in a matter of minutes the higher you hike. We check the weather hours before we hit the trail-head and again right as we start our hike and if there is any chance at all of rain, we carry rain gear. Not super heavy, weigh your pack down gear - but gear that folds into one of their own pockets. You can find a rain coat that zips into one of its pockets (see this one here - again just a fan of this coat, not an affiliate), and same for rain pants. If you have to pick between a rain coat or rain pants due to room in your pack, we would go with a rain coat 100% of the time over pants.

If you are curious about what else we always pack on our day trip hiking packs, check out our free guide section and download our FREE day trip hiking pack list!

Let us know what you find absolutely essential to pack by leaving a comment below. See you on the trails!

~Liz

hiking; pack list; hike must haves; backpacking; must haves; colorado hikes; colorado hiking

Burning Bear Snowshoe Trail

This past week has been hard for most Coloradoans, and honestly, most people across the US and world with what is happening with the Coronavirus, aka COVID-19. We’ve all been asked to “social distance” ourselves from others. Liz is a full blown extrovert, so being told to stay away from others is her absolute nightmare.

We have been trying to combat the cooped up feeling (see our blog post here about our favorite ways to not feel cooped-up) by getting outdoors as much as possible.

Yes, we are extremely fortunate that we live where we do but we challenge you to think about how you can get outdoors even if you live in a major city. Fresh air and sunshine? Sign us up.

This weekend we drove about an hour from where we live to check out Burning Bear Trail. We had never hiked or snowshoed this trail before, so we were really excited to see what it offered. Spoiler alert: it’s now our favorite snowshoe trail we’ve done. Yep. Favorite. Boom.

DSCN0079.JPG
DSCN0090.JPG

I mean, who wouldn’t immediately fall in love with a trail when this is how it starts? Yes, it’s as wonderfully peaceful as it looks in the photo. The sound of water flowing under the bridge and not much else? Happy sigh.

Alltrails.com rates this trail as “easy”. Our rule of thumb is to add one level of difficulty to Alltrails’ ratings when going snowshoeing. You hike differently. Your stance is wider, your steps are different, and your legs burn from the effort of pulling yourself out of knee deep snow if you happen to find a soft spot.

DSCN0135.JPG

This trail is a 7.4 mile, out and back trail. There is a gradual incline on the way out, which means you get a really nice and easy hike coming back. The views were top notch. The parking situation was really easy, with a designated parking lot just around the corner from the trail head. All in, we loved this trail.

The best part for us? We are in the middle of a nation-wide ask to social distance and we ran into maybe a handful of people the entire time we were out. That’s about 20-30 people less than we were expecting. This is either one of the best kept trail secrets, or no one was wanting to drive an hour-ish from Denver to get there. Either way, we’ll take it.

DSCN0119.JPG
DSCN0162.JPG

If you want a really relaxing, beautiful hike/snowshoe, we highly recommend this trail. It’s great for beginners and experienced snowshoes alike.

As always, be sure to do your trail research. Just because we loved this hike and had the most perfect day out there does not mean it’s perfect for you. Know your surroundings and what you are going to get into before you go.

Happy future trails!

- Team Be Outdoors

snowshoe; winter hiking; colorado winter; colorado; colorado trails; snowshoeing; winter hikes; colorado activities

Our Favorite Ways to Not Feel Cooped Up Inside

Times right now are crazy, to say the least. We have never seen anything like this - all restaurants, bars, gyms, and so many stores are closed for business - either by choice or by the local governments ordering them to be closed.

If you are like us, we have been asked to “social distance” ourselves from everyone. We have been asked to work from home for the foreseeable future. What that means is that we are stuck inside all. day. long. No gym, no in person human interaction other than ourselves, no happy hours, no meet ups.

Because of all of that, we’ve put together a list of ways we are trying to beat the “cooped-up” feeling.

5 ways to not feel cooped up PIN.jpg

1. Take Walk Breaks

We are all outdoors people right? We here at Team Be Outdoors are not under a city-mandated lock down, and really are hoping it does not get to that point. Our day jobs have asked us to work from home to support the “social distancing” act, so we told ourselves that we will get outdoors at least once a day, twice if the weather is nice. We take a walk on our lunch break and then eat as we work when we get back. It helps break up the day and it gives us some fresh air!

2. Eat Lunch and Dinner Outdoors

If you have a deck or patio, now is the best time to use it! We don’t have a full deck furniture set up - read, no deck table appropriate for meals outdoors - but we have eaten lunches and dinners outdoors multiple times over the past week. We are comfortable holding our plates in our laps and eating with no table in front of us, so it works for us! Also, on one of our many walks this week, we’ve seen couples sitting in the park having a makeshift picnic. We LOVED seeing this and loved the idea if you don’t have a deck or patio.

3. Hit the Local Trails

We live about 30 minutes away from some really cool trails in the foothills of Colorado and an hour from nice mountain trails. There are so many trail choices, that we feel confident that if we hit a trail, that we will not be endangering ourselves or others by getting into too close of a proximity of others. If you have trails nearby, we highly recommend getting out and getting some exercise in the fresh air!

DSCN0009.JPG

4. Sit Near an Open Window

This sounds so simple, and it is. Opening up the shades and blinds of your windows and getting some natural light into your house or apartment is game changing on your overall mental state. We typically leave our blinds closed all day, but with having to be cooped up, we’ve been opening them up to let in natural light. Instant mood booster!

5. Go for a Drive

Not into hiking or walking or physical activity outdoors, but still feel like you need out of the house? Fill up your gas tank (gas is cheap right now!), pack a lunch and some snacks, and hit the road! Now is the time to check out areas you’ve never been to before but have always wanted to. Yes, the restaurants, bars, and shops might be closed in the area you head to, but you will still get a good sense of what the town or city is like. Then you can plan a return trip with more knowledge of the area once the “social distancing” limitations are lifted.

Stay safe and healthy out there!