Hike Review: Cheesman Canyon, Sedalia, CO

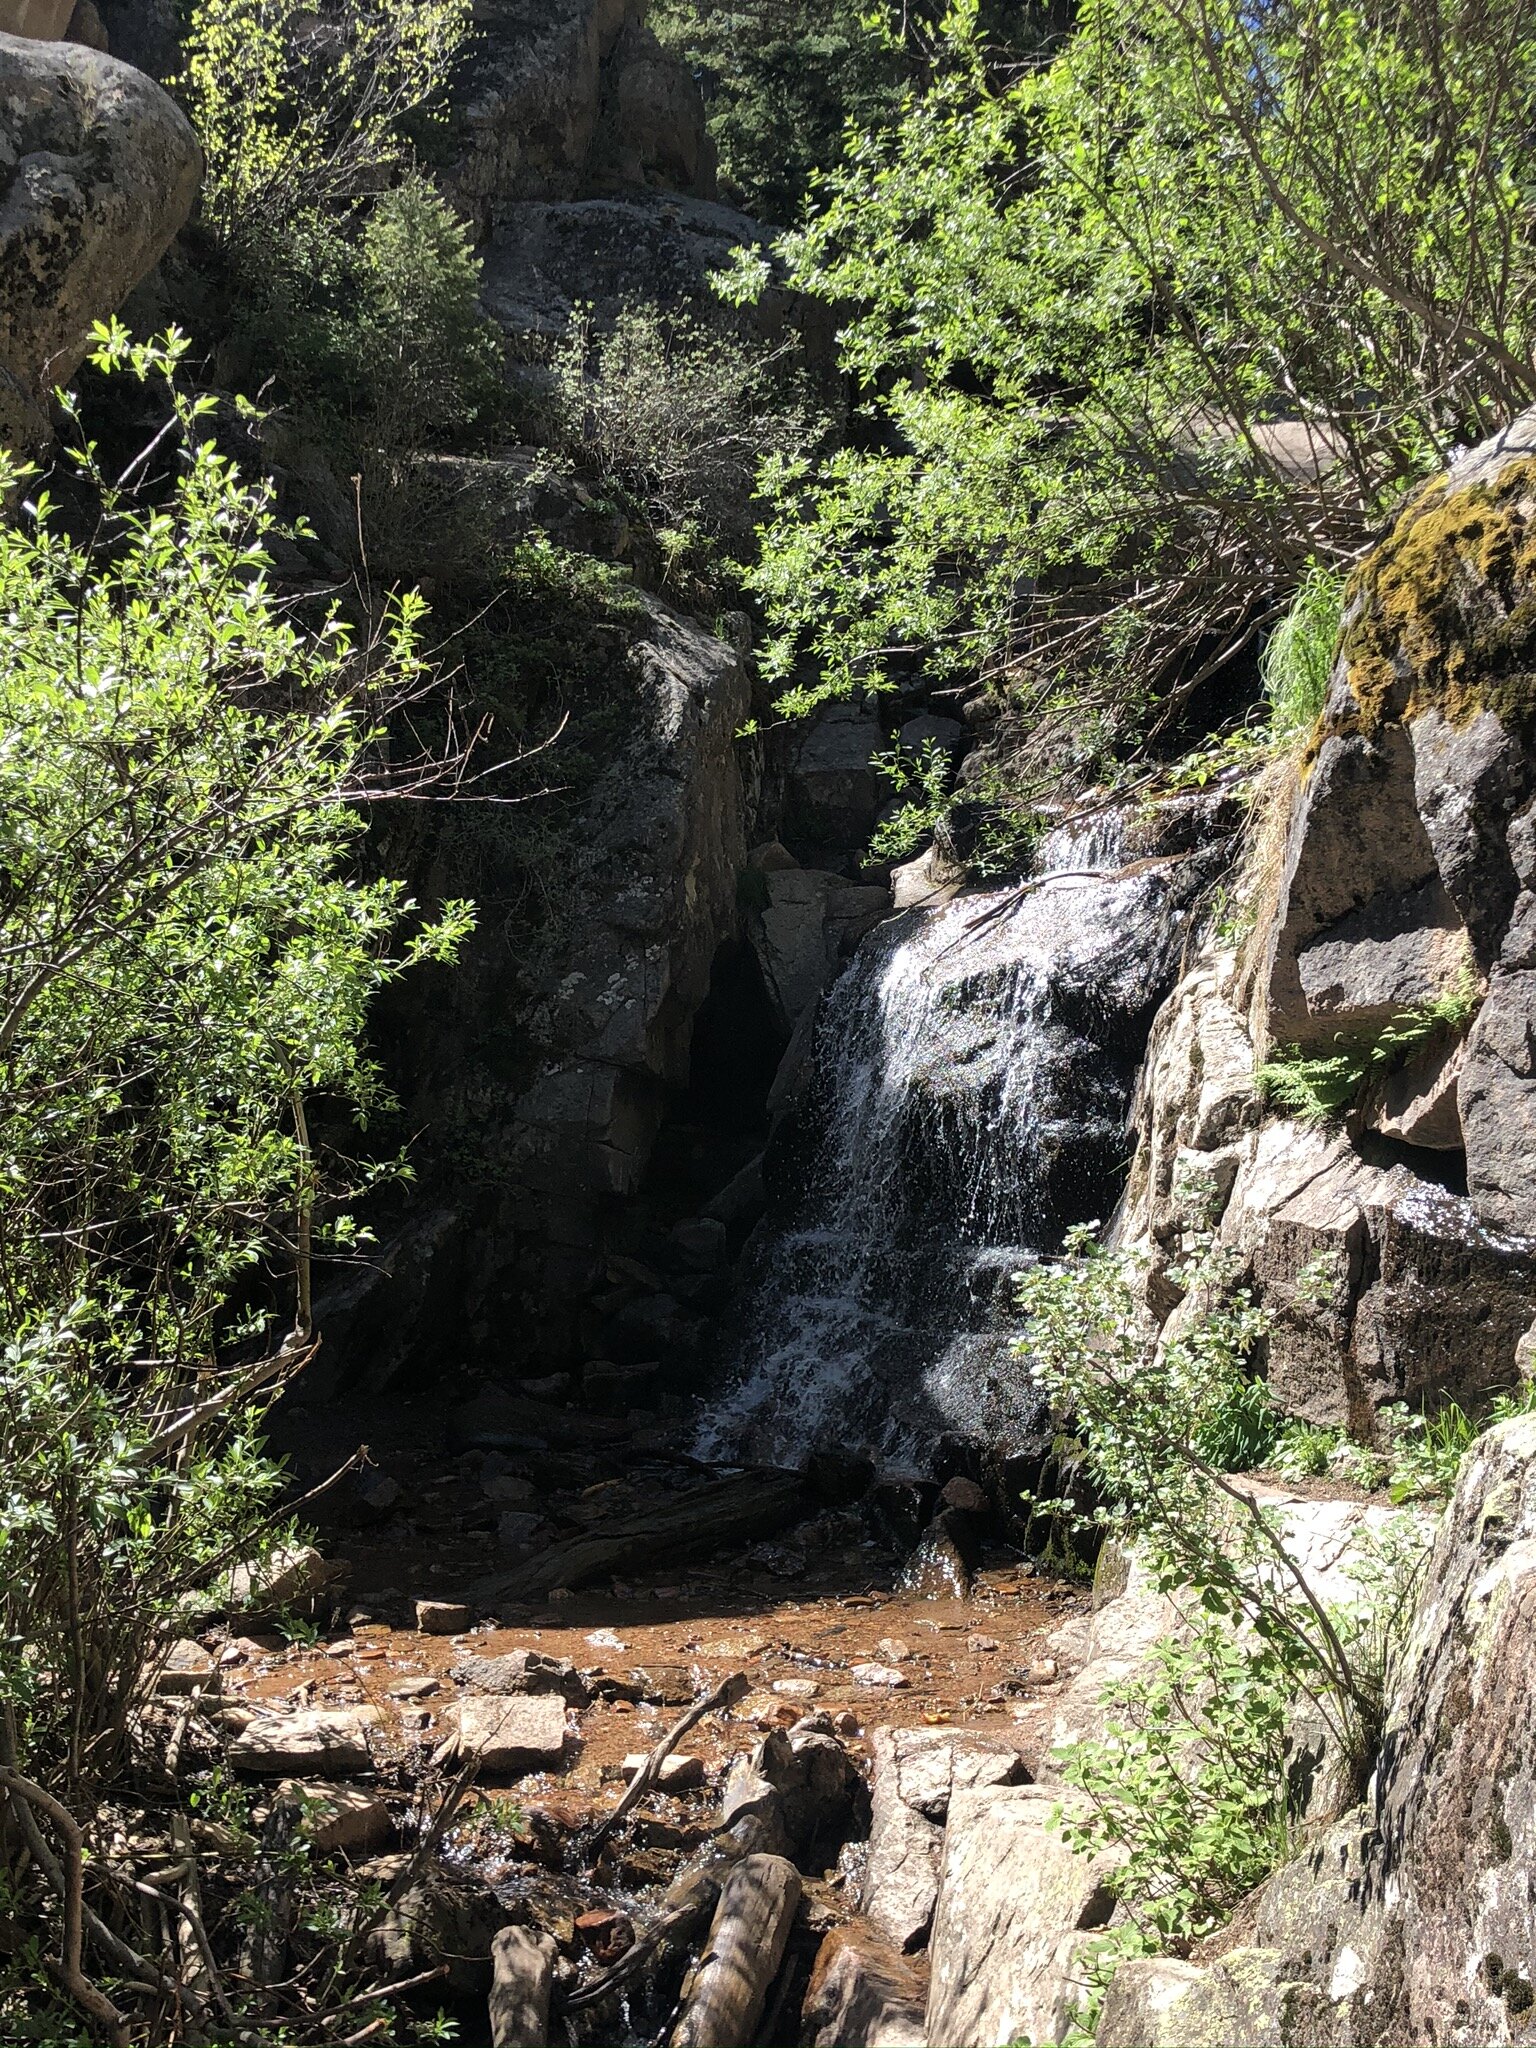
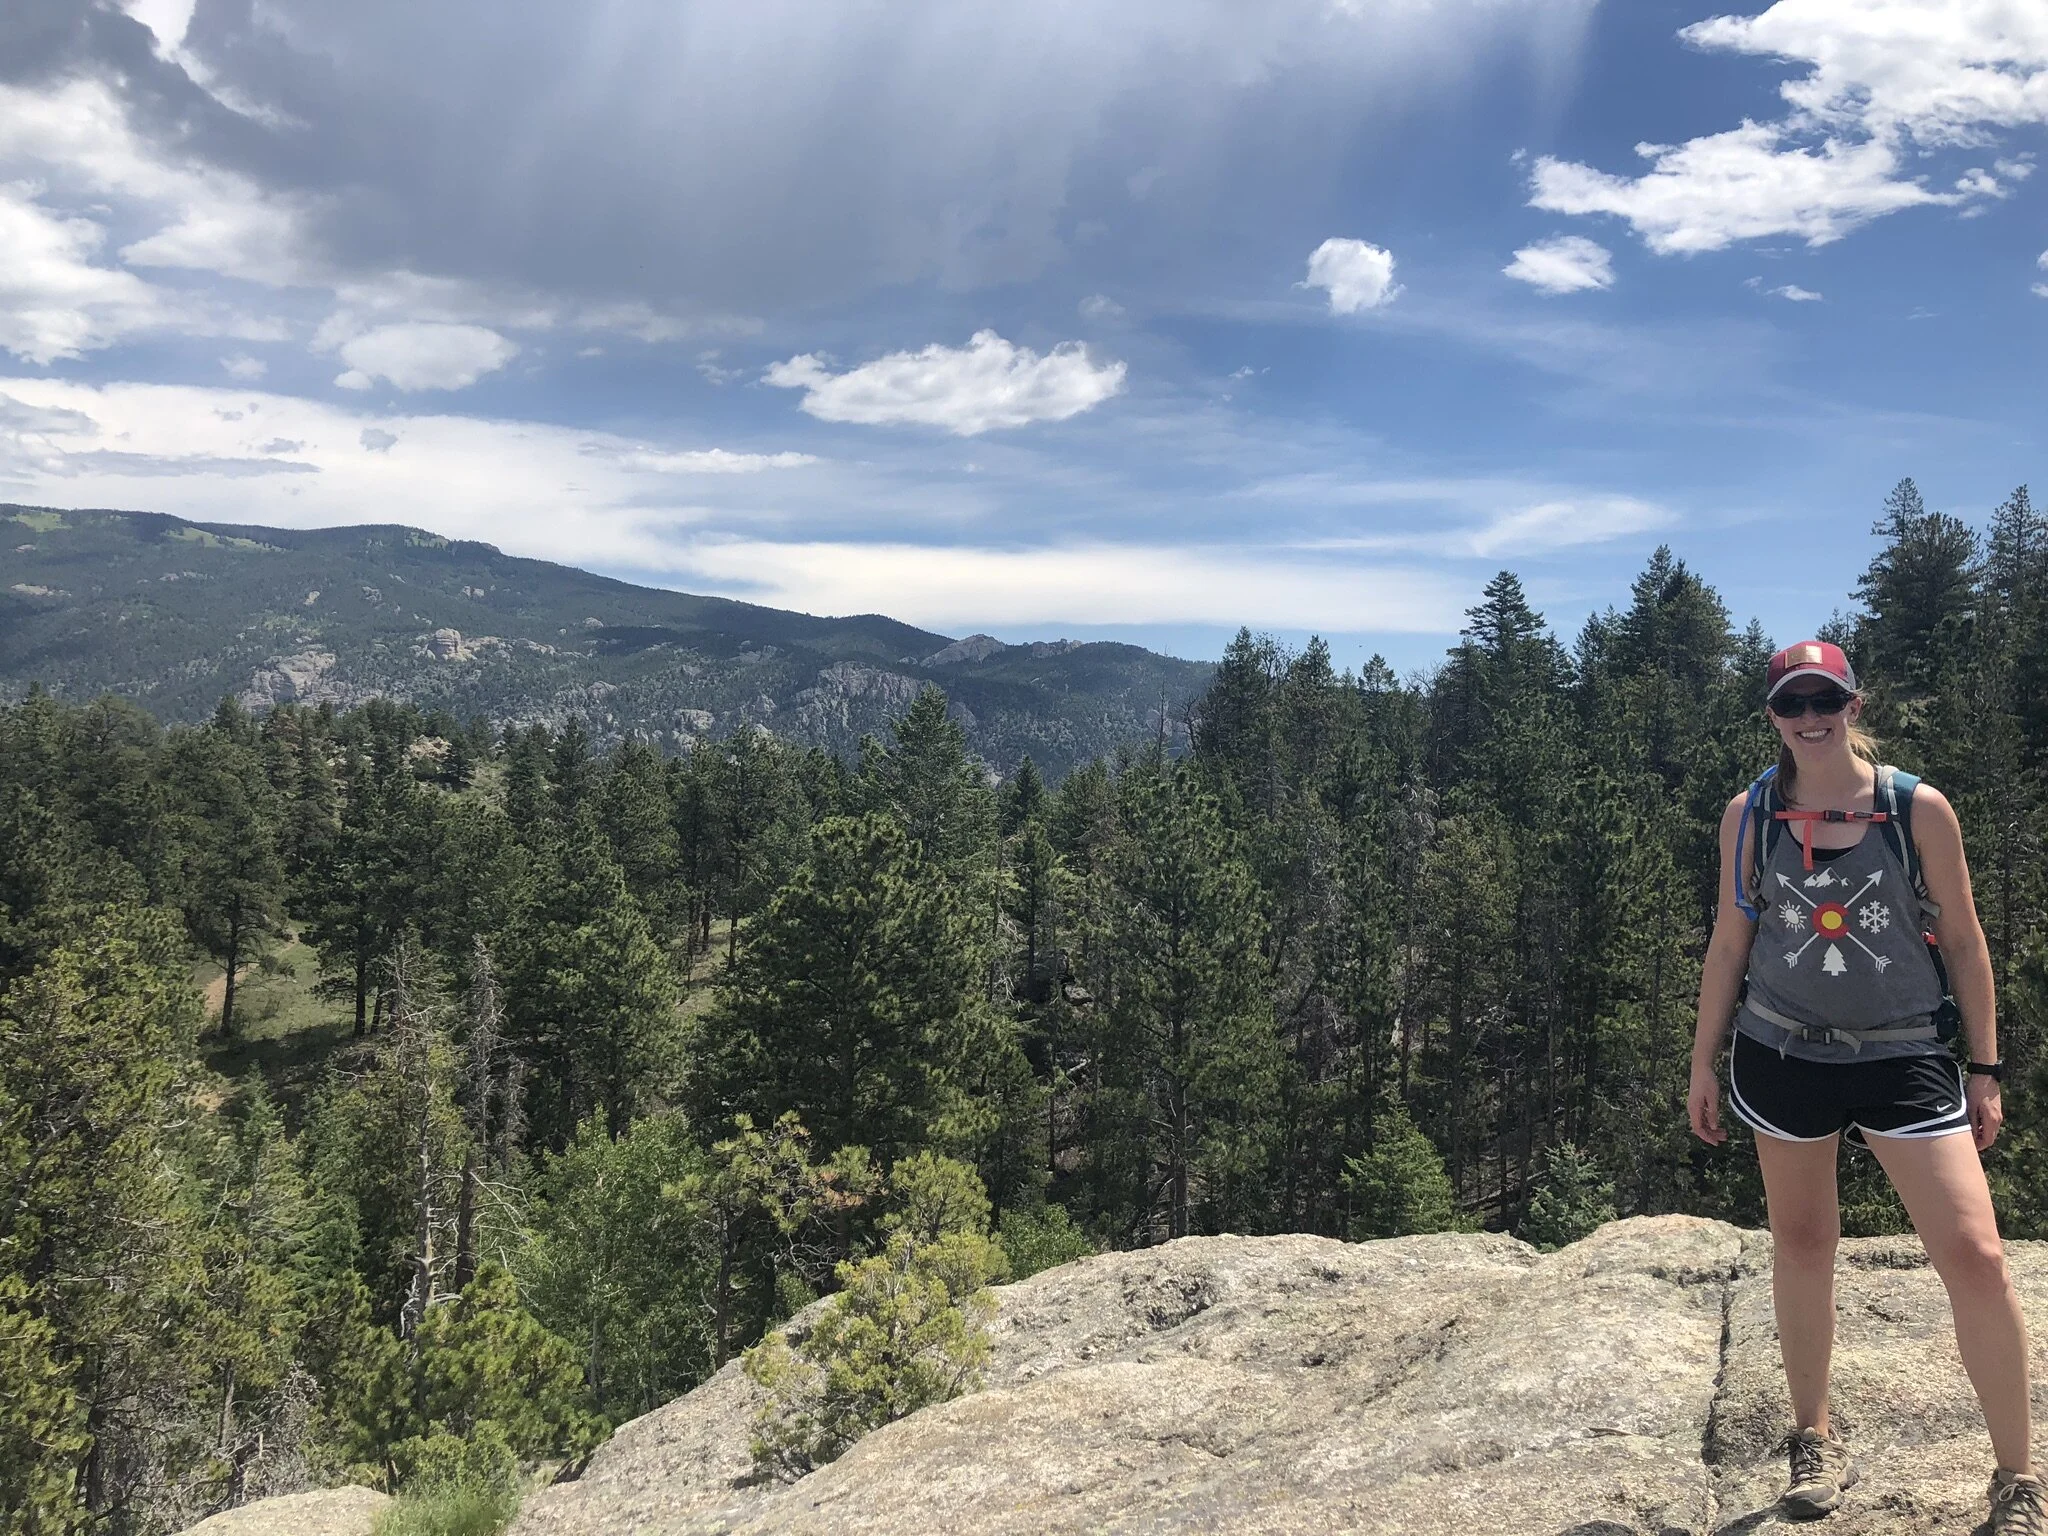
Cheesman Canyon is one of those hikes that has been on our list but not a high priority to do, thinking it wouldn’t be anything overly amazing. Well, we finally can cross this one off and, wow were we wrong! This hike has so much about it that we loved. In fact, the only thing we would say is a downfall is that there is very little shade. But, we did pick one of the hottest weekends of the summer to do this hike, so really that is our own fault, as this hike would be absolutely perfect on a warm but not blazing hot day.

Keep reading for our full review as to why we loved it!

IMG_1753.JPEG
IMG_1761.JPEG
  1. The hike is along a river!

    Yes, you literally hike along the river for the majority of the hike! There are a ton of fishermen around and a lot of access points from the upper trail to the water. So if you get too hot, you can work your way down to the water to cool off.

  2. Good ups and downs the whole way.

    We love a good hike that is pretty equal effort both ways. This is not a hike that is up one way and down the way back. You get the challenges of inclines and declines both ways. This means that you don’t have a ton of overall elevation gain (you never get above treeline) but you get the workout associated with a strong elevation gain!

  3. If you go far enough, you hit a reservoir.

    We did not make it far enough in on this hike to hit the reservoir (hello, 100 degrees by 10am!) but if we were to have kept going, there would have been a reservoir for us to sit by and enjoy. The reservoir feeds the river that you hike along. Needless to say, we will be back to get to the reservoir on a cooler day!

  4. Not overly busy.

    We arrived at the parking lot by about 8am and had no issues parking. However, when we were leaving there were cars circling the lot waiting for a space. There is no street parking - if you park on the street you will get ticketed if caught.

We will warn you that the trail is mostly loose gravel - meaning that the declines are slippery and your feet can definitely come out from underneath you if you aren’t overly cautious. Yes, speaking from experience on that one. Whoops! Luckily I only scraped my hand a little bit, but it could have been much worse!

Overall, we give this hike a 4 out of 5 stars.

Happy Trails!
Liz

IMG_1751.JPEG
IMG_1768.JPEG
IMG_1788.JPEG
IMG_1802.JPEG
Hike Review Cheesman Canyon.jpg

Hiking Pack List - Everything We Carry and Why

Please note, this post contains affiliate links. See our Disclosures Page for more info.

Interested in knowing what we pack for a day hike? Look no further! We have listed out everything we pack, from Must Haves to Nice to Haves in our post below. You can download this complete list HERE on our Free Resources page.

Gear Must Haves

  • Hiking Backpack. We are big advocates of buying a backpack specific to hiking that has a built in water bladder. It makes it much easier to stay hydrated as you hike. See the one Liz uses HERE and the one Steve has HERE.

  • Hiking Shoes/Boots. The extra support and extra grip that are provided from hiking specific shoes/boots makes the investment worth it. Tip: spend the extra dollars and purchase ones that come waterproofed. Worth every extra dollar to keep your feet drier! Liz wears Merrell Shoes and Steve wears Columbia Shoes.

  • Wool Socks. Yes, seriously even when it’s 100 degrees outside. These socks are made to never rub so you can say good-bye to blisters from socks rubbing!

  • Full water bladder / water bottles. If your hiking pack has a water bladder, be sure to fill it with more water than you think you need. If you don’t have a water bladder, we’d recommend Nalgene water bottles. They are extremely durable and can hold up to 32oz of water in each bottle.

  • First Aid Kit. This is one thing you hope you never need, but if you do need it, you will be glad you have one!

  • Sunscreen. Sunburns HURT and the higher in elevation you go, the more exposed your skin will be. Protect your skin by coating up before you begin your hike, and re-coat as needed.

  • Chapstick with sunscreen. Sunburned lips are zero fun. This also helps protect them from windburn.

  • Hat with sun-visor. Help your face out and wear something that provides some shade.

  • Sunglasses.

  • Raincoat. Unless there is a zero point zero percent chance of rain, we always pack raincoats. And even then, we probably still have them in our packs as weather in the mountains can change rapidly. Check out these two coats - MEN’S and WOMEN’S. They both fold into one of their pockets. Major space saver!

  • Necessary medicine, like an inhaler, that is not included in your first aid kit.

  • Trail snacks. We typically carry Clif Bars and some sort of sandwich for the day. If it’s super hot out, we will carry something salty to munch on as well.

  • Warmer outer layer - time of year and time of day/night depending. If we are doing a sunrise or sunset hike, we will for sure have a warmer layer with us

  • Cell Phone. Not only to call for help if needed, but to take photos of the day if you don’t want to carry a larger camera.

Gear Nice to Haves

If you have extra room in your pack, these are great add-in options that we like to take!

  • Bug spray. Especially if you are going to be near water.

  • Hand sanitizer

  • Baby wipes - we use these to wipe our hands off prior to eating and to also clean up our legs if we get caked in dirt/mud on the hike.

  • Swiss Army Knife

  • Gum / mints.

  • Kleenex / tissues

  • Trash Bag. Help keep nature natural and pick up trash as you hike. Or just put your own in it.

  • Sandals. Ever get to a lake or river and wish you had sandals to put on for a while? Worth bringing if you know you’re going to end up at a lake or river.

  • Extra socks

  • Collapsible trail stool. We recently added these to our hiking gear and what a game changer they are! You have a place to sit wherever you go - no more looking for a decent rock or dry ground to perch on.

Carry something that we don’t? Let us know in the comments!

Happy Trails!

~ Liz

IMG_1776.JPEG
IMG_1236.JPEG
IMG_1121.JPEG
IMG_0999.JPEG
IMG_1009.JPEG
IMG_1007.JPEG
Complete Pack List for Day Hike.png

Hike Review: Tyndall Glacier and Nymph, Dream, Emerald, and Haiyaha Lakes, Rocky Mountain National Park, CO

Disclaimer: this is an opinion about our personal experience of this hike. Others may have a different opinion, and that is perfectly acceptable. Everyone has a right to their own opinion.

This particular hike we come back to time and again because of how beautiful the scenery is. Located in Rocky Mountain National Park, this hike features so many amazing things, you can’t help but just be in awe the entire hike. 4 lakes. A couple waterfalls. A glacier. It’s one of our all time favorites and we hope you enjoy it as well if you choose to hike it!

IMG_1343.jpg

Getting into RMNP

This year, you must reserve a time slot entry to get into RMNP, as well as have a pass to get into the park for the day. The pass can be a season pass, a day pass, the American the Beautiful Pass, etc. This has changed from prior years due to the Covid-19 outbreak. They do not offer these time slot entries at the gate so you much reserve them online in advance. To do that, you can CLICK HERE or log into recreation.gov, search for Rocky Mountain National Park, pick a date that has available time slots and pick your time! Once you pick your time, you have two hours to enter the park, so if you purchase the 8am entry, you have from 8am - 10am to enter the park. Once you are in the park, you can stay as long as you want. Be sure to take a screenshot of your confirmation on your phone, or print it out, as you will have to show it at the gate.

IMG_1202.jpg

Where to park

Parking is all over the park once you get in, but watch for the road signs on what is full. If you can, we recommend parking at Bear Lake Lot - it’s the closest parking lot to the trail head. We say “if you can” because this lot fills up FAST. If it’s full, we recommend the park-and-ride lot. It’s easiest to find parking and you will have quick access to a shuttle bus that will take you up to Bear Lake and will have access to the same shuttles to take you back to your car when you are ready to head out.

The Elevation

This hike is a 5.1 mile out and back hike that has an elevation gain of ~1,100 feet. Keep in mind that you are starting at a very high elevation already at 9,449 ft above sea level. Entering the park, you will be at 7,860, and you will gain substantial elevation driving up to Bear Lake. Bring more water than you think you’ll need, snacks, and something with salt - your body might need it.

If you are coming from out of state, be sure to read about elevation sickness and the warning signs - it’s a very real thing and it’s not fun if you have it.

The Hike Itself

This hike is STUNNING. There are four lakes - five if you count Bear Lake - and they are so gorgeous. Our favorite one… it’s hard to pick! But if I had to, the lake at the base of the glacier is unreal and totally makes the hike. Be sure to look into the water as you walk by as you can some time see some fish swimming along.

DSCN0336.JPG

We went in mid-June and there were still patches of snow on the hike. We did not have to use any gear other than our hiking boots, and saw some people in regular tennis shoes cross through the snow patches with no issues.

Rocky Mountain National Park is stunning and this hike showcases it to the nth degree. We absolutely love it and tend to hike this at least once a year. We give this hike a rare 5 out of 5 stars. Let us know what you think when you hike this as well!

Additional Resources You Might Enjoy:

Hike Review: Eagle’s View Trail

Day Trip Hiking Pack List

DSCN0354.JPG
DSCN0379.JPG
IMG_1390.JPEG
IMG_1431.JPEG
Hike Review_ Tyndall Glacier, Nymph, Dream, Emerald Lakes.jpg

Hike Review: Eagle's View Trail Loop, Conifer, CO

Disclaimer: this is an opinion about our personal experience of this hike. Others may have a different opinion, and that is perfectly acceptable. Everyone has a right to their own opinion.

We’ve absolutely been loving the Conifer hikes lately. There is something to be said about finding hikes that are only 30ish minutes away from Denver! This hike is just south of Conifer in Reynolds Park. Considering how close this hike is to Denver, we headed out early to try to beat the crowds - and we are very happy we did! Here’s what we think you need to know about this hike!

IMG_1264.JPEG

Parking is free and the lot is actually decently sized.

We were pleasantly surprised to see a decent sized lot at the trail head that easily could fit 20 cars (or more) without having to park parallel or on the street! We arrived around 8:15 and had no issue finding a parking spot.

There are restrooms at the trail head.

Woohoo! This is always a great surprise when we see this. As comfortable as we are peeing in the woods, it’s always nice to not actually have to since a restroom is available!

The view makes this hike worth it.

The hike itself is a 4.2 mile loop trail which doesn’t sound too long, but considering the elevation gain you have during the first mile of the hike, we were glad it was on the shorter side. We went counter-clockwise and got a killer booty/hamstring/calf muscle workout in! Coming off the steep and steady incline and seeing the valley and mountain ridges for miles and miles and miles.. yeah, those views are why you do this hike.

IMG_1251.JPEG

Dogs are allowed on leash.

Unlike the Maxwell Falls hike we did, we did not see any dog poop on the trail! Thank you responsible dog owners!! This hike is STEEP and a good portion of it is not shaded, so if you bring the pups, be sure to bring them their own water. You do not want to be that dog owner that has to call the park rangers for assistance on getting their dog carried out after the doggo overheated. Yes, that happens.

We rate this hike 4.5/5 stars!

We loved the challenging incline on this hike, especially with the shorter distance this hike is. With the early start, we didn’t see more than 10 people on the trail until we were almost back to the parking lot. Having restrooms, a nice sided parking lot, and it being only a 30ish minute drive from where we live definitely adds stars to this hike for us.

If you hit this trial, let us know what you think by leaving a comment or sending us an email! We love hearing about everyone’s experiences!

Happy Trails!
~ Liz

IMG_1236.JPEG
IMG_1229.JPEG
IMG_1204.JPEG
IMG_1228.JPEG
Hike Review_ Eagles View Trail.jpg

A Weekend Guide to Camping in Aspen

Camping season is here and we are so excited!! We love camping for many reasons, but one of the best is that you can go to so many places and have a place to stay for pretty cheap. If you are one to reserve campsites, you can get one for around $20/night, and if you are one that likes to gamble on if they can find a first-come-first-serve spot, you can get one for pretty much free. You really cant’t beat free-$20/night going to Aspen for the weekend!

Here are our recommendations for a weekend camping in Aspen!

IMG_7067.JPEG

Day 1

Arrive into downtown Aspen in time for a late lunch. Pick a local cafe or restaurant to have a nice lunch after a long drive. We parked and walked around downtown and stumbled across this amazing deli called Butcher’s Block (see their website here!) which offers made to order sandwiches. The meat is fresh shaved and just absolutely delish!

After lunch, head out to your campsite and get set up. We booked a spot at Difficult Campground which is about 5 miles outside of Aspen! If you reserve a spot, you typically can arrive to the site at 2pm. Be sure to stop and check in with the site host and purchase a bundle of firewood for your fire pit.

Have dinner at the campsite and treat yourself to a s’more!

Stay up late and stargaze. The stars and moon are SO bright in this area of Colorado!

IMG_7063.JPEG
IMG_7064.JPEG
IMG_7267.JPEG

Day 2

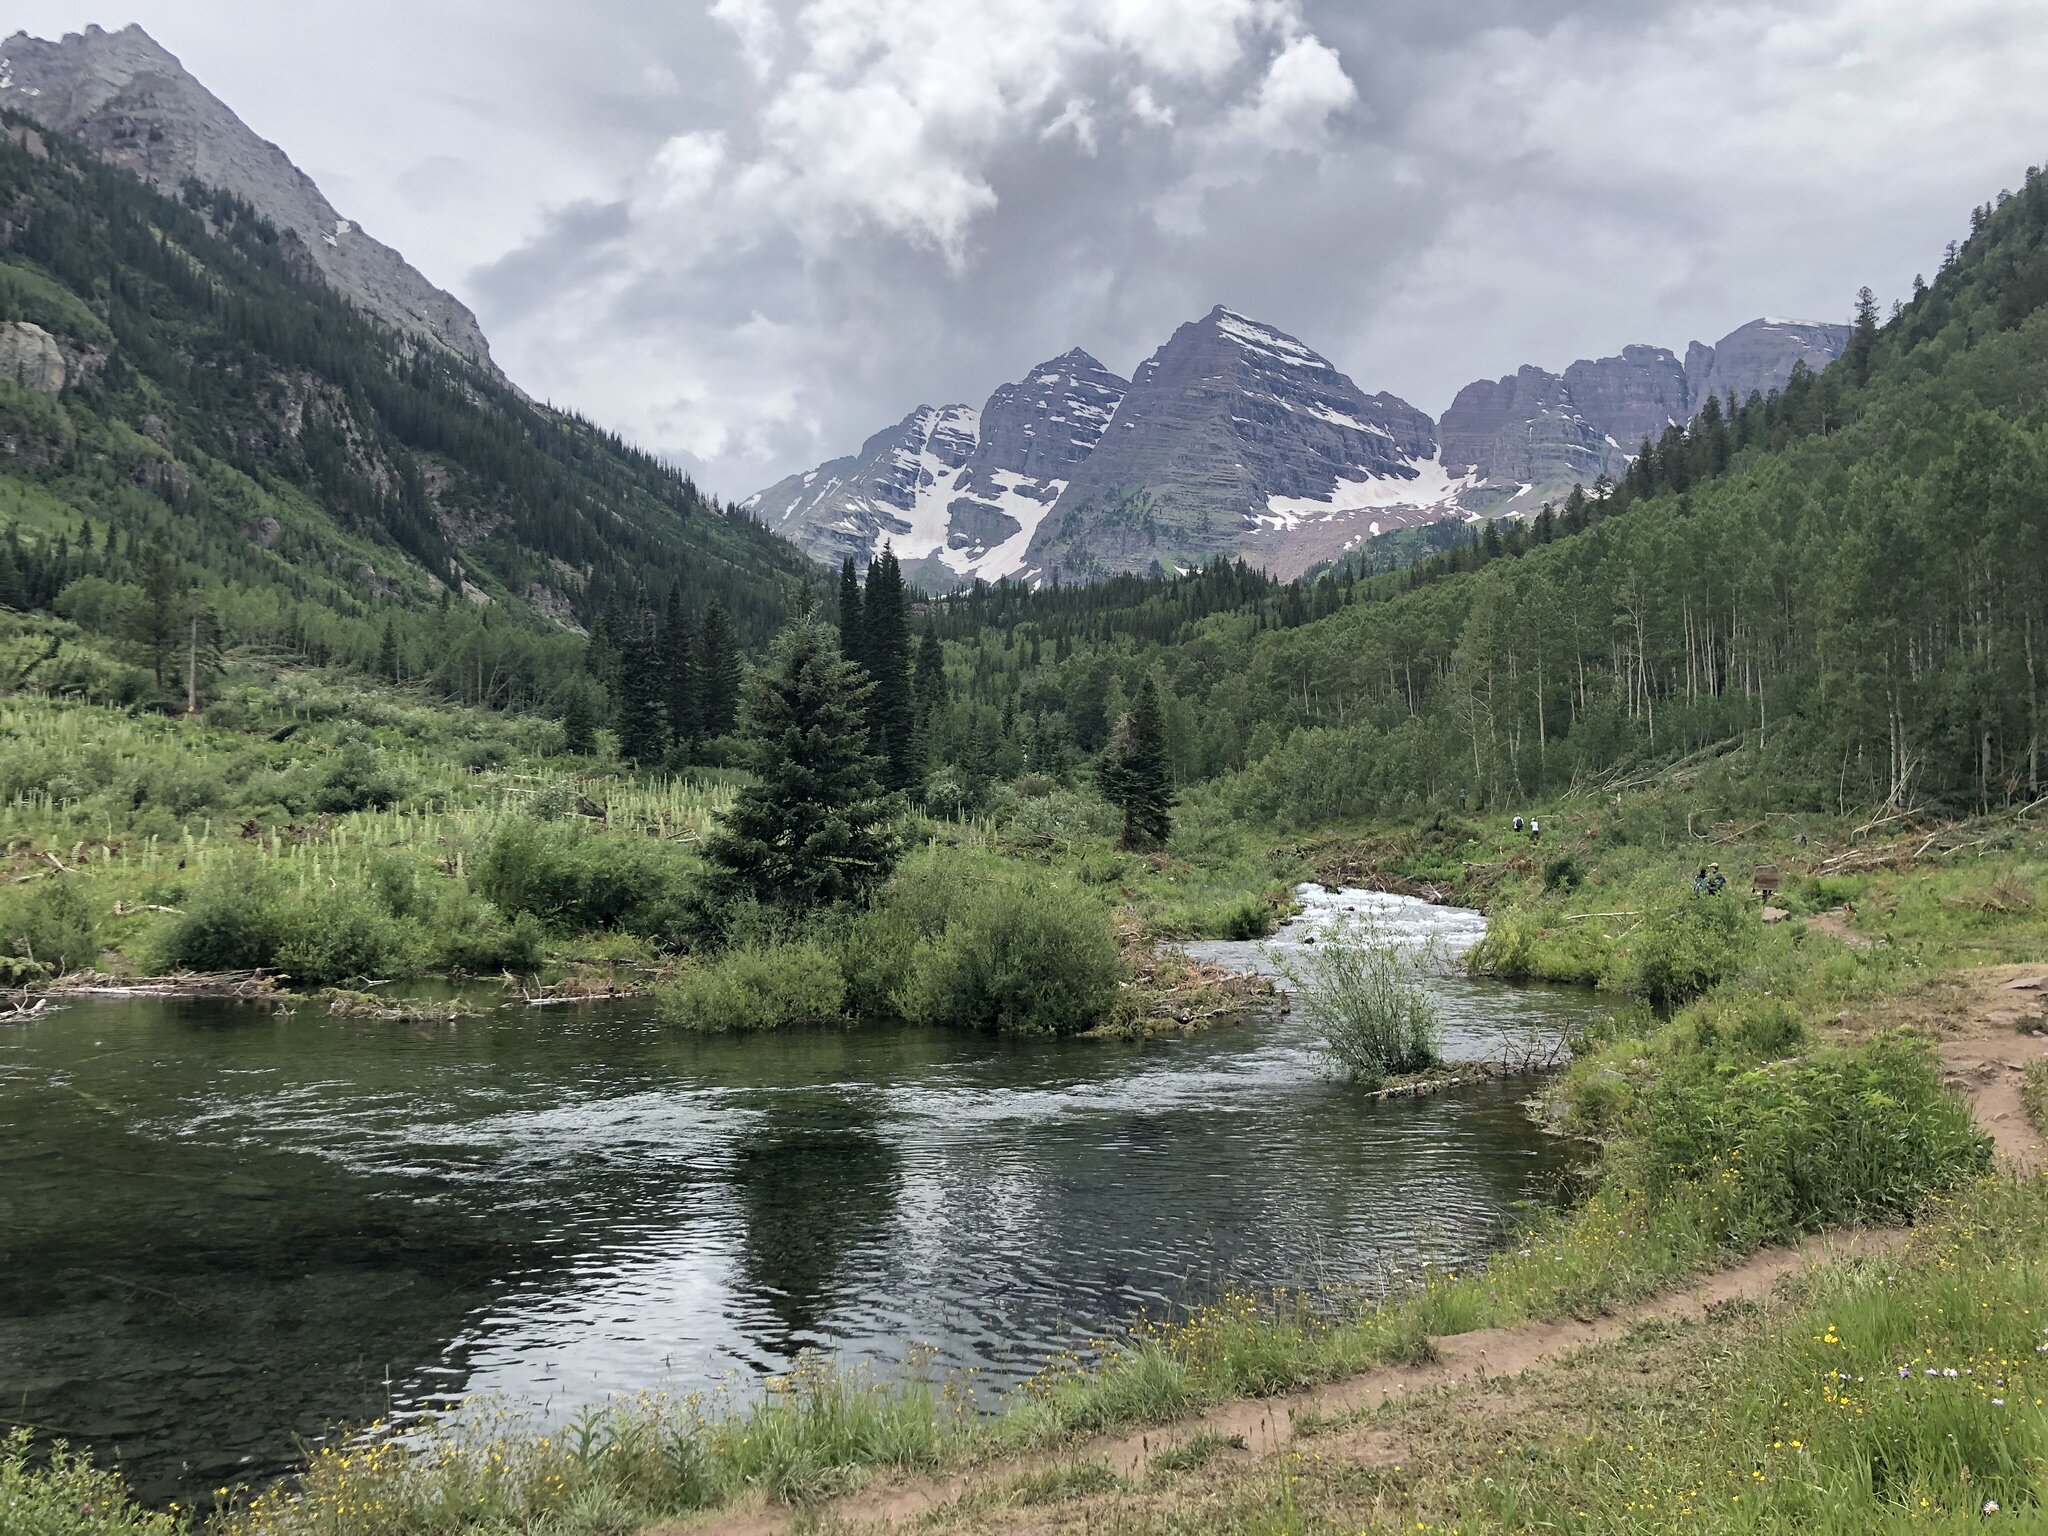
Get up, make a hearty breakfast burrito filled with eggs, bacon, and potatoes. Pack your hiking bag - don’t forget your rain coat - and head to the Four Mountain Sports shop in Aspen Highlands to purchase your shuttle ticket to Maroon Bells. (Please check this site for updates on reservations due to COVID-19)..

Unless you are a super-duper early bird, or an avid bike rider, taking a shuttle from Aspen Highlands is required in order to get to Maroon Bells.

Spend the day hiking around the park. Take amazing photos. Get caught in the rain. Marvel at the scenery. Catch one of the last shuttles out of the park back to the parking lot you left your car in.

Head to downtown Aspen to Aspen Brewing Company (if you are over 21) for a local craft beer or to CP Burger for ice cream and a round of mini golf.

Eat dinner at the campsite. Have another s’more because you hiked all day and deserve it. Try to stay up to stargaze again.

E75EBB09-AE71-4489-8391-49AED6F358BE.jpg
IMG_7127.JPEG
IMG_7158.JPEG

Day 3

Get up early, eat eggs and bacon for breakfast, pack your hiking bag again, pack up camp making sure to leave no trace, and head into downtown Aspen to take the gondola up to the top of the mountain.

You can purchase tickets at the ticket window which is before you walk up the two flights of stairs to the gondola. Don’t miss the sign otherwise you will be walking back down only to have to walk back up those stairs once your ticket is purchased.

Wait for a red gondola - you can connect your phone and play music on your ride up!

Follow the trails at the top of the gondola for a hike with stunning views. Grab a beer at Sundeck and enjoy the live music that is almost always there before taking the gondola back to the bottom - unless you are the more adventurous kind and hike to the bottom.

Check out the cute local shops and pick up a souvenir from your weekend get away.

Head back to your car and head home - it’s been a great outdoors weekend!

Additional Resources You Might Enjoy:

Day Trip Hiking Pack List

ED180E88-71A1-4B04-BDD9-29C99D96403D.jpg
IMG_7273.JPEG
IMG_7287.JPEG
IMG_7291.JPEG
Weekend Guide to Camping in Aspen.jpg

Hike Review: Maxwell Falls Trail, Conifer, CO

Disclaimer: this is an opinion about our personal experience of this hike. Others may have a different opinion, and that is perfectly acceptable. Everyone has a right to their own opinion.

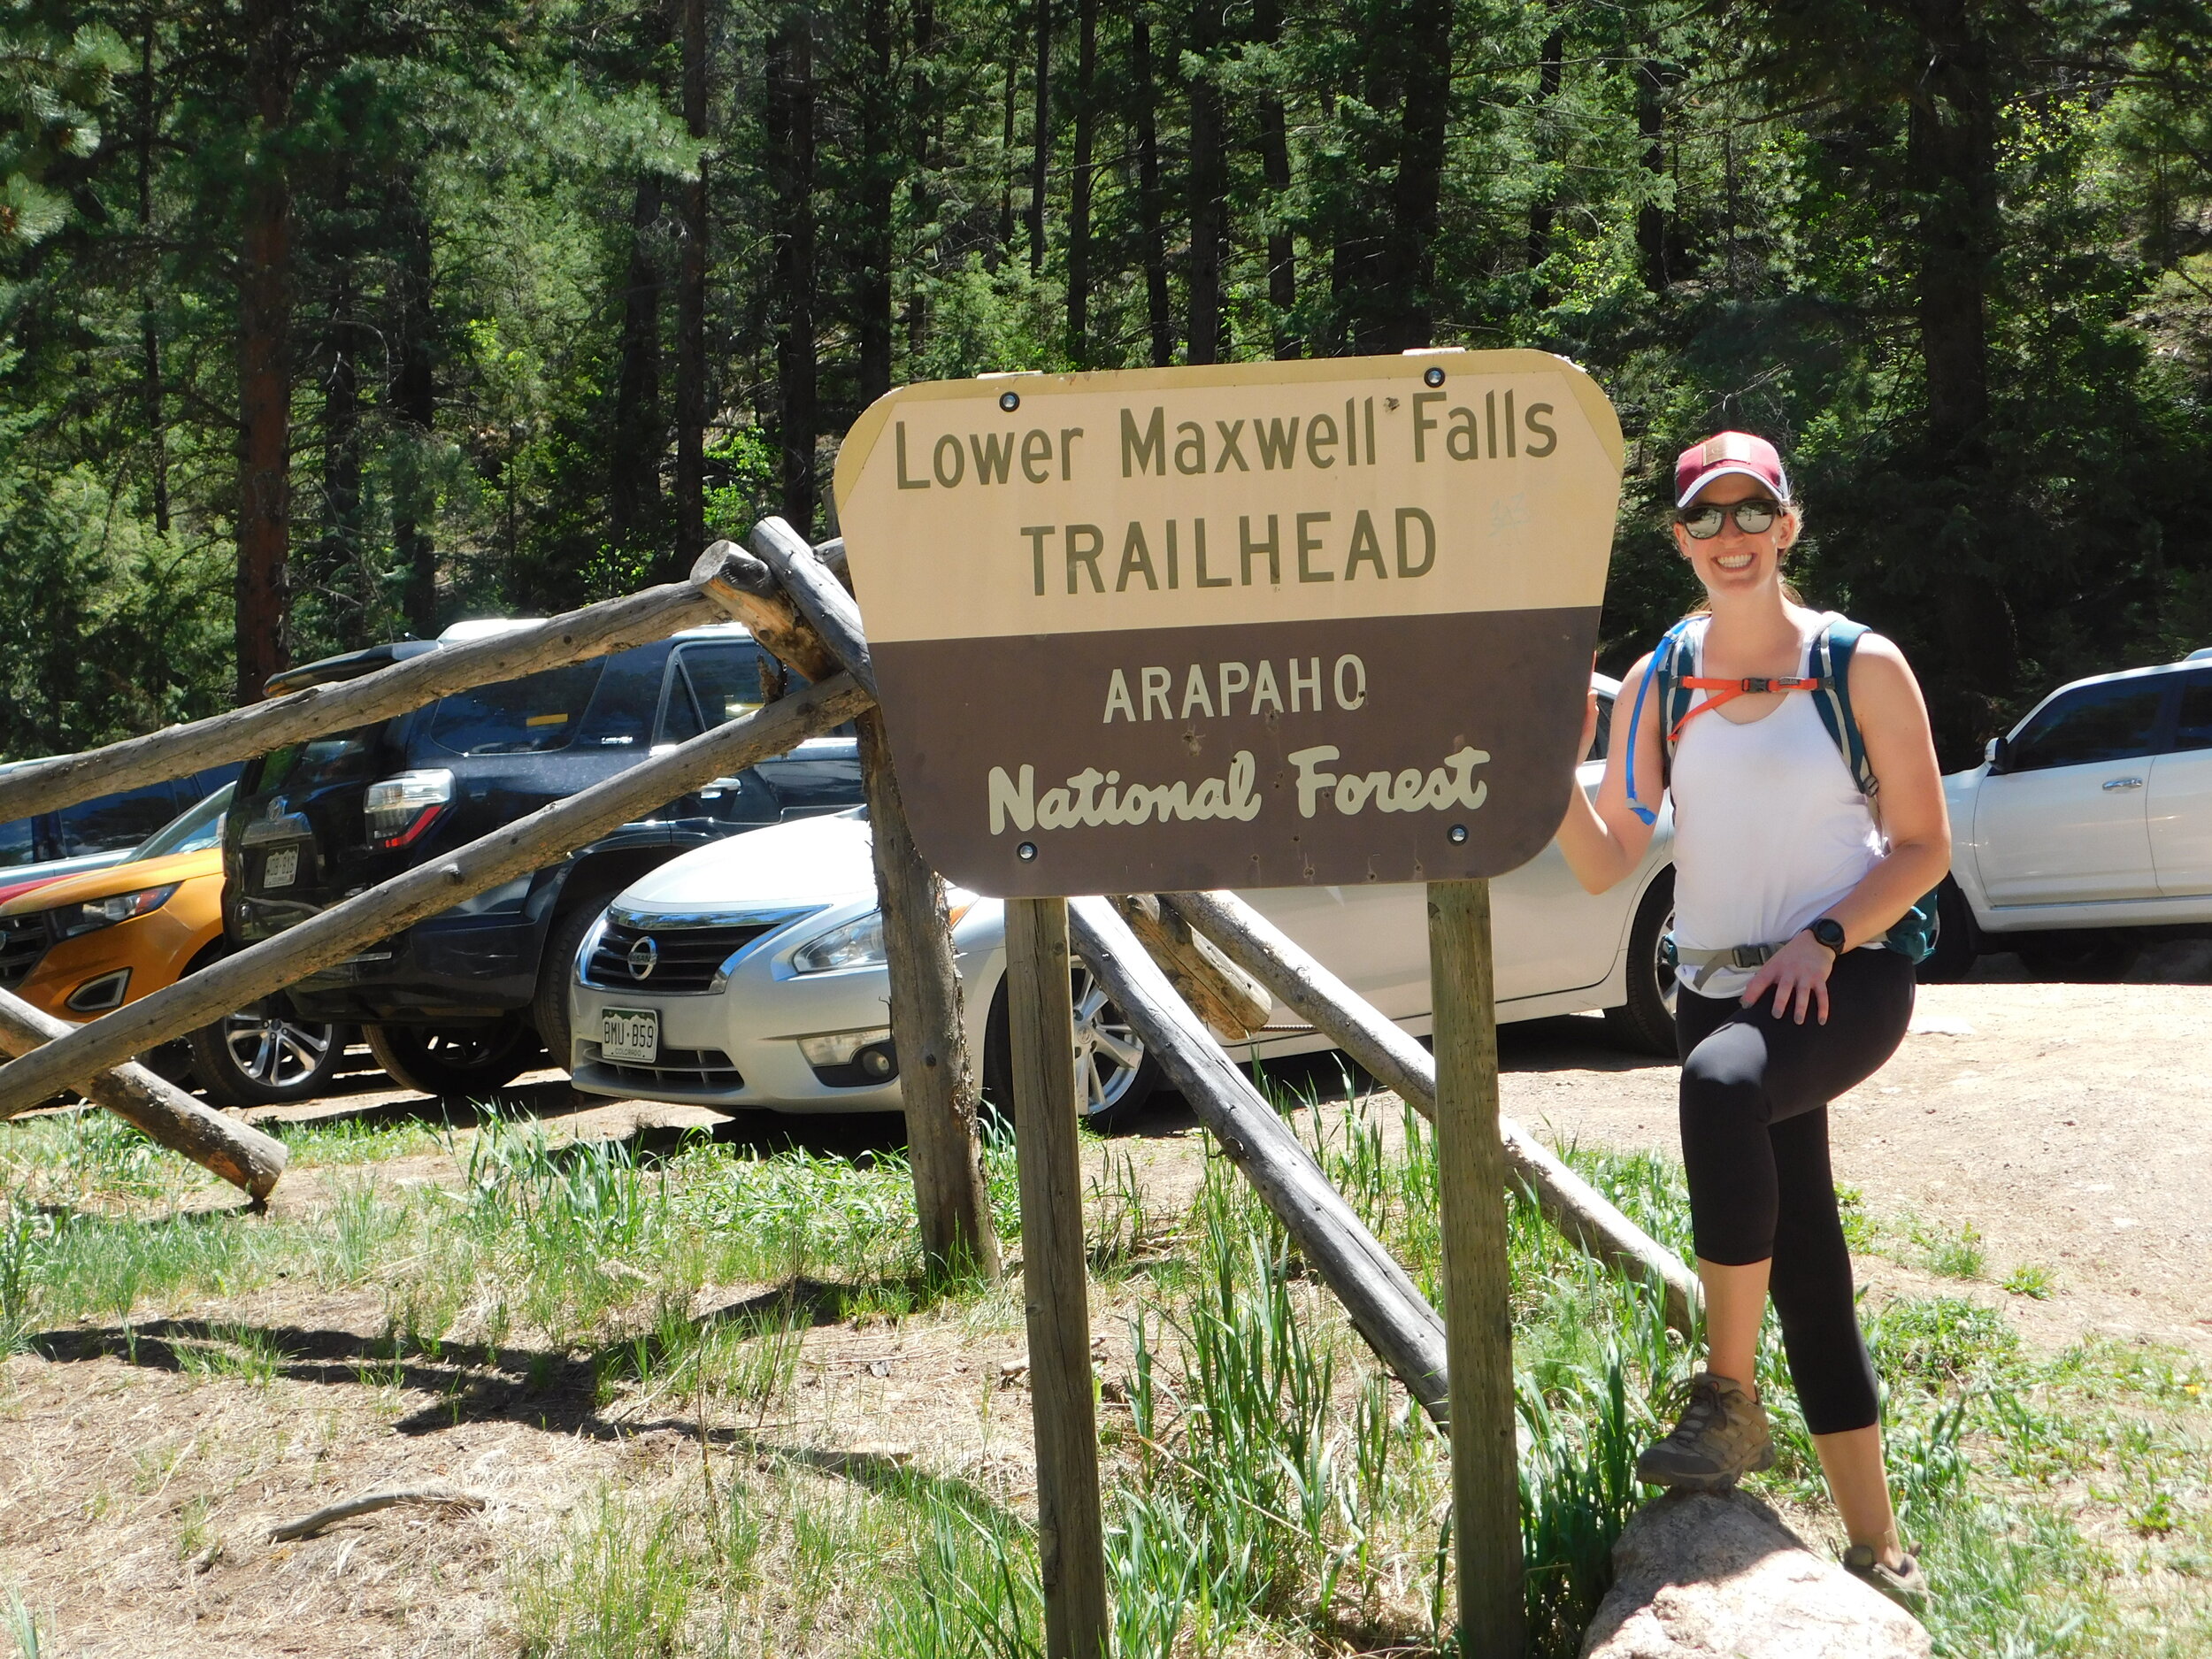
We had high hopes for this hike - it is roughly a 30 minute drive from Denver, is a loop trail, and has a waterfall. We love loop trails and really loving having some features other than it being just a hike to be hiking. If it’s an out and back trail, we love if the hike ends at a lake, waterfall, river, etc. So this being a loop and having a waterfall? Sign us up!

DSCN0322.JPG

Here’s what we think you need to know about this hike:

1. It is VERY crowded.

And we mean VERY. This hike had more people on it than we’ve ever seen on a hike. Ever. We started early, and it was already crowded with it being way more so when we were on the way out. If you want a hike that has a lot of people around, pick this. If you want a hike with very few people around, avoid this one.

2. It’s a bit of a bouldering scramble to get to the waterfall.

There is a sign that is posted that points you in the direction of the waterfall and it tells you to just follow the river up stream. What it doesn’t tell you is that you have to scramble down to scramble back up in order to get to a spot where you can see the falls.

IMG_1126.JPEG
IMG_1127.JPEG

3. Parking is free but spots in the lot are very limited.

The lot itself holds maybe 10 cars, if they all park so 10 can fit. Street parking is available but there are signs that designated no parking zones, so be careful when you street park. No one wants a towed car or a parking ticket!

4. There are three separate trails that all go to the same place.

Yes, you read that right. There are THREE trails once you get to the signs that are either for the loop, or Maxwell Falls. If you take the loop, you can pick from upper or lower. If you take Maxwell Falls, you will be running parallel and on the other side of the river than the waterfall. It does not matter which way you go. You can get to the waterfall with any of your choices.

All in, we give this hike a 3.5 out of 5. The sheer amount of people and the amount of dog poop along the trail knocked this one down for us. We are glad we did it - the hike is a great workout and the waterfall was a nice benefit, but we probably won’t be back to do this one again any time soon. Truly too many people for us.

Happy trails!

~ Liz

DSCN0291.JPG
IMG_1120.JPEG
IMG_1112.JPEG
Maxwell Falls Review.jpg

Hike Review: Legault Mountain, Conifer, CO

Disclaimer: this is an opinion about our personal experience of this hike. Others may have a different opinion, and that is perfectly acceptable. Everyone has a right to their own opinion.

If you live on the southwest side of Denver and are looking for a great hike that doesn’t take too long to drive to, this is one we would recommend!

The Legault Mountain trail is a 5 1/4 mile hike, part of which is a loop, and other parts are out and back. What we mean by that is after the first mile or so, there is a split and you can pick to go left or right - either way will get you to the same place. If you are looking to head to the summit, there is a spot at the top of the loop that branches off, and becomes an out and back.

Trailhead!

Trailhead!

Parking:

This hike has limited park lot parking, so unless you get there really early in the summer, be prepared to park on the side of the road. When we went, we had about a 1/4 mile walk to get to the trailhead from where we found parking on the side of the road. Luckily, there is a lot of road side availability!

Restrooms:

Yes, there is a restroom vault on this hike! They were closed for cleaning when we hiked by them, and we didn’t need to use them on the way down, so we don’t know what they offer as to running water or not.

The Hike:

We give this hike a 4 out of 5 stars. It has a wonderful mix of steep inclines and flat trail. When we hiked, it was rainy and the trail didn’t get slick or overly washed out. The reviews on AllTrails said the views from the top were amazing - we were unable to see much due to the rain, so we will be back to check them out in the future!

Know before you go:

  • The turn off to continue to the top of the mountain is not marked. There is a downed tree that kind of blocks off the turn, so the first time we hiked on by without realizing it was the turn off to continue up. Luckily, it’s a loop, so if you miss the turn like we did, you are heading back down to the base - you will not get lost.

  • It’s crowded. We knew it would be crowded and chose to hike it anyway - but based on the amount of vehicles parked on the side of the road on a day that was rainy and cooler, it has to be extremely crowded on nice days.

  • You will be able to hear traffic from 285 for pretty much the entire hike. While it didn’t bother us too much, if you are looking to only hear the sounds of birds chirping and the wind between the leaves, you’ll be disappointed to know that the sounds you are hearing are in fact the motorcycles out for a day drive along 285.

  • There are TONS of designated picnic spots! If you are interested in sitting at a table and enjoying lunch or a snack, there are a lot of picnic tables at the base of the hike.

All in, we liked the hike and want to return when the sun in shining so we can check out the views from the top! If you check this hike out, or already have, let us know what you think of it in the comments!

Happy Trails!
~ Team Be Outdoors

Sunny Aspen Trail is the loop that will take you up and back down - it does not matter which way you choose to go.

Sunny Aspen Trail is the loop that will take you up and back down - it does not matter which way you choose to go.

Behind this downed tree is the trail that will take you to the top. There is no sign pointing up - it’s to the left from this photo perspective - so you just have to know where it is, or use your GPS to find it.

Behind this downed tree is the trail that will take you to the top. There is no sign pointing up - it’s to the left from this photo perspective - so you just have to know where it is, or use your GPS to find it.

IMG_1016.JPEG
Legault Mountain Review.jpg

Hike Review: Catamount Loop, Woodland Park, Colorado

Disclaimer: this is an opinion about our personal experience of this hike. Others may have a different opinion, and that is perfectly acceptable. Everyone has a right to their own opinion.

The Catamount Loop, known as the “Lumber Pine, Mule Deer, Mackinaw and Ridge Trails Loop” on AllTrails is an 8 1/2 mile loop trail around a gorgeous reservoir near Woodland Park in Colorado. Here is what we think you need to know about this hike.

IMG_0870.jpg

1 - The views are STUNNING.

As you hike around the reservoir, you will have endless views of Pikes Peak, a 14,000 ft mountain in Colorado. We went counter-clockwise on the loop, so we got to stare at the mountain for 3/4 of the hike without having to turn our heads all that much. If you are more a water person, the reservoir itself offers stunning views of the blue/green water.

IMG_0858.jpg
IMG_0862.jpg
IMG_0899.jpg

2 - The hike goes in and out of actual trails and dirt roads.

The dirt roads are NOT my favorite. It was honestly very disappointing to discover that the trail becomes a road for 2ish miles, in multiple different sections of the loop. During these stretches, there is no tree cover and can get really dusty if cars use the road to get down to the reservoir.

3 - There are very steep grinds up and down.

While the elevation gain listed on AllTrails says about 1,000 feet, there are a few extremely steep ups / downs that are full of loose gravel. Hello butt-burner!!

4 - Parking is free but spots in the lot are limited.

The designated parking lot for the trailhead has maybe a dozen or so parking spots, but the good news is, parking along the road is allowed! When we got there, all spots were taken, but it was pretty easy to find a spot on the side of the road - no high clearance vehicle needed.

5 - All in, we give this 3 out of 5 stars.

Without the views this hike offered, we’d honestly rank it less, just due to the fact that the trails go in and out of dirt roads to actual trails. Out of all the hikes we’ve done, it’s hard to justify ranking this one much higher - a hike to us is a trail fully submersed in nature, not something that you have to watch out for vehicles for a significant portion of the hike. We loved the views, loved the distance, and loved the variability of challenging inclines to flat trail. We just really wish there was a trail running next to the areas of dirt road instead of merging them into one.

Additional Resources You Might Enjoy:

Day Trip Hiking Pack List

Hiking Reviews

IMG_0864.jpg
DSCN0243.JPG
Catamount Loop.jpg

Beginners Guide to Hiking: 10 Tips to Get You Started

New to hiking? Feeling anxious because a friend invited you on a hike, you’ve agreed to go, but have literally no idea what you are getting yourself into or how to prepare? Has it been forever since you’ve gotten out on a trail?

Whatever reason you’ve clicked on this post, we are so excited for you! We absolutely LOVE hiking and are really hoping you have the best experience on the trail that one could possibly have.

For that reason, we’ve put together our top 10 tips to help you feel confident as you take on that new trail!

Happy trails!

IMG_1917.JPEG

1. What to wear.

One of the first questions we seem to get is, “What should I wear?” The honest answer is, wear what you are most comfortable in. If you are uncomfortable in your clothes, you’ll end up hating your hike even if it’s the most amazing scenery anyone has ever seen. As you hike more, you will learn what you like vs don’t like.

Our recommendations: clothing that is breathable, easy to move in, and quick drying if it gets wet - because it will get wet. I typically hike in athletic shorts and an athletic tank top or shirt. Steve is usually in pants that zip off at the knee into shorts - actual hiking pants - and a quick-dry athletic shirt. Clothing that is 100% cotton should be avoided at all costs. The goal is to wear clothing that is easy to move in. Don’t wear something that restricts your leg or arm movements, and definitely don’t wear anything that you are afraid of getting dirty.

Bonus tip - grab a pair of wool socks! They are made to not rub, even if they get wet! So as your feet sweat, or if you’ve stepped in a puddle, you won’t end up with blisters all over your feet from your socks rubbing.

2. Shoes are more important than you think.

There are all kinds of footwear out there. Some options are great for hikes and some are pretty terrible. On many occasions we’ve seen ladies in high-heeled boots trying to hike up a steep trail. Ladies - yes you might look really cute in those boots, but let’s be real here - if you are wearing high-heeled boots and trying to summit a mountain trail, you’re going to end up with a horribly twisted, or even broken, ankle. Trails might be well maintained, but they are not paved sidewalks.

Pick the right footwear. Tennis shoes will do if you don’t have hiking boots. Wear something that your feet will thank you for, not something they will be screaming bloody murder in.

Our recommendation: hiking shoes or boots. If you decide you love hiking and are going to be going frequently, hiking shoes/boots are well worth the money. They offer a lot more grip than tennis shoes, and a lot come waterproofed which is so nice when you have to jump across a river!

3. Research your hike - know the distance!

Hiking is supposed to be fun. Yes, you might feel out of your element. Yes, it’s going to be a harder workout than you anticipate. But if you do your research, you will be well prepared for your hiking adventure. We use AllTrails (they have an awesome app!) to research our hikes. People who have hiked the trail can rate the hike and leave comments as to what they experienced - if there is a really steep grind, if the trail tends to be crowded or empty, what the parking situation is (some places have fees - better to know that well before you go so you can get some cash!), if it is muddy or rocky, etc. Make sure you read the dates of the comments as they can be real time or months old.

Our recommendation: If you are brand new to hiking, pick a shorter distance hike (3ish miles) and be sure to pick a hike that has a waterfall or a lake! It’s such a rewarding feeling to come across an amazing view that most people will go their entire lives not seeing. Plus, it’s an extra reward to be able to eat lunch, or a late breakfast, by that waterfall or on the edge of the lake!

4. Check the weather before you go.

The weather where you live vs where you are going to go hiking can be extremely different, so it should be a high priority to check and recheck the weather of the location you are hiking. Not every trail is found on weather.com, but the surrounding towns are. A few summers ago we went hiking on a trail about 30 minutes from where we live. We left the house in shorts and tshirts, with not that many extra layers. It was hot in town, so why would it be any different 30 minutes from where we live??

Oh how wrong we were. It literally SNOWED on us during that hike. We were not prepared for that at all.

Our recommendation: check the weather a few days before you go if you plan a hike in advance and then recheck it the night before and the morning of. Weather can change extremely quickly!

5. Bring extra layers.

After that hike, we always end up bringing extra layers. Even if you think it’s going to be a gorgeous day, it’s worth bringing a lighter outer layer - even if you end up leaving it in the car when you get to the trailhead.

Pack a rain coat. The fast moving weather? Yeah, it could be sunny one minute and pouring rain the next, especially at higher elevations. Even if there is no chance of rain, we always always have a rain coat on us. There is not much worse than getting absolutely, unexpectedly drenched and you have miles to go before you can get to your car.

Our recommendation: pack a lighter outer layer long sleeve and a light weight rain coat. The long sleeve can also work as a layer of protection against the sun if you start feeling burned.

6. Pack healthy, high energy snacks.

This sounds crazy, but years ago, I went hiking with a girl that packed a half loaf of bread in her bag as her food for our hike. Bread. Not a PB&J or banana nut bread. Just a wheat bread. I was dumbfounded. And she was starving. Bring food with you that is easy to digest and easy to eat. Yes, bread is easy to eat. It also sits in your stomach like a ton of bricks and doesn’t give you much energy by itself.

Our recommendations: we typically pack some sort of sandwich, some protein bars in our favorite flavors, and some trail mix. Put together some snacks that are a mix of sweet and salty - you’ll be craving both!

Bonus tip - pack snacks for your drive home! If you picked a hike a few hours away, you’ll probably be ready to chow down on something when you get back to the car. There is not much worse than being stuck in mountain traffic with no snacks when you are starving!

7. Backpacks with a water bladder are key!

If you don’t have a true hiking backpack - one that has a built in water bladder - it’s okay! Pick a backpack that you like and that sits well on your shoulders and back. This is where you are going to be putting your food, extra layers, sunscreen, and water. If you do have a hiking backpack, be sure to fill up the water bladder! If you don’t, just fill up a few water bottles so you have plenty of water for your drive there, the hike, and the drive home. Dehydration headaches are no joke, especially if you are at altitude!

8. Prepare for more than you signed up for.

Don’t be surprised if you feel like you’ve gone two or three miles and you’ve only gone a half mile. Hiking is a lot harder and more strenuous than walking. You have to be more aware of your surroundings, more aware of the path, making sure that noise you just heard behind you isn’t something to be concerned about, etc. The hike could be listed as an “easy” rating on AllTrails, but it could have rolling hills and you have some ups that are steeper than you expected. It’s better to be over prepared for a hike vs under prepared!

9. Elevation is real.

A lot of popular hikes are at higher elevations, which means that you need to be ready for that change. You can feel out of breath quicker - the air gets thinner the higher in elevation you go, get headaches, or even dizzy from being at an elevation your body isn’t used to. Add in the fact that you will be expending effort and burning energy hiking, and that elevation can hit you pretty hard, pretty fast.

Make sure you have plenty of healthy snacks, lots of water, sunscreen, and a hat. The last thing you want is to get nauseous miles from your car, with no shade around.

Our recommendation: take it slow and take frequent breaks if you are not used to the elevation change.

10. Fill up before you head out.

Make sure you have a full tank of gas in your adventure vehicle before you go! Some trail heads are miles from civilization. You definitely don’t want to be running out of gas with no fill up stations around!

Bonus tip: be sure to check out our free Day Trip Hike Pack List to know exactly what we pack and why we do!

IMG_7282.JPEG
Beginners Guide 10 Hiking Tips to Get You Started.jpg

Additional Resources You Might Enjoy:

Beginner’s Guide to Snowshoeing

Day Trip Hiking Pack List

Beginner's Guides: Introduction

With summer around the corner, we seriously cannot wait to hit the hiking trails. Every year, we plan some pretty fun hikes, and every year we see a ton of people that are on their first ever hike - which we absolutely LOVE to see.

But a lot of new adventurers are really out of their element - not really dressed for what they are doing, don’t have food or water with them, and haven’t even given the whole altitude thing - if they are in a higher elevation - a thought until it snuck up on them.

You definitely have to start somewhere, and we are so proud of these new adventurers for taking the chance and going for a hike and trying something totally new. We really wish we could give the new adventurers we come across an encouraging pep-talk, as well as some outdoor advice.

However, we hardly ever do - no one likes being told they look like a newbie and, to be honestly, not everyone wants a random person on a hiking trail saying hi, let alone giving them advice. As a side note, we will absolutely stop to check on people if they are visibly really struggling and the group they are with isn’t sure what to do.

Because of this, we’ve decided to put together some Beginners Guides on everything we wish someone had told us when we first started adventuring outdoors! These are from our own experiences and some from people we’ve come across.

As we write them, we will link them to our Beginner’s Guides Page, so be sure to check back often to see what’s new!

As an added bonus, check out our Free Pack List for day hiking! We have listed out everything we pack in our hiking pack and ranked them as either “must haves” or “nice to haves”.

Can’t wait to see you on the trails!

~Liz

IMG_8643.JPEG
1A2C5E09-A630-4BB3-94A9-6B375BF2252C.jpg
IMG_1922.JPEG
Beginners Guides Intro.png